

Dokploy’s minimalist tutorial
This article introduces how to install, configure and use dokploy on a personal server, so that Github projects can use Github Actions to automatically compile and build images, and Dokploy can automatically pull and deploy images online.
Dokploy is an open source application deployment solution. It can be simply understood as a Vercel/Netlify that can be deployed and run on your own server. If you want to enjoy the convenience of easily deploying projects on Vercel/Netlify, but don't want to receive sky-high Vercel bills, then you can consider purchasing a server and try deploying Dokploy.
1. What is Dokploy?
Official website: https://dokploy.com/
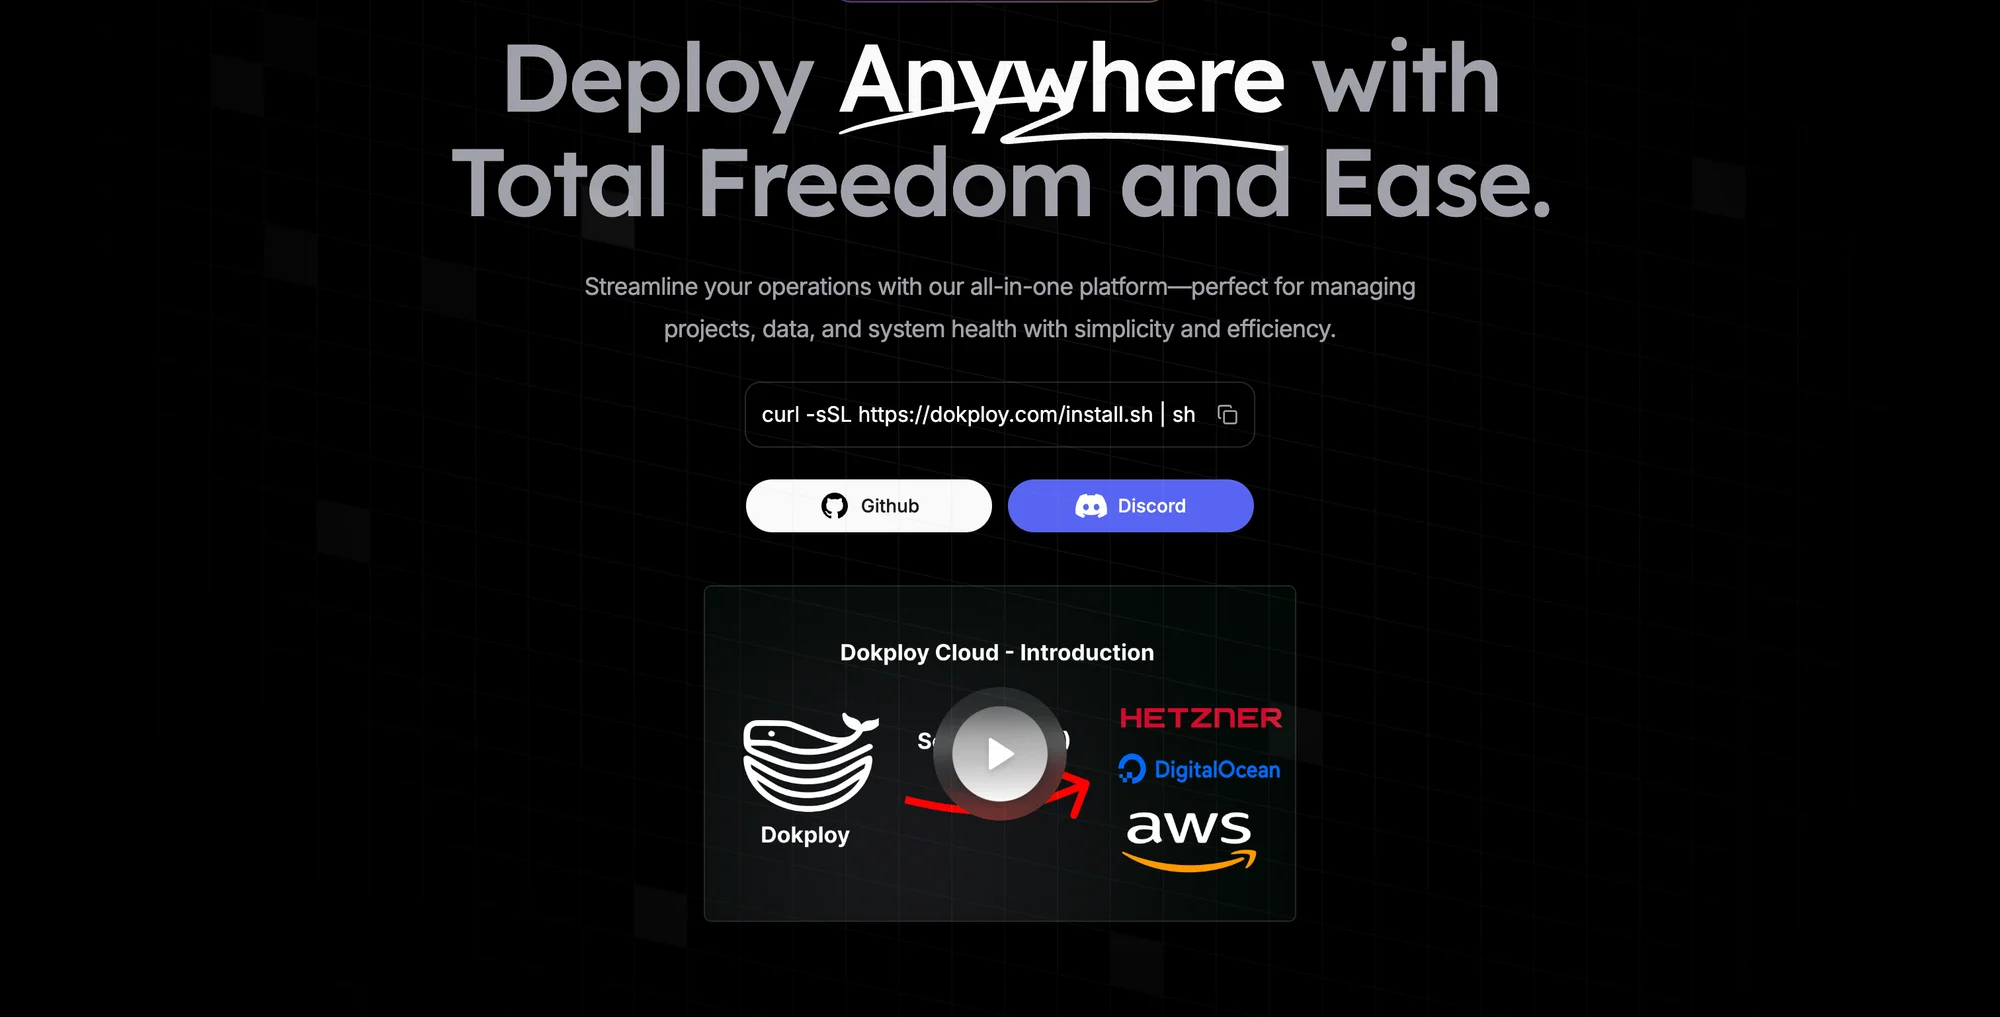
Dokploy allows you to manage your applications and data as simply and efficiently as Vercel, and can also monitor the status of your server, backup databases, manage certificates, manage multiple servers, and more.
2. Install Dokploy
Installation reference document: https://docs.dokploy.com/docs/core/installation
2.1 Server configuration
It is recommended to select Ubuntu 22.04 as the server's operating system, and ensure that Docker is installed for the environment configuration.
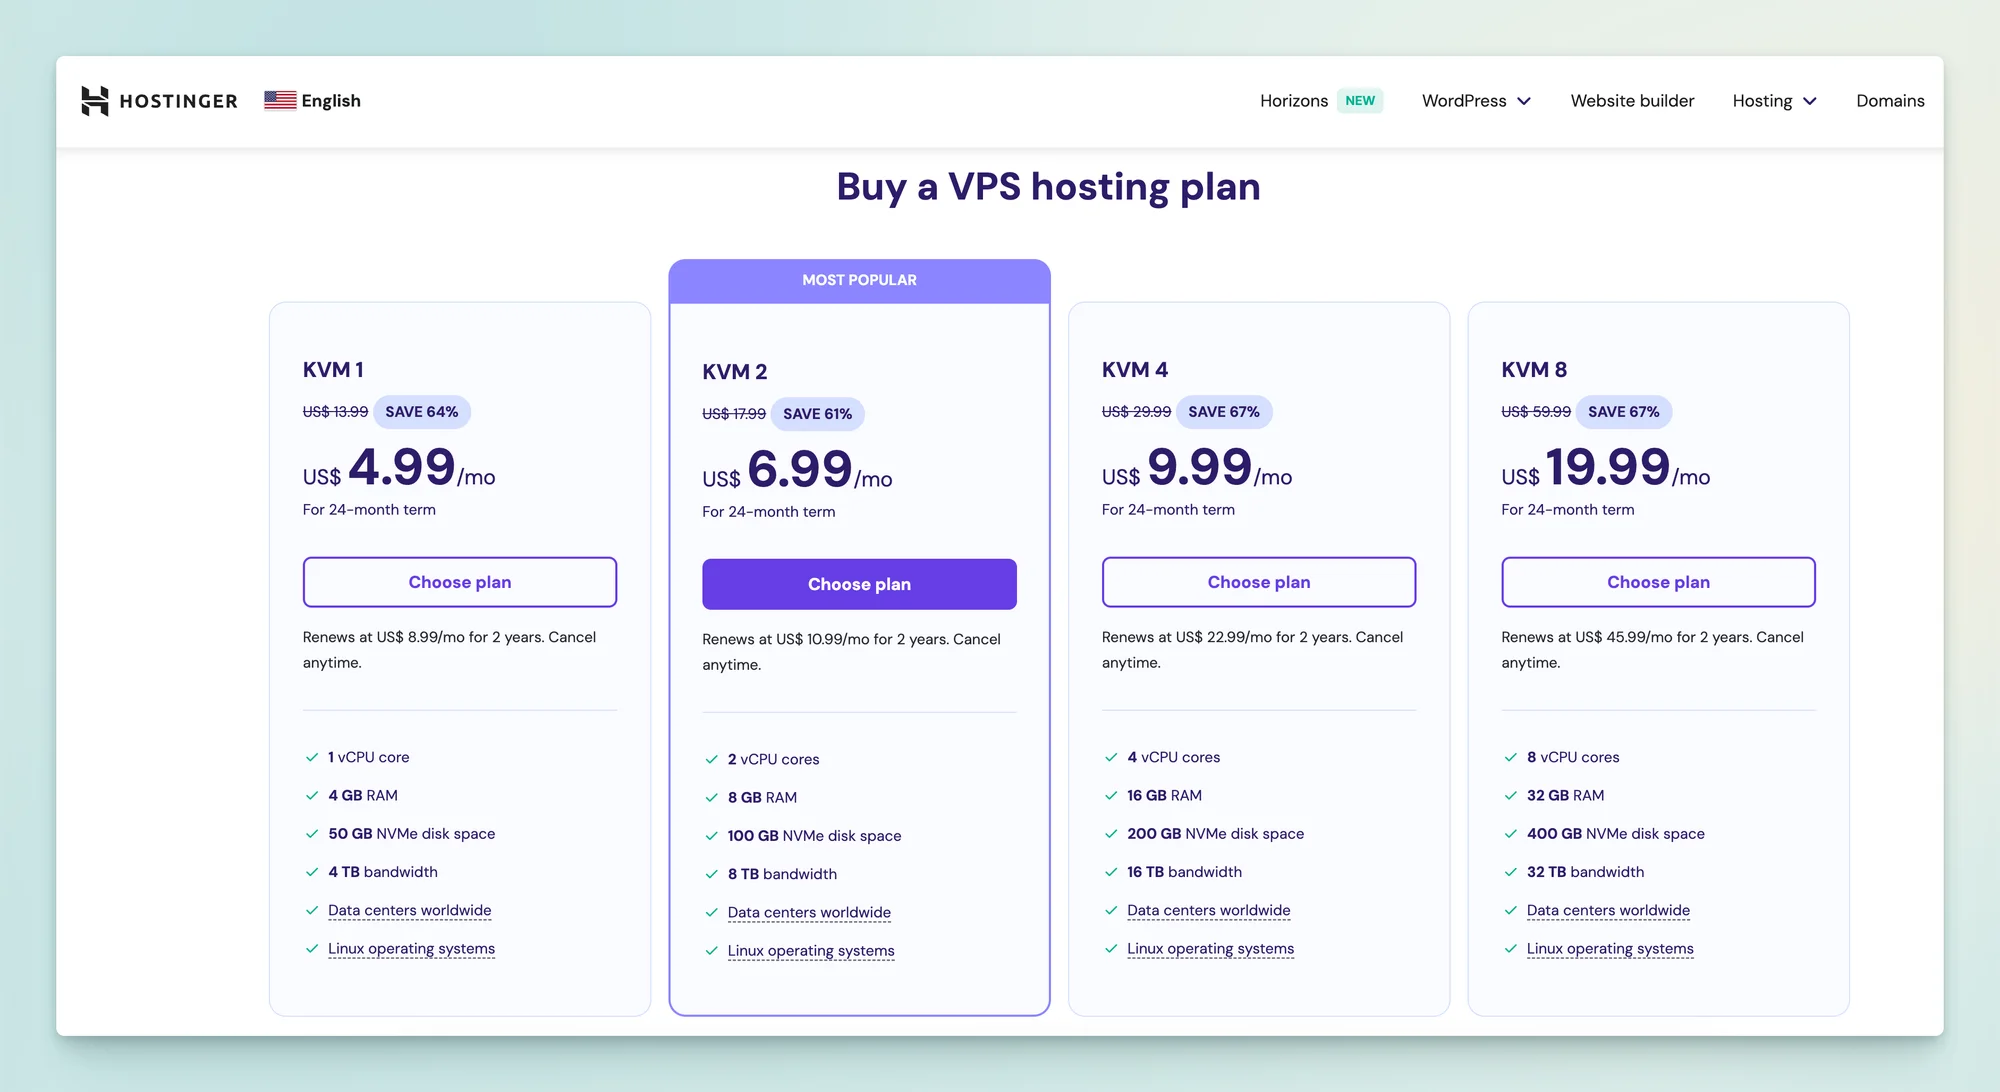
This article takes Tencent Cloud lightweight cloud server as an example. The configuration is 2 cores + 4G memory. The server location is in Singapore. This way, problems will not occur easily when pulling the Docker image. Or you can directly choose a foreign server provider, such as [Hostinger] (https://www.hostinger.com/referral?REFERRALCODE=javayhu&ref=indiefox.me). The cost is also very cheap. A 2-core 8G server is US$7 per month, and a 4-core 8G server is US$10 per month. It is much cheaper than Tencent Cloud Server. Friends who are interested can click on the link below to buy one and try it out.
2.2 Install Dokploy
Log in to the machine and execute the command:
curl -sSL https://dokploy.com/install.sh | sh
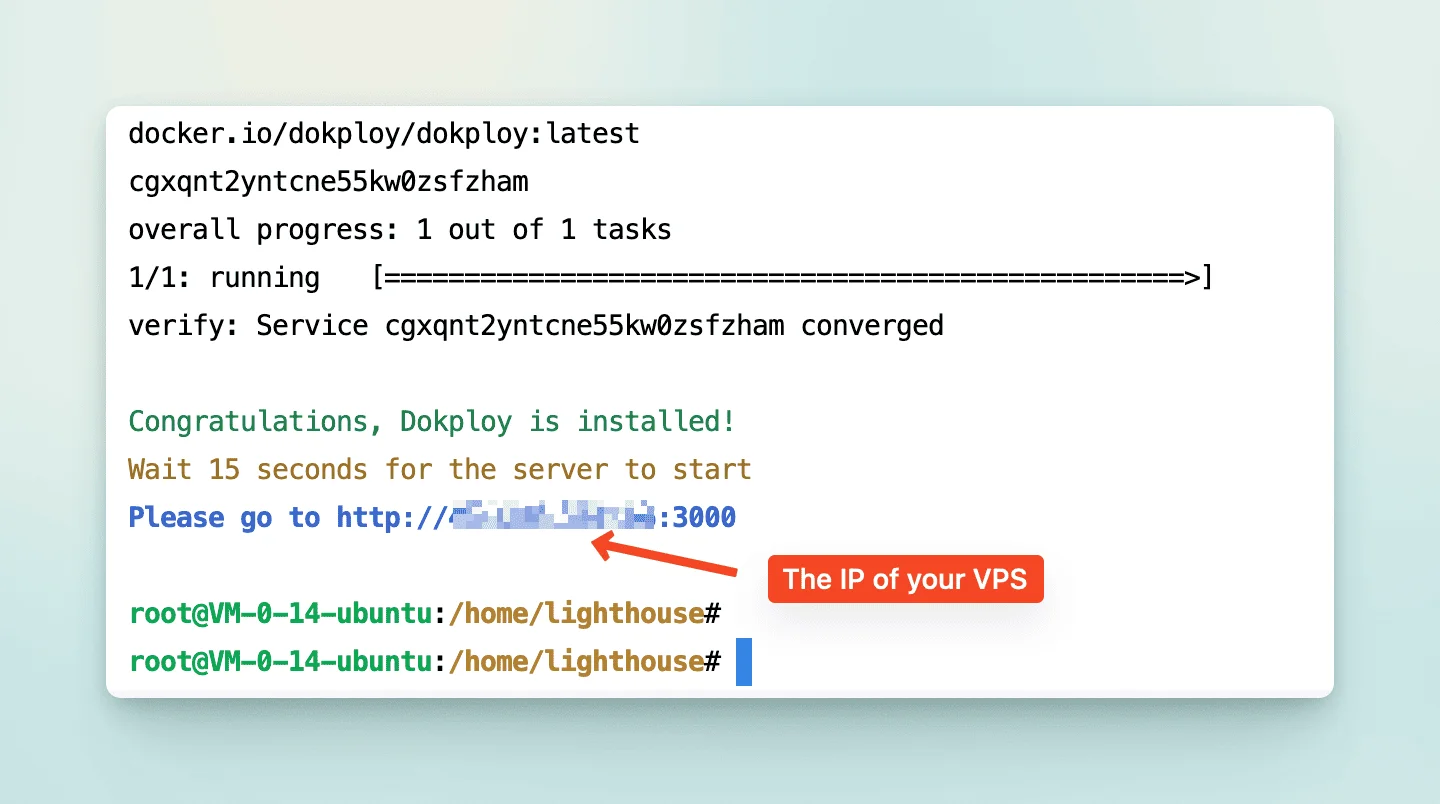
After the command is executed successfully, you can see the link to access Dokploy. The default port is 3000.
2.3 Configure firewall
Add a rule in the server's firewall configuration to allow port 3000 to be accessed by the outside world.
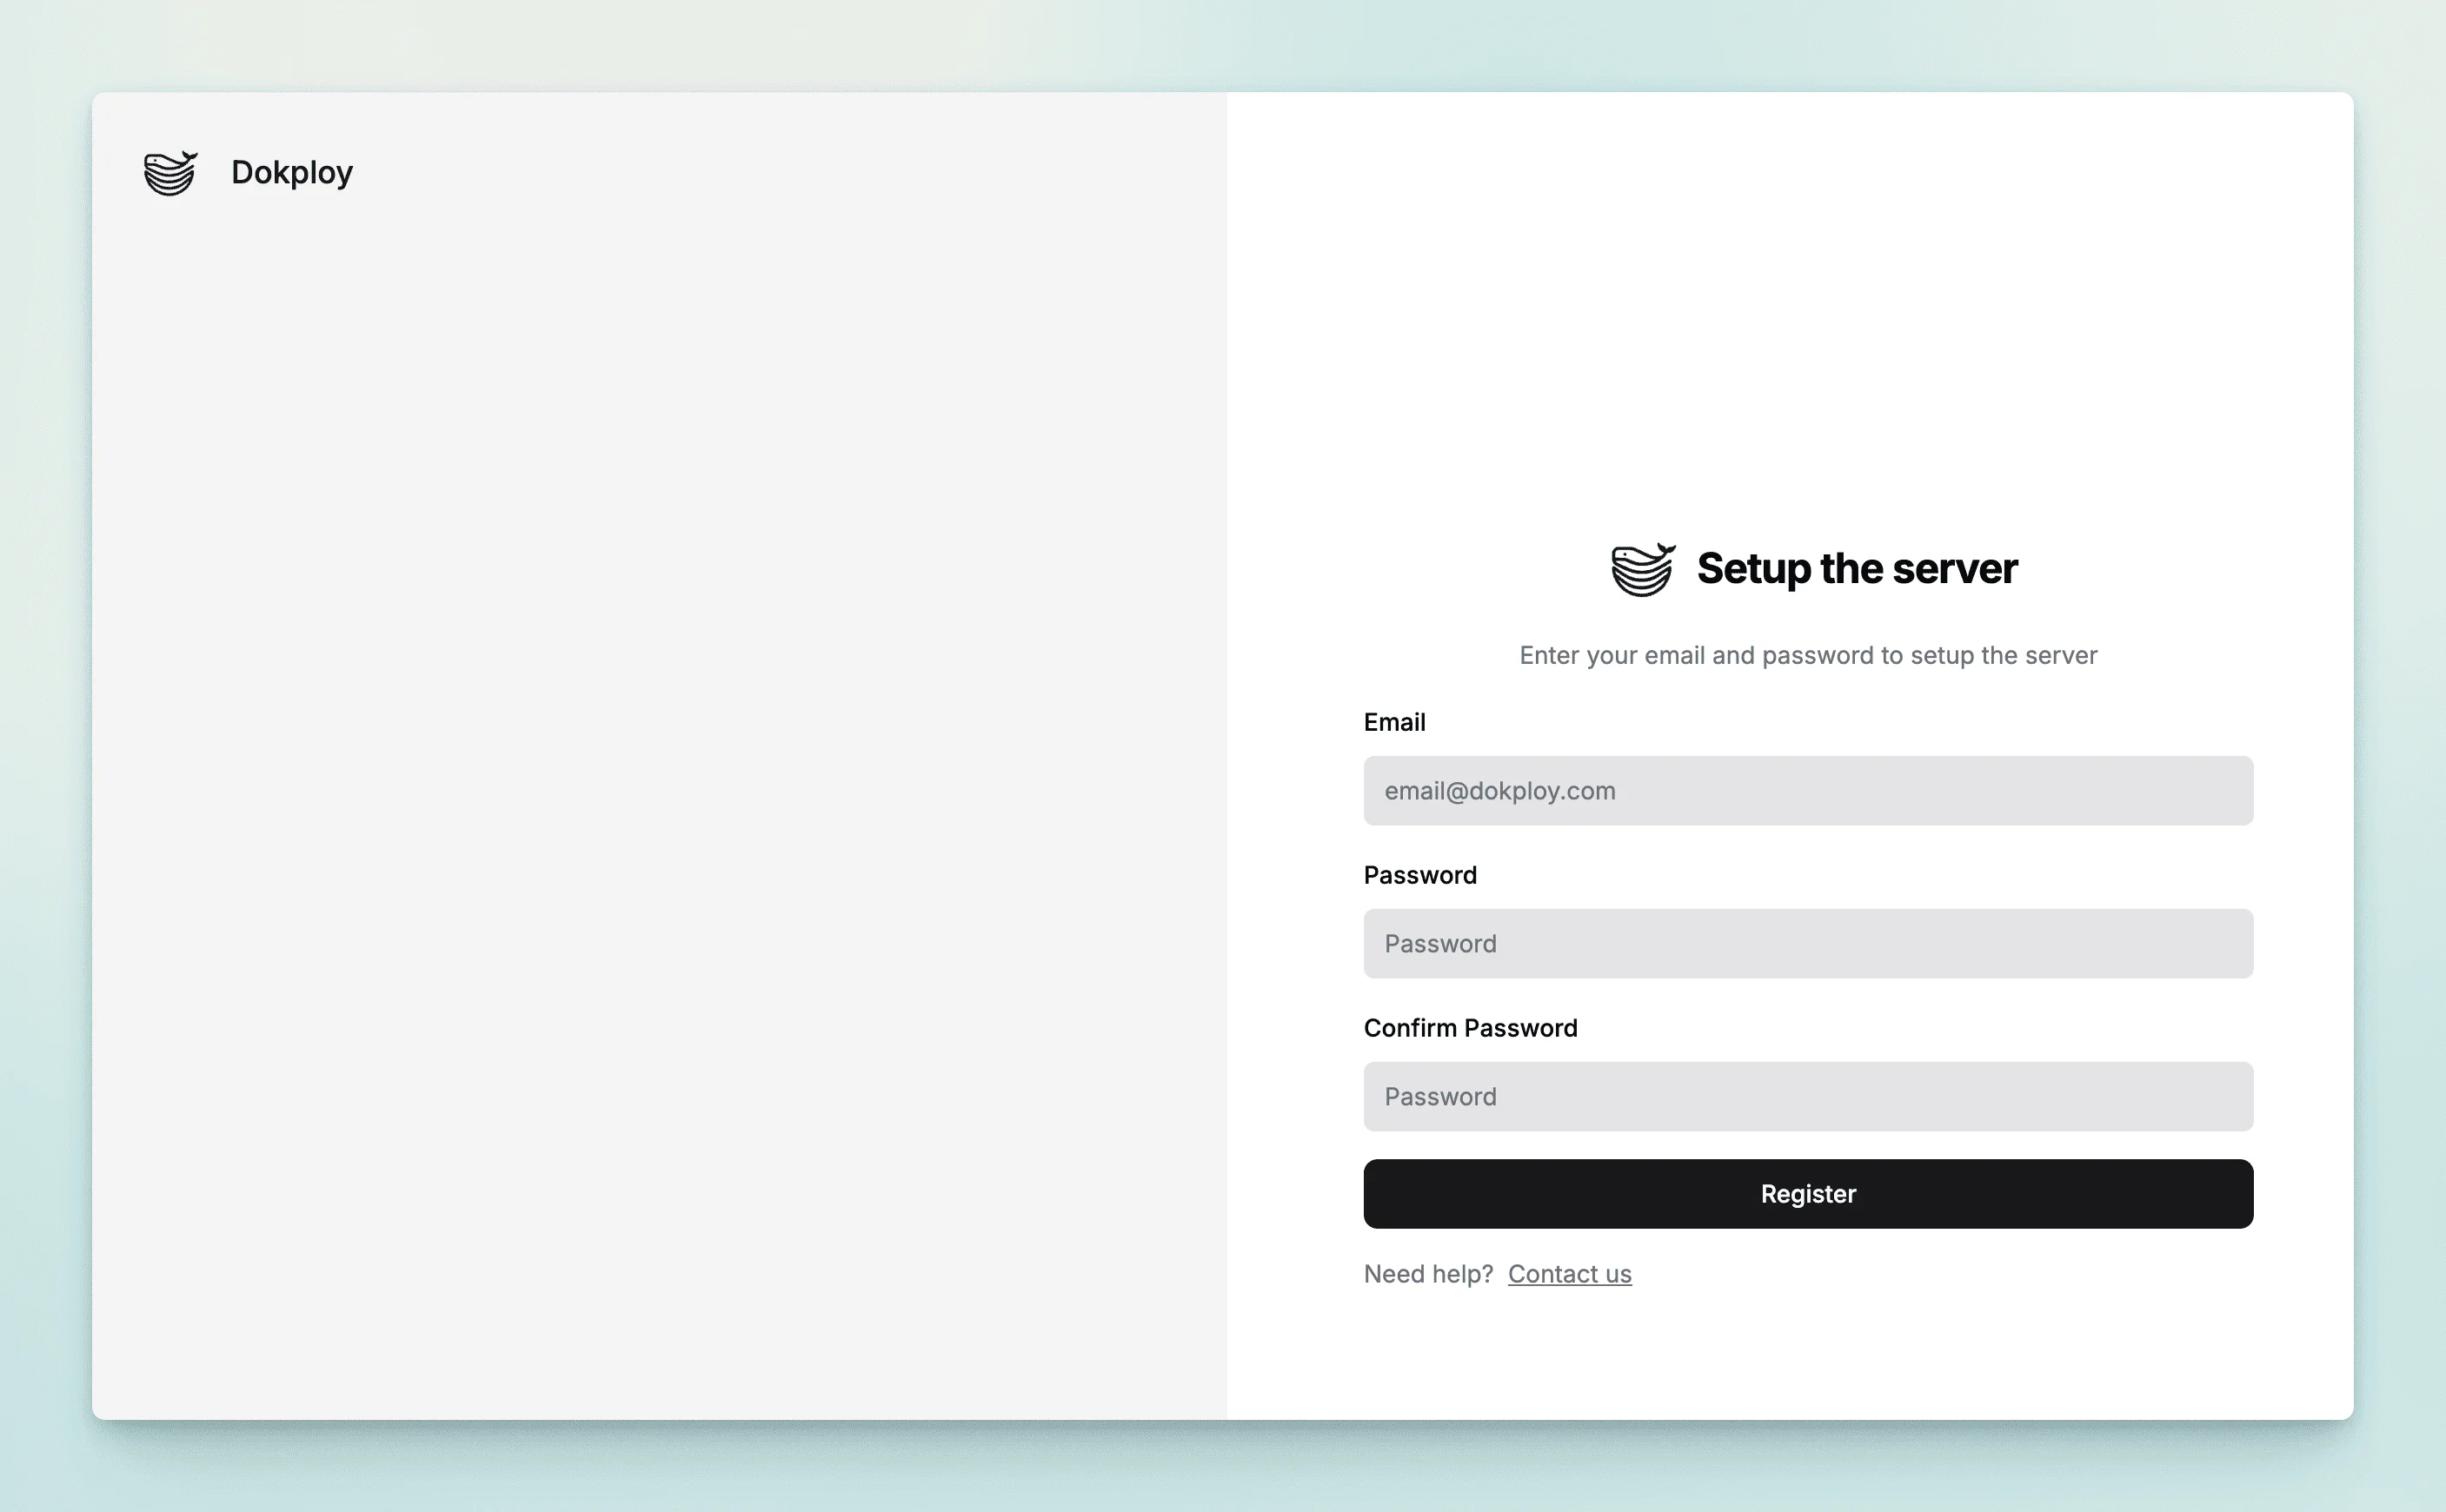
Visit http://<VPS IP>:3000 to see Dokploy’s administrator registration interface.
2.4 Bind domain name
It is not safe to access Dokploy through http protocol + server IP address every time, so bind a domain name first.
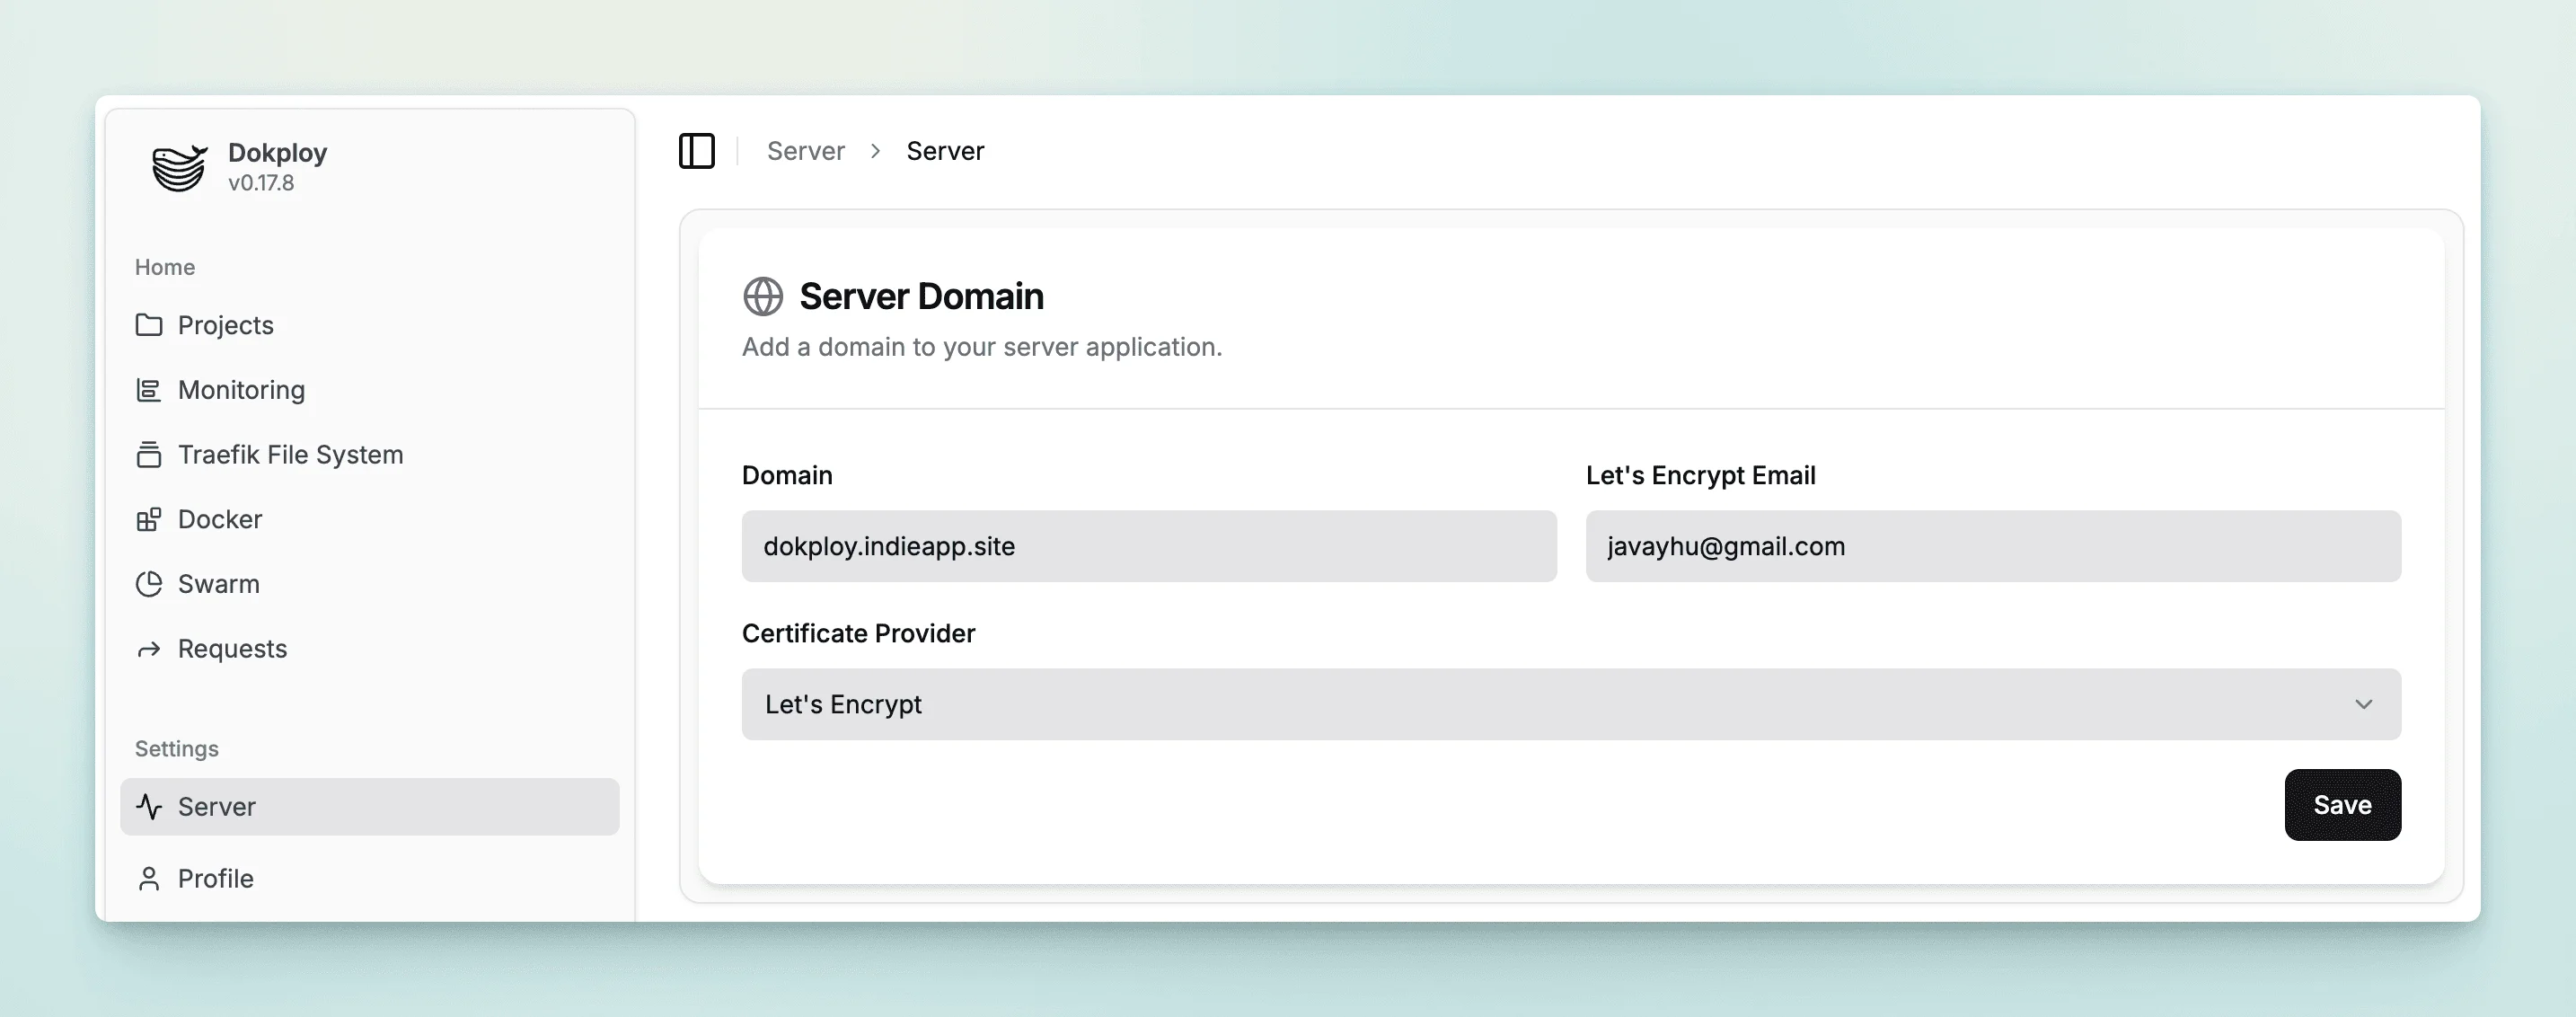
The subdomain name is set in the picture. You can also set the main domain. After the setting is completed, add a record in the DNS resolution of the domain name. The type is A and point the configured domain name to the IP address of the server.

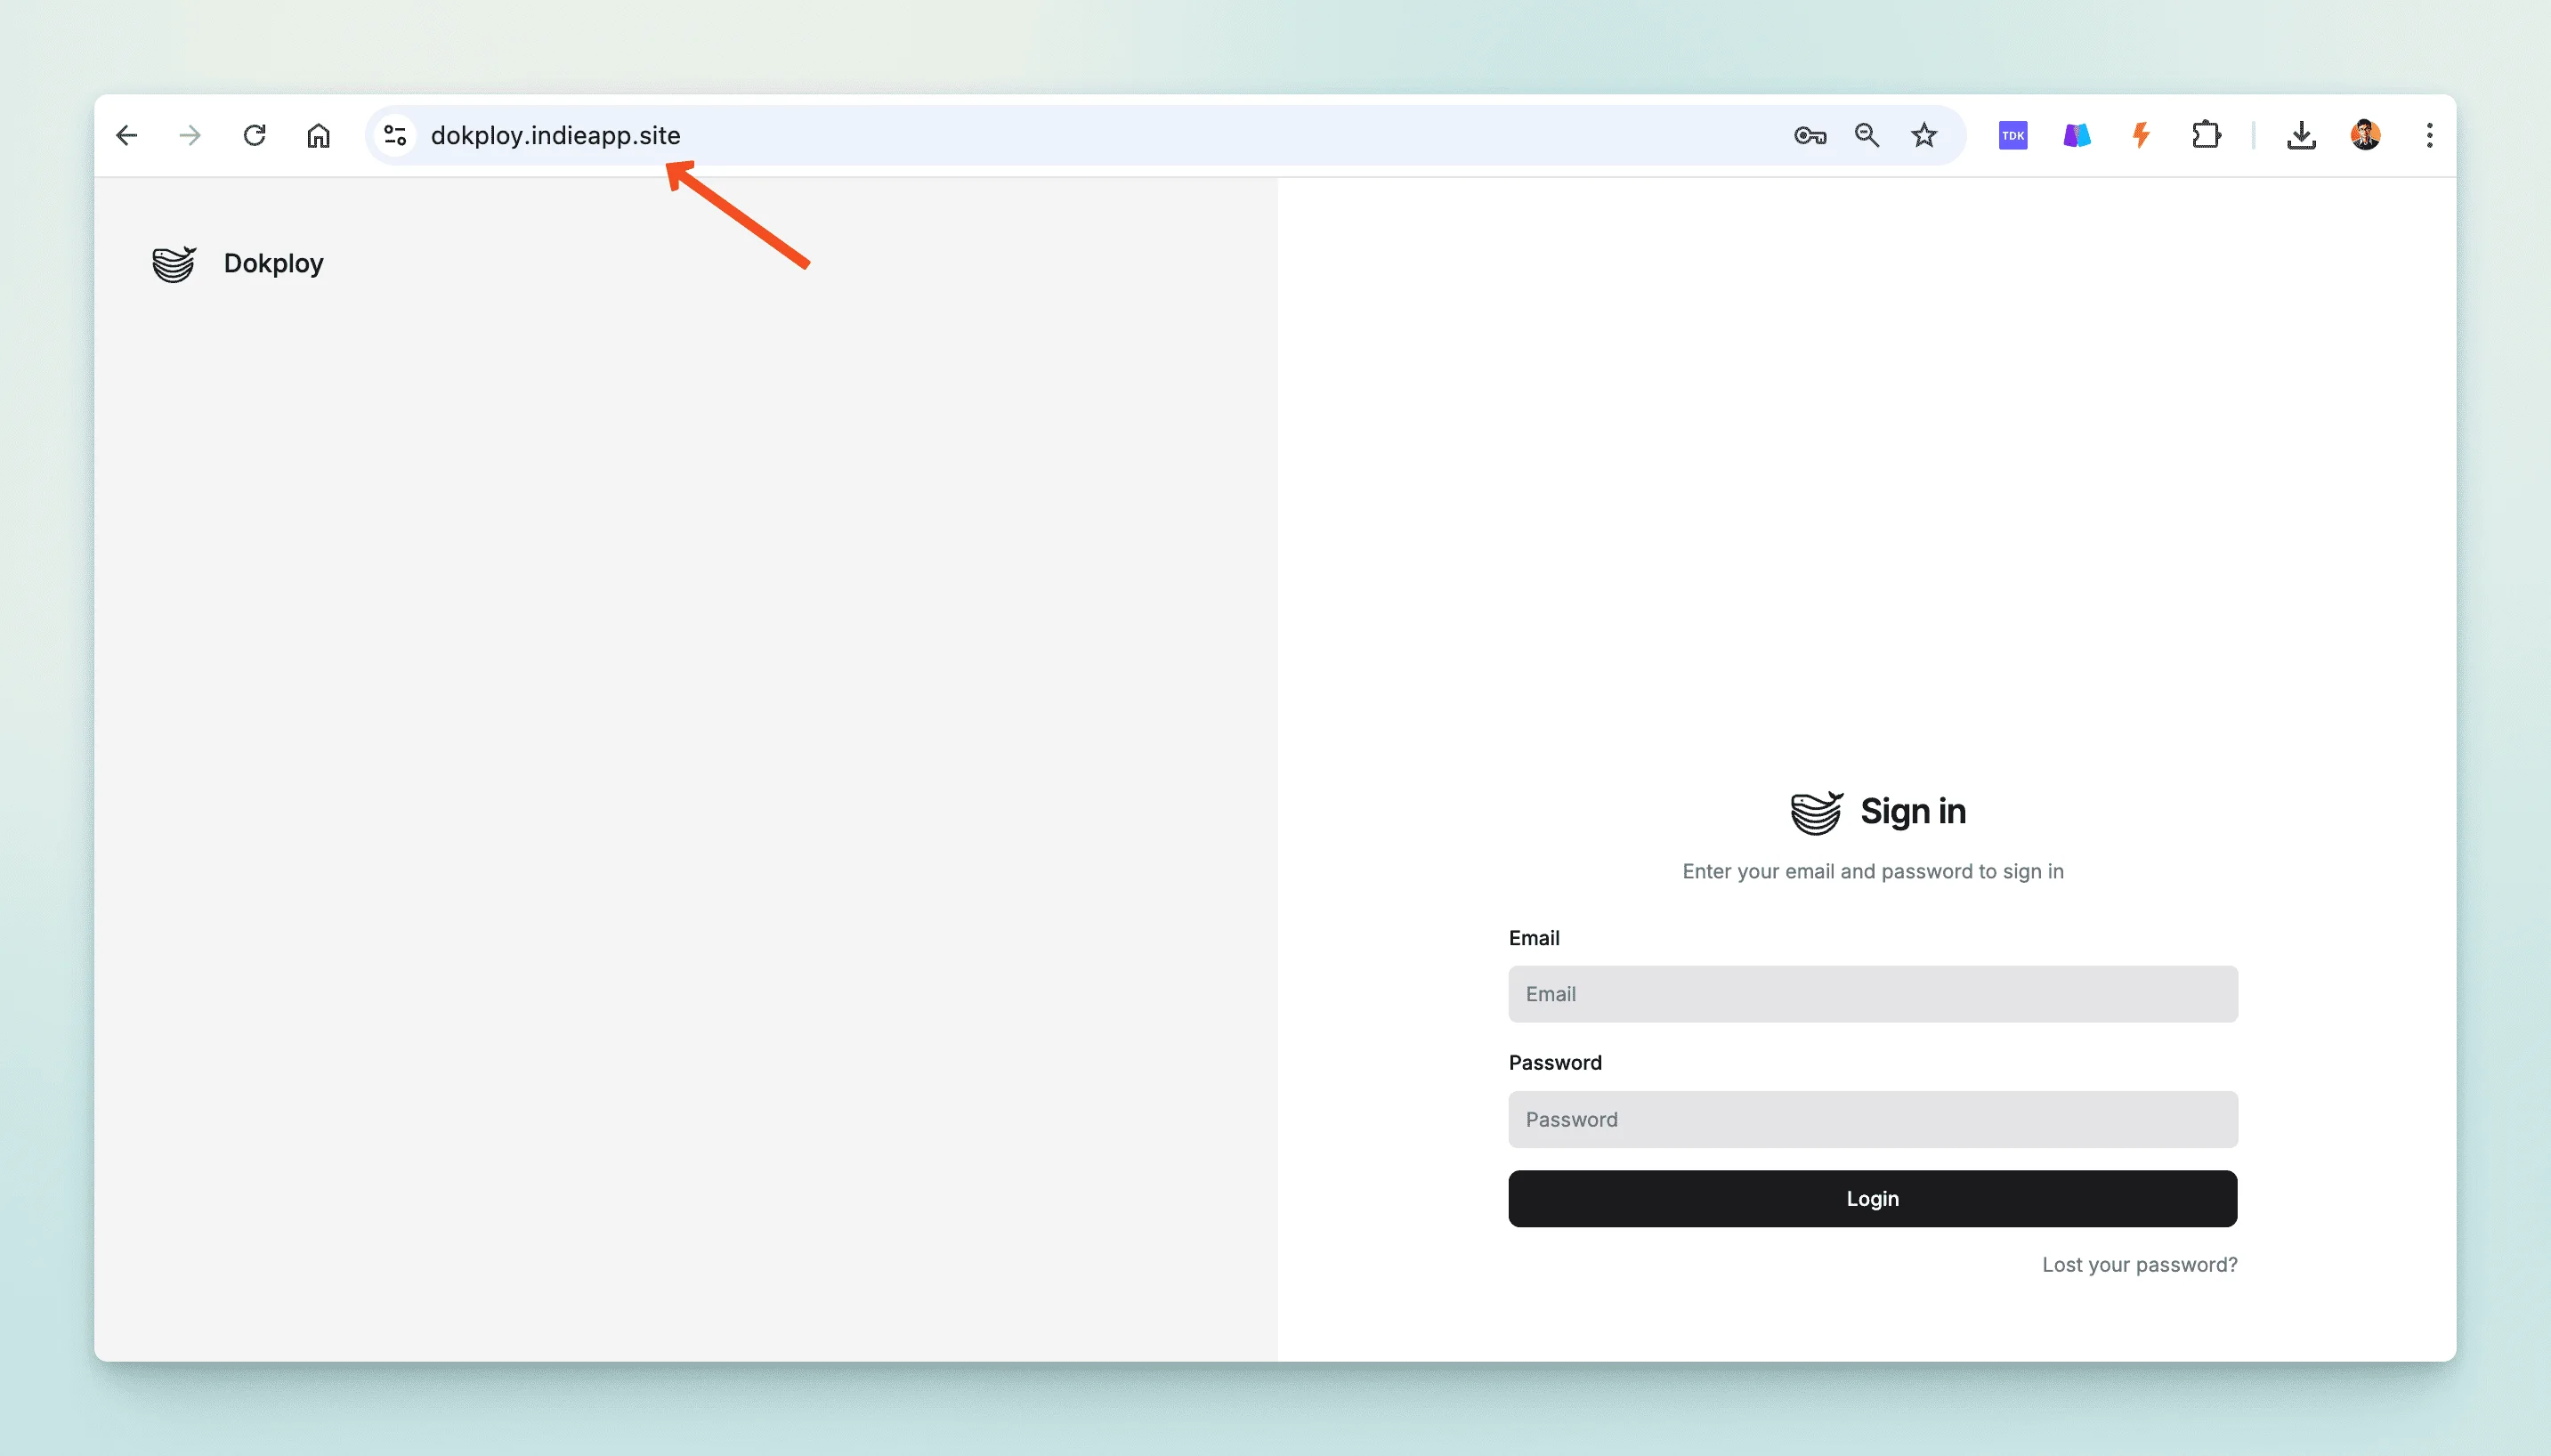
After DNS resolution is configured, we can access Dokploy on the server through https+domain name.
3. Configure Dokploy
Our goal is to hope that every time we push code to the Github repository, Dokploy will automatically pull the latest code, recompile it, and then deploy it online, just like Vercel. In this case, some configuration is required.
3.1 Configure Github application
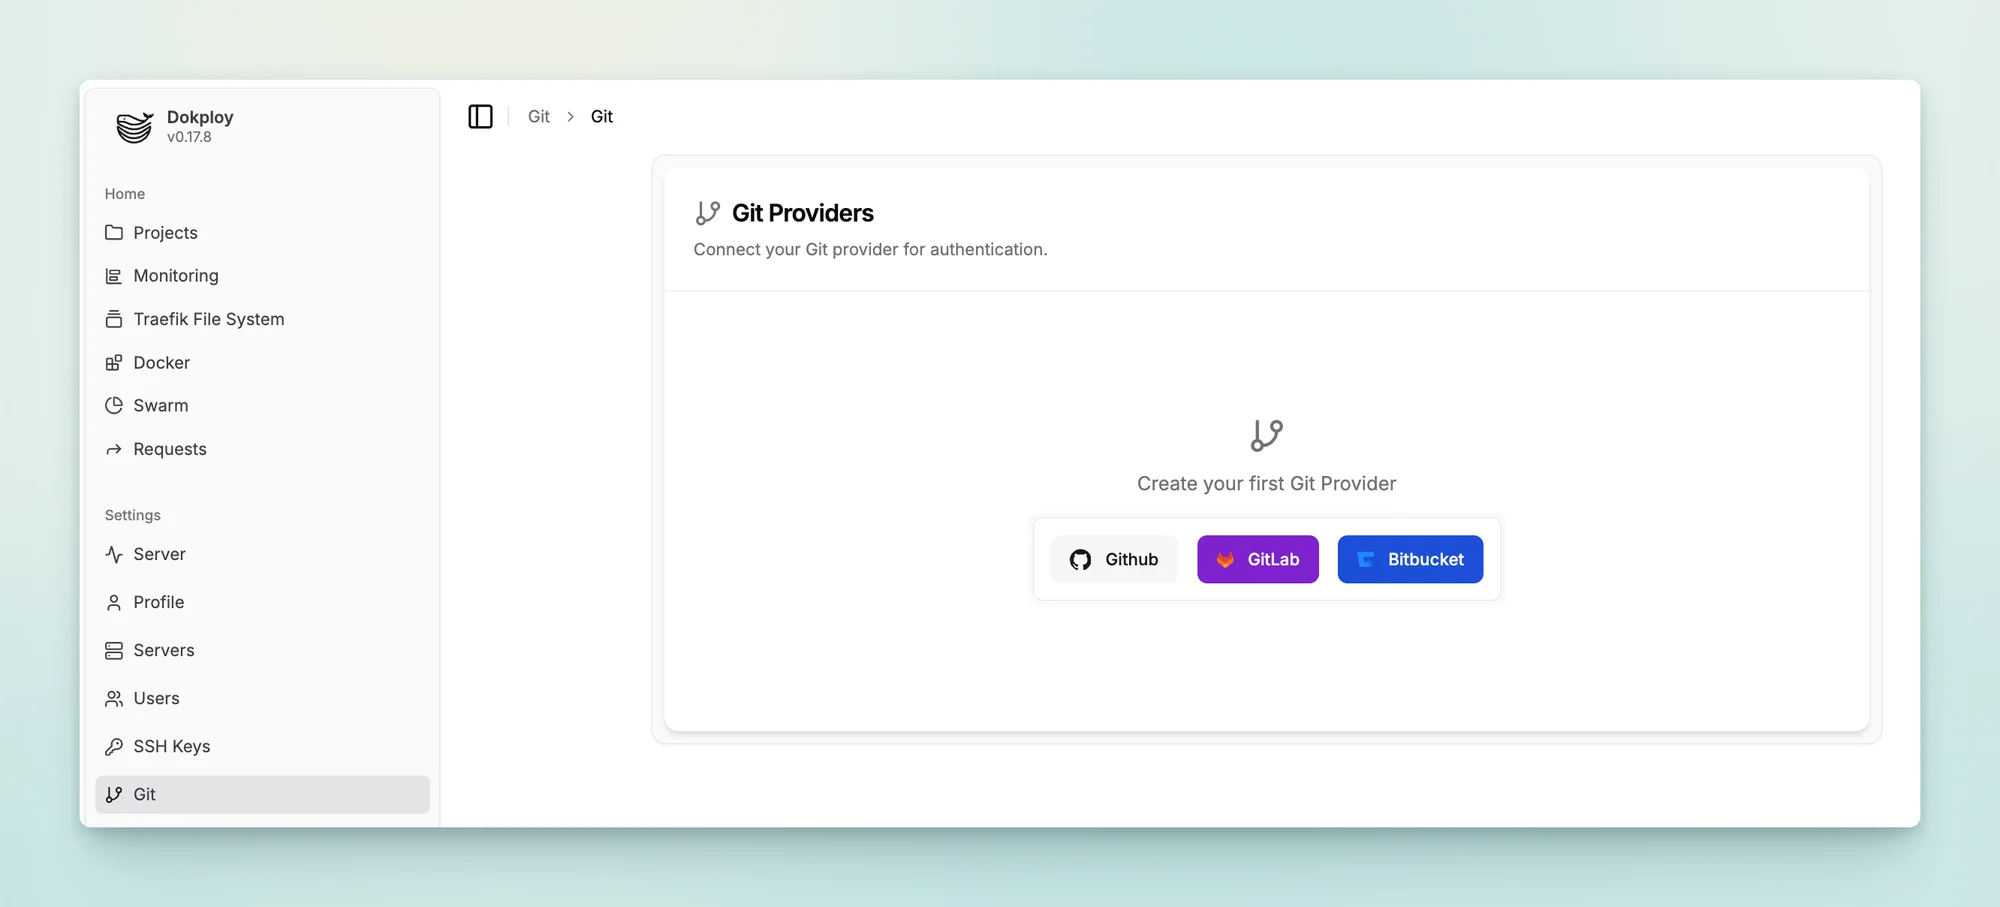
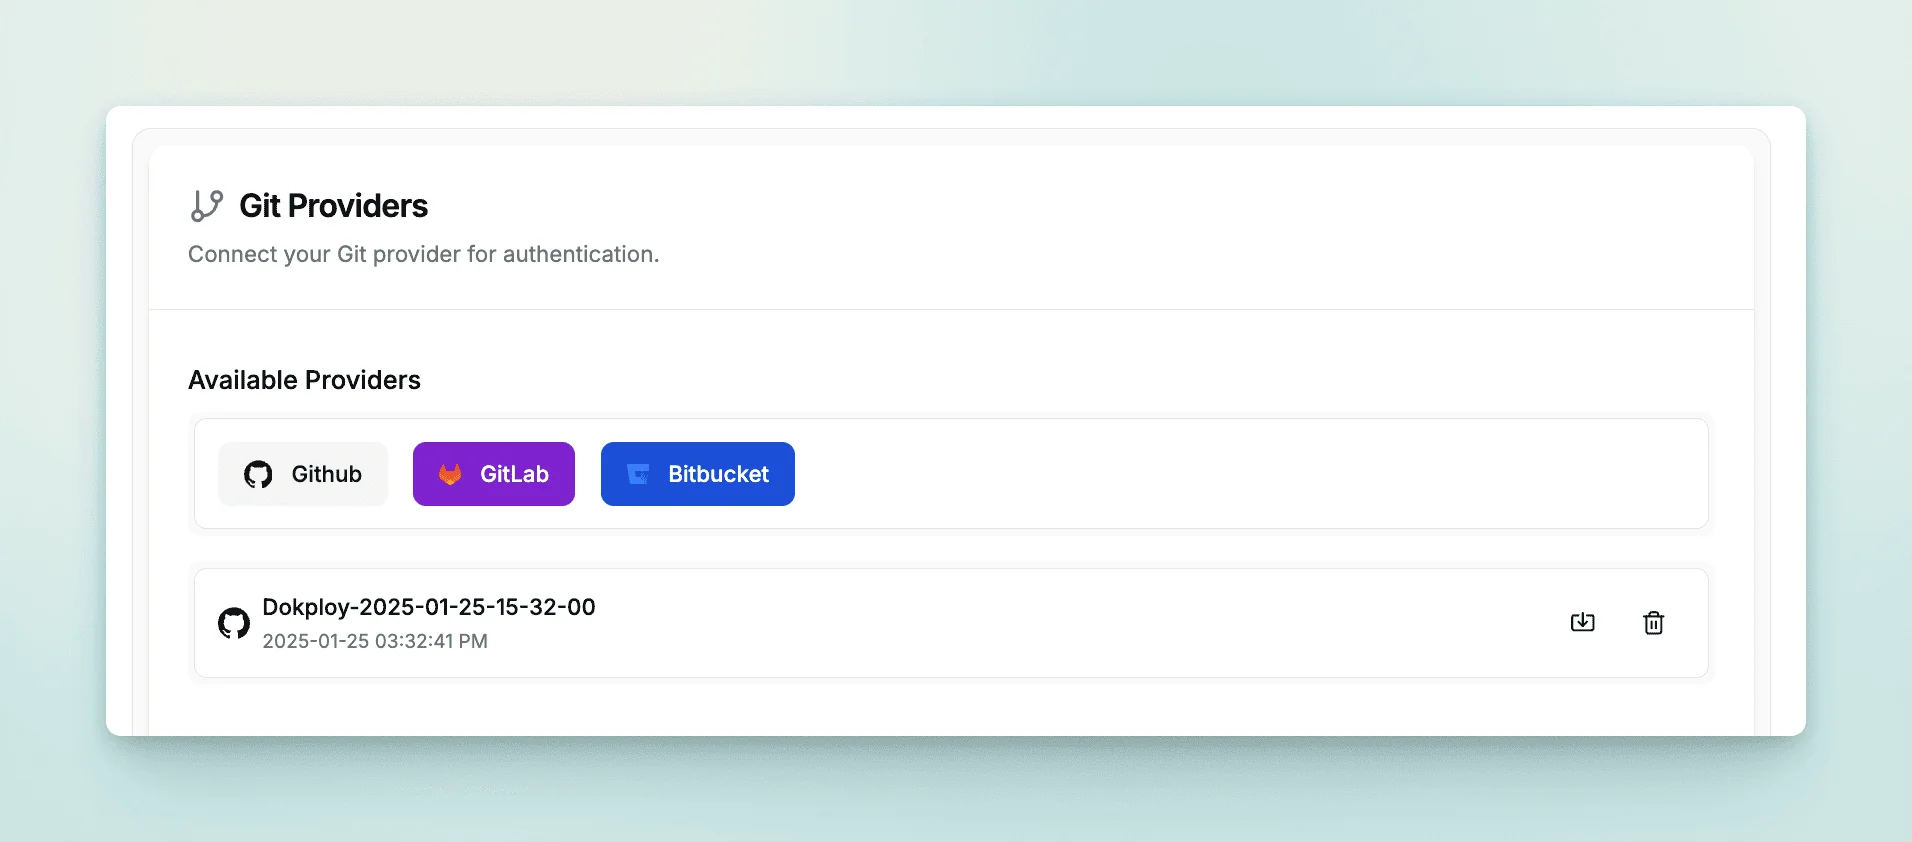
Click Git on the left menu, select Github, and operate in sequence to complete the creation and configuration of the Github application. After completion, you can view the Github application in https://github.com/settings/apps.
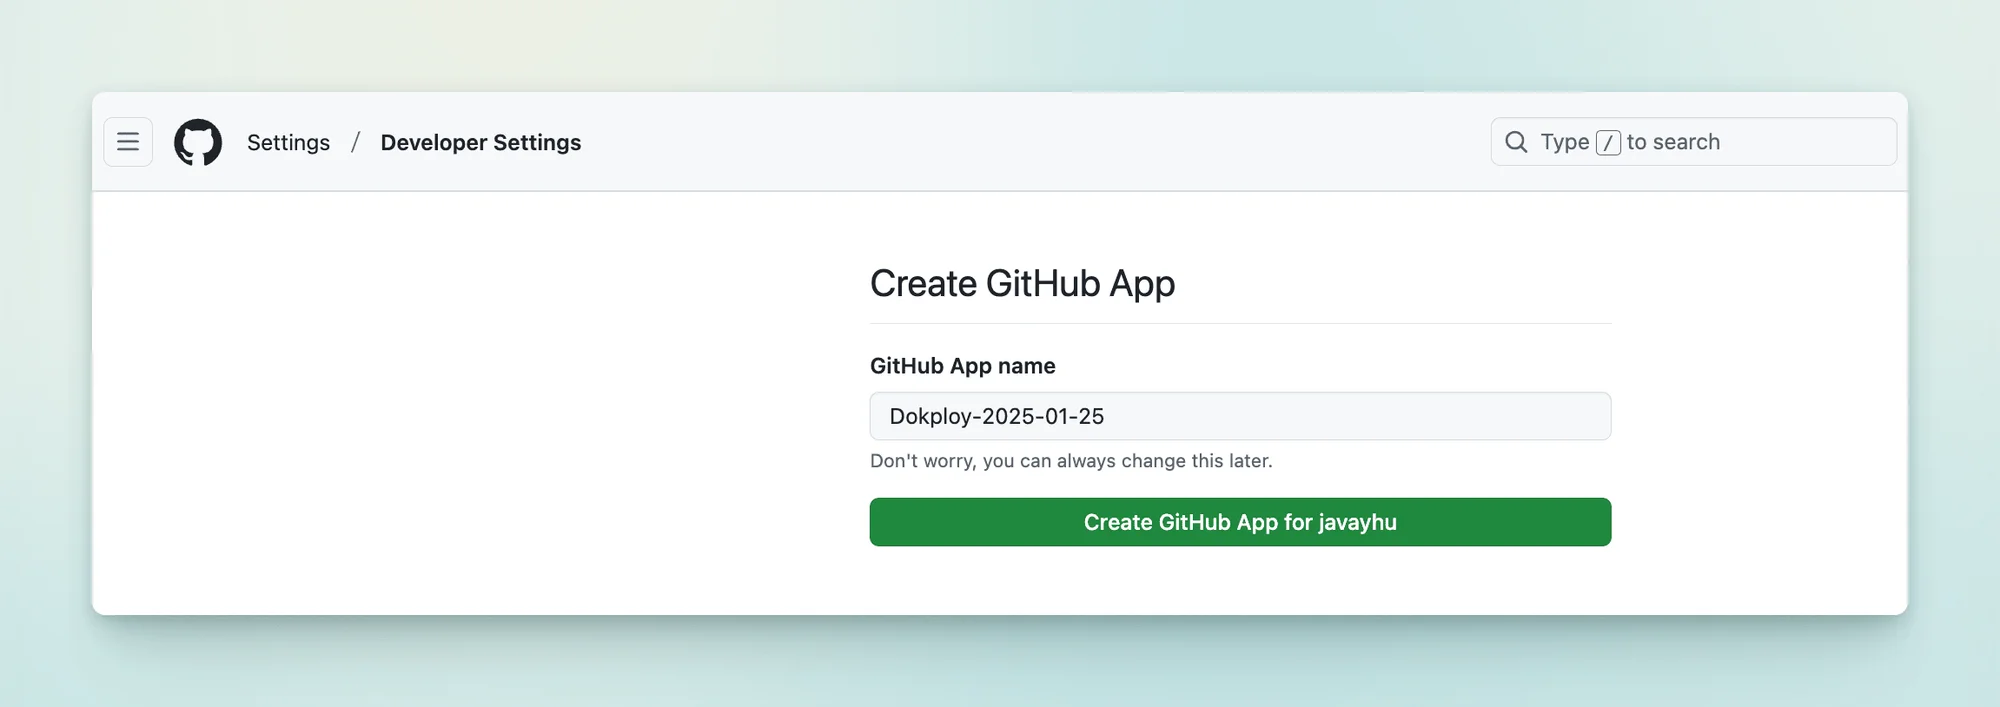
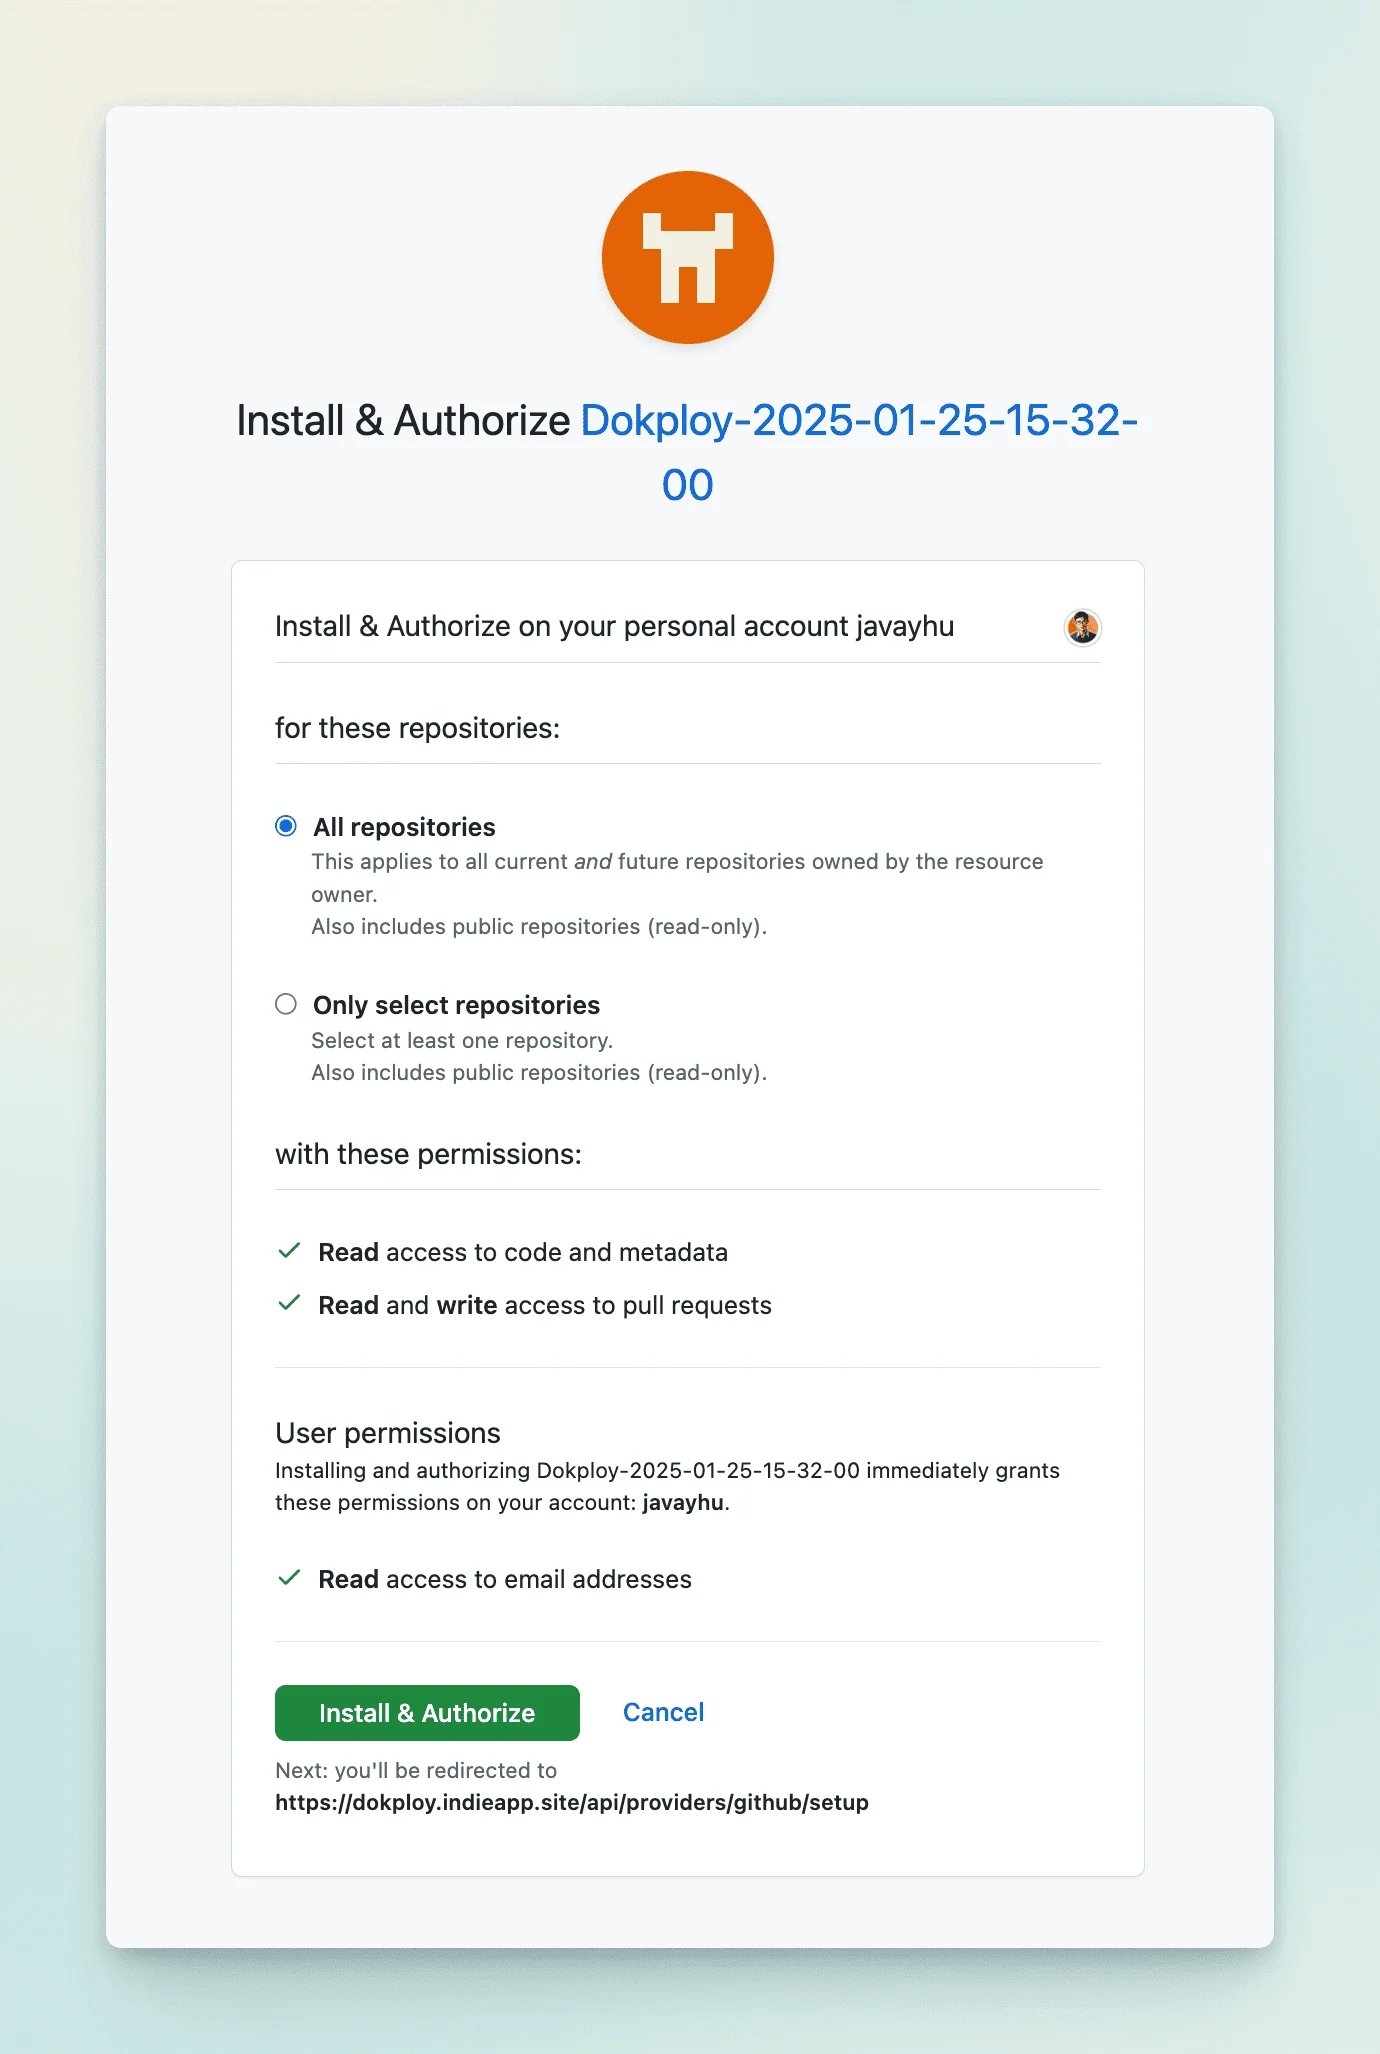
After the Github application is created, you can click on the application to authorize Github, so that Dokploy can access the code repository under your Github account.
3.2 Deploy Nextjs application
I created a new default Nextjs project, configured the output to standalone, and placed a Dockfile file in the root directory (for the writing method of the file, please refer to this submission record). We hope that Dokploy can build an image based on the Dockfile file and then deploy it online.
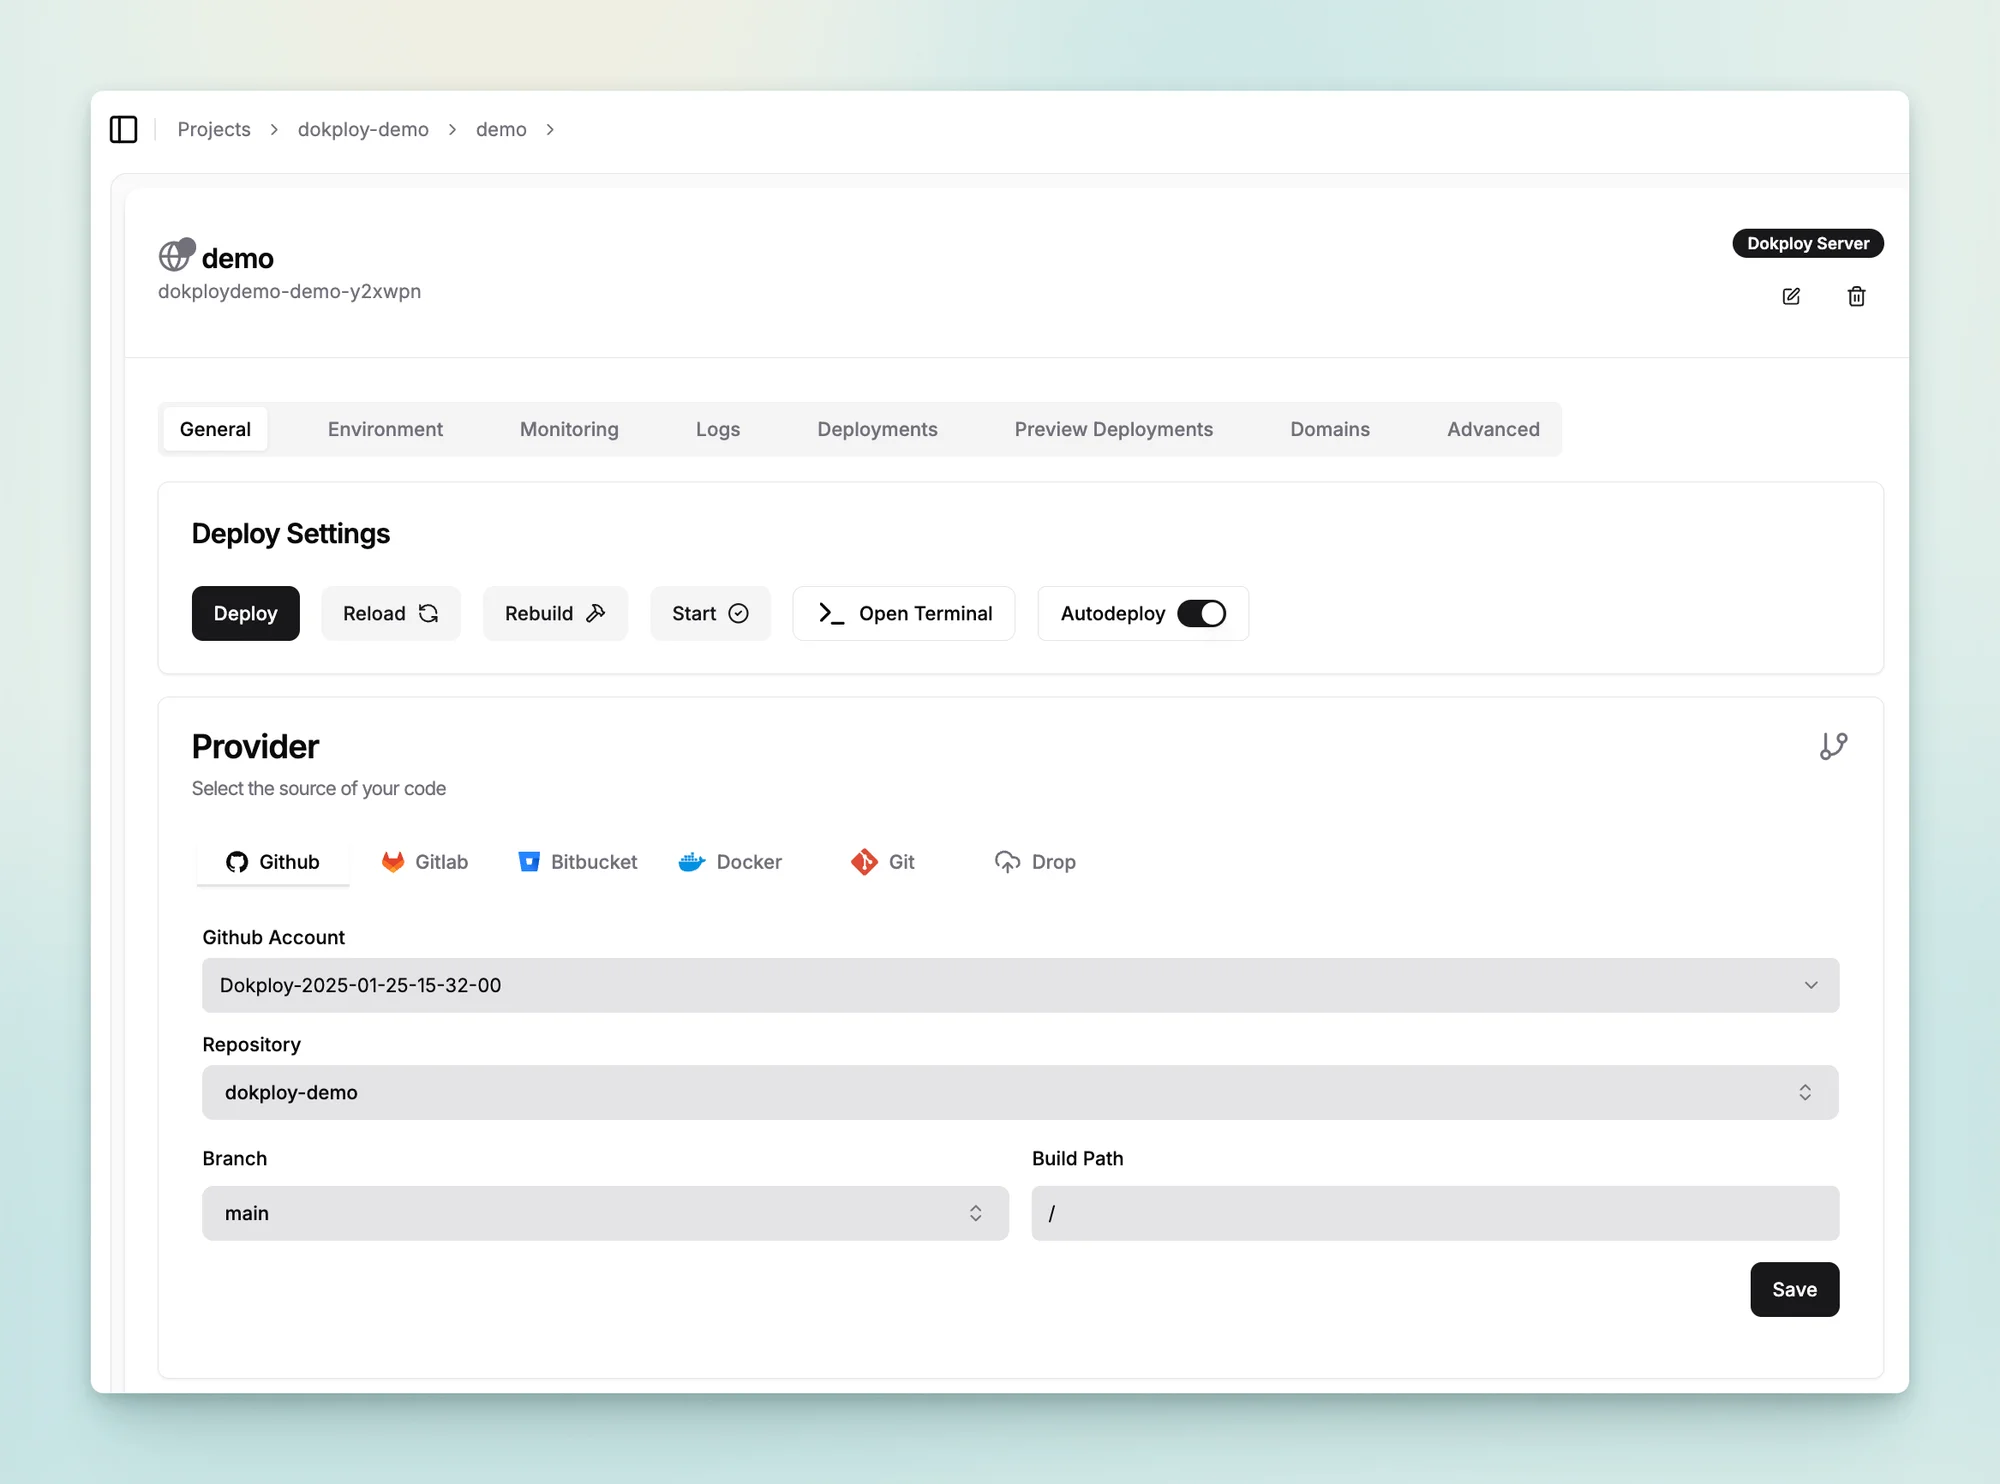
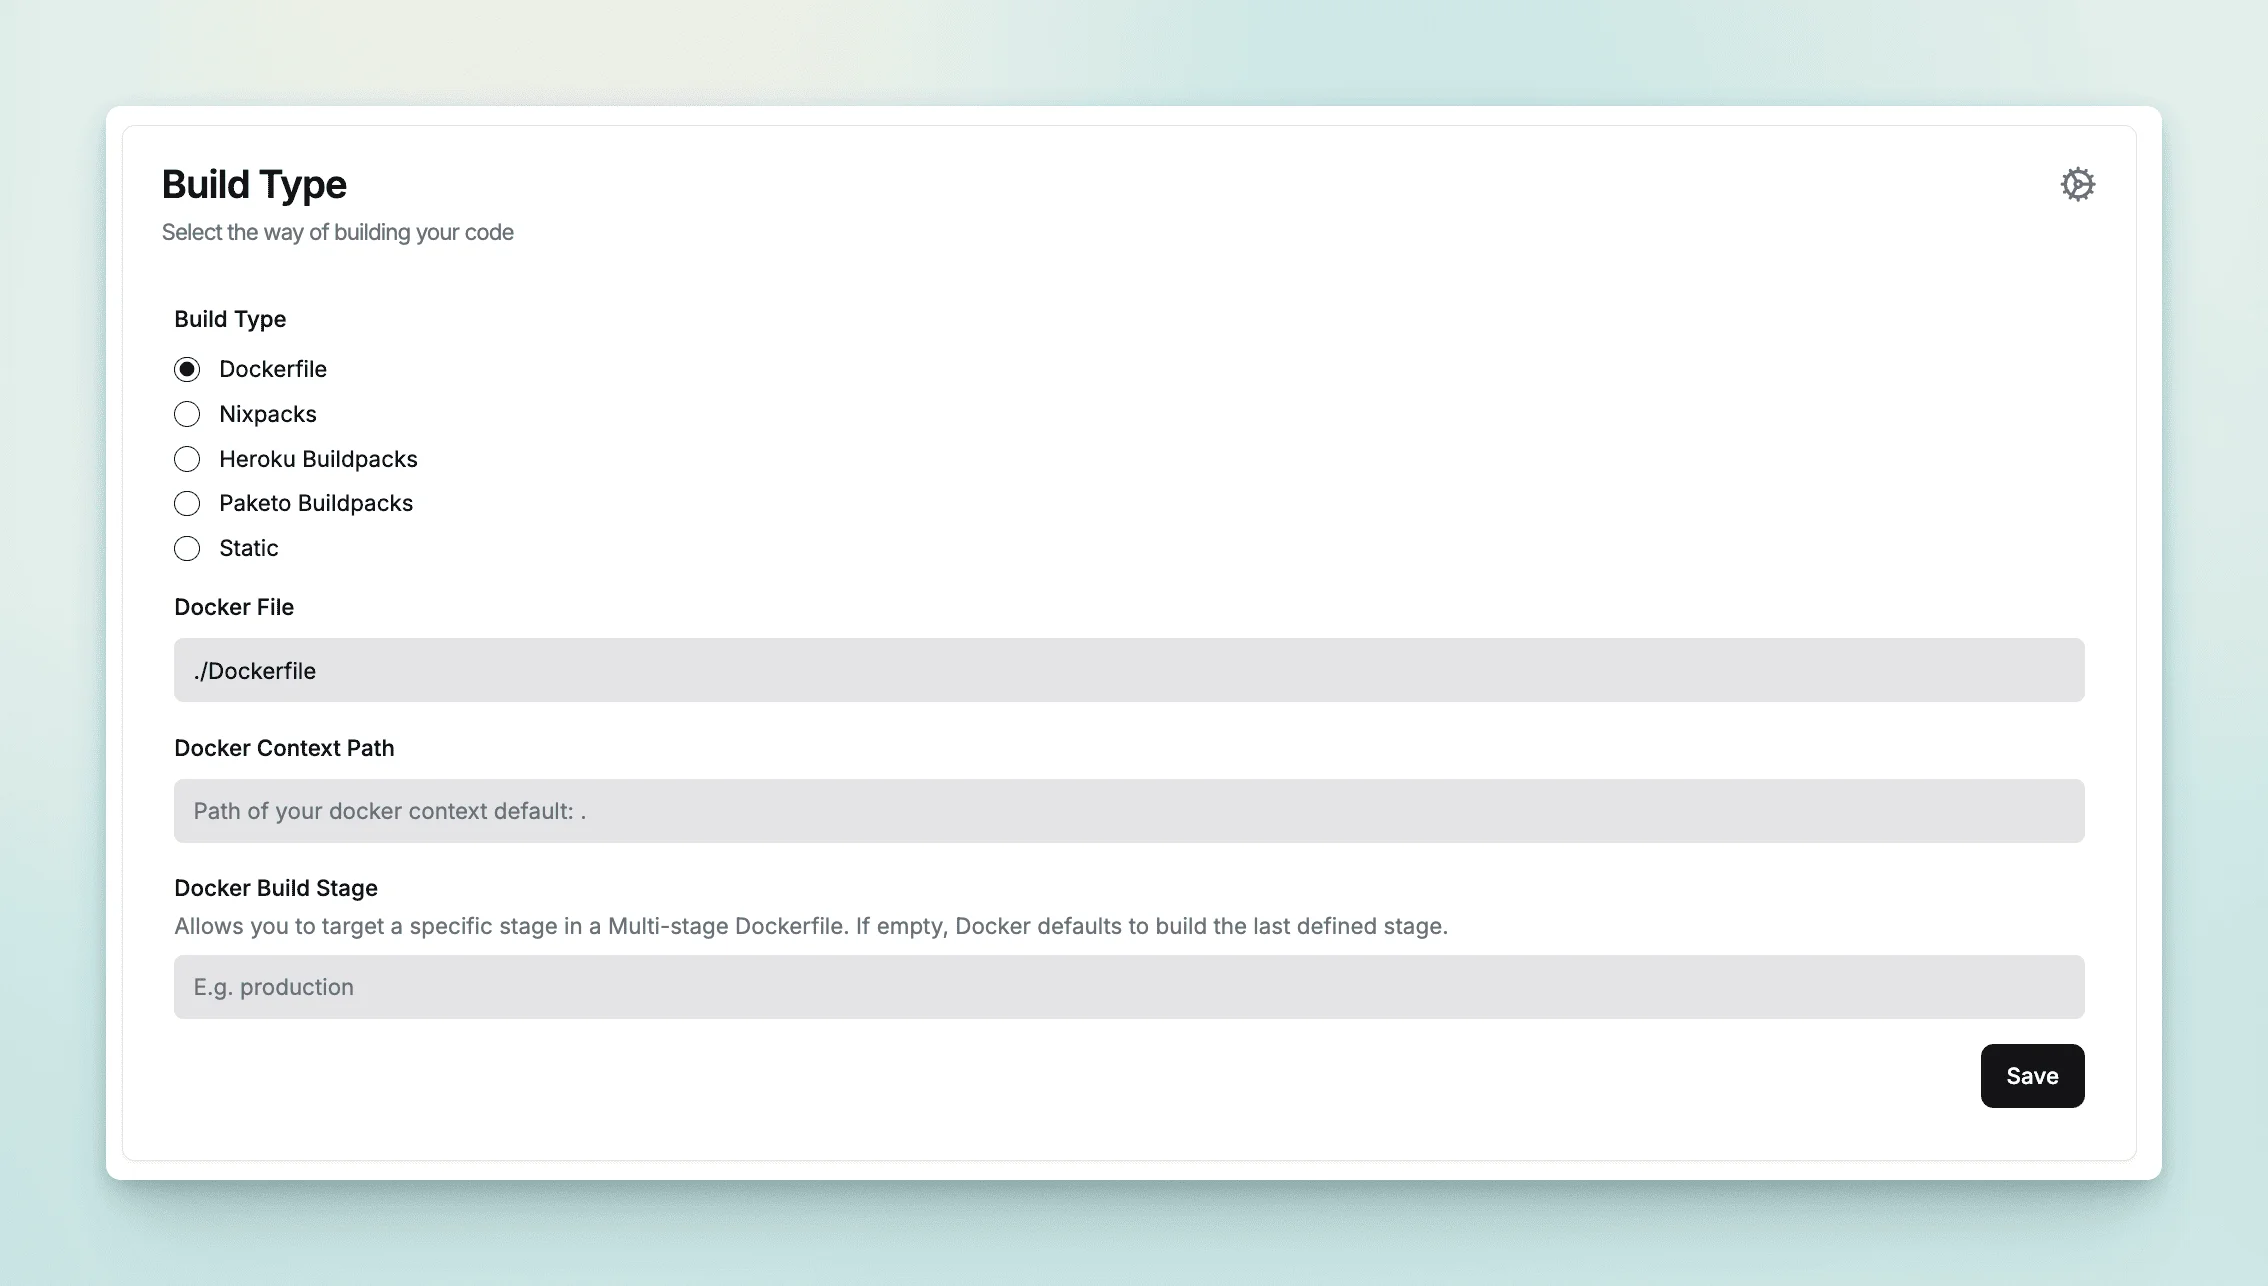
In Dokploy's Projects, create a new Project, then create a new Application, configure the Provider to Github, select the project warehouse and branch, select Dockerfile as the build type, and set the path to the Dockerfile file. After configuring, click Deploy to trigger the build.
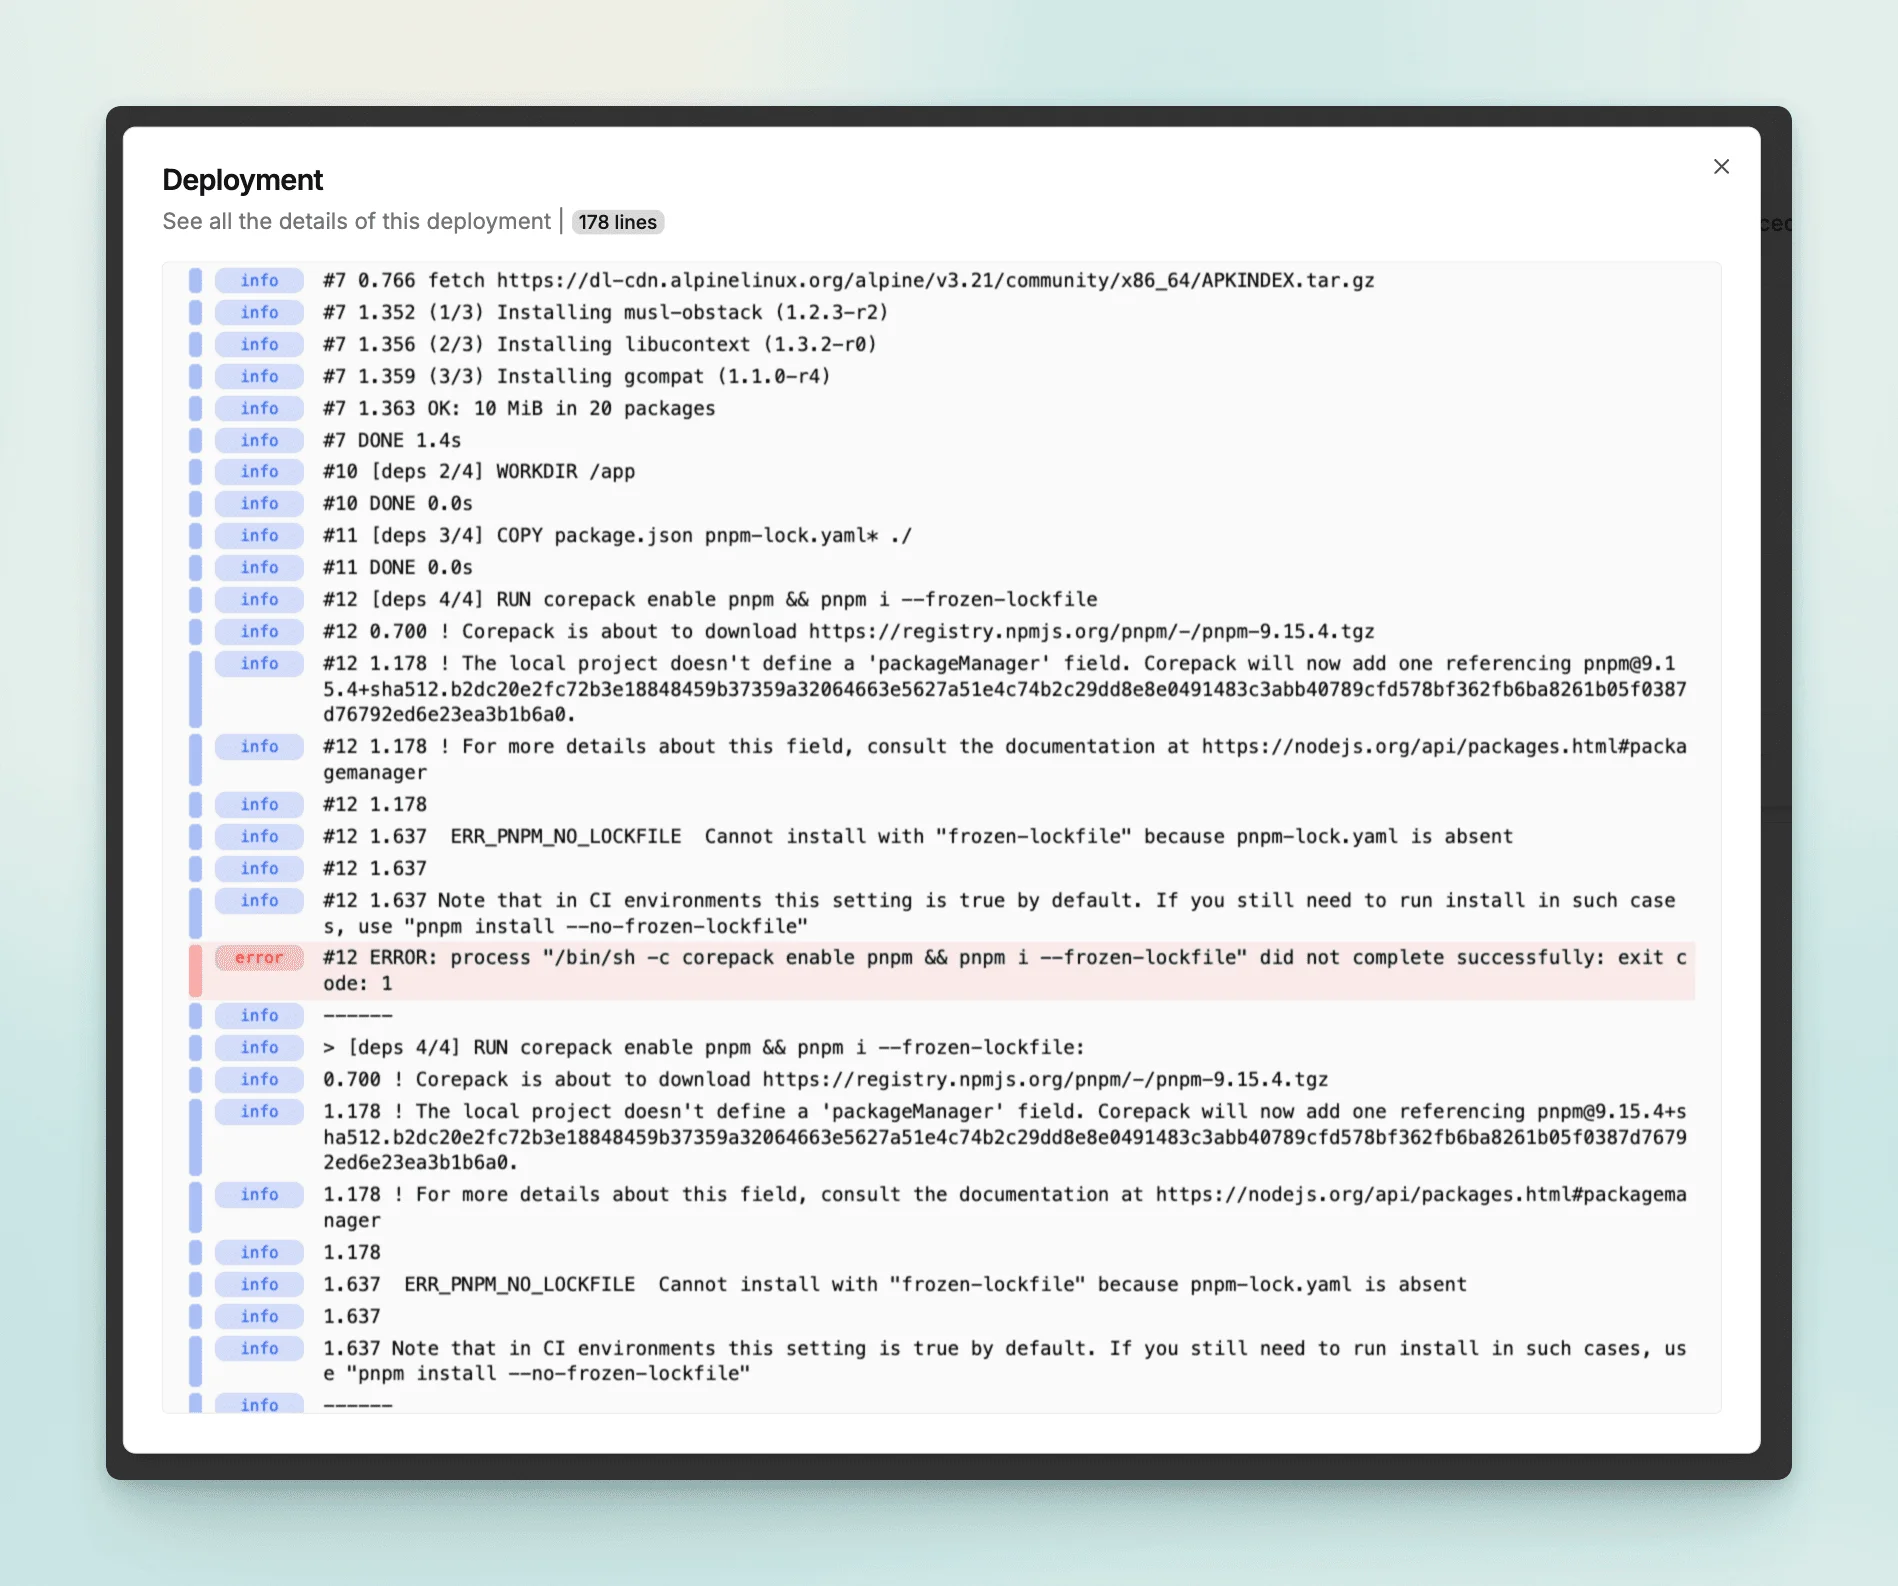
The first build failed. You can check the compilation log because the pnpm-lock.yaml file is missing.
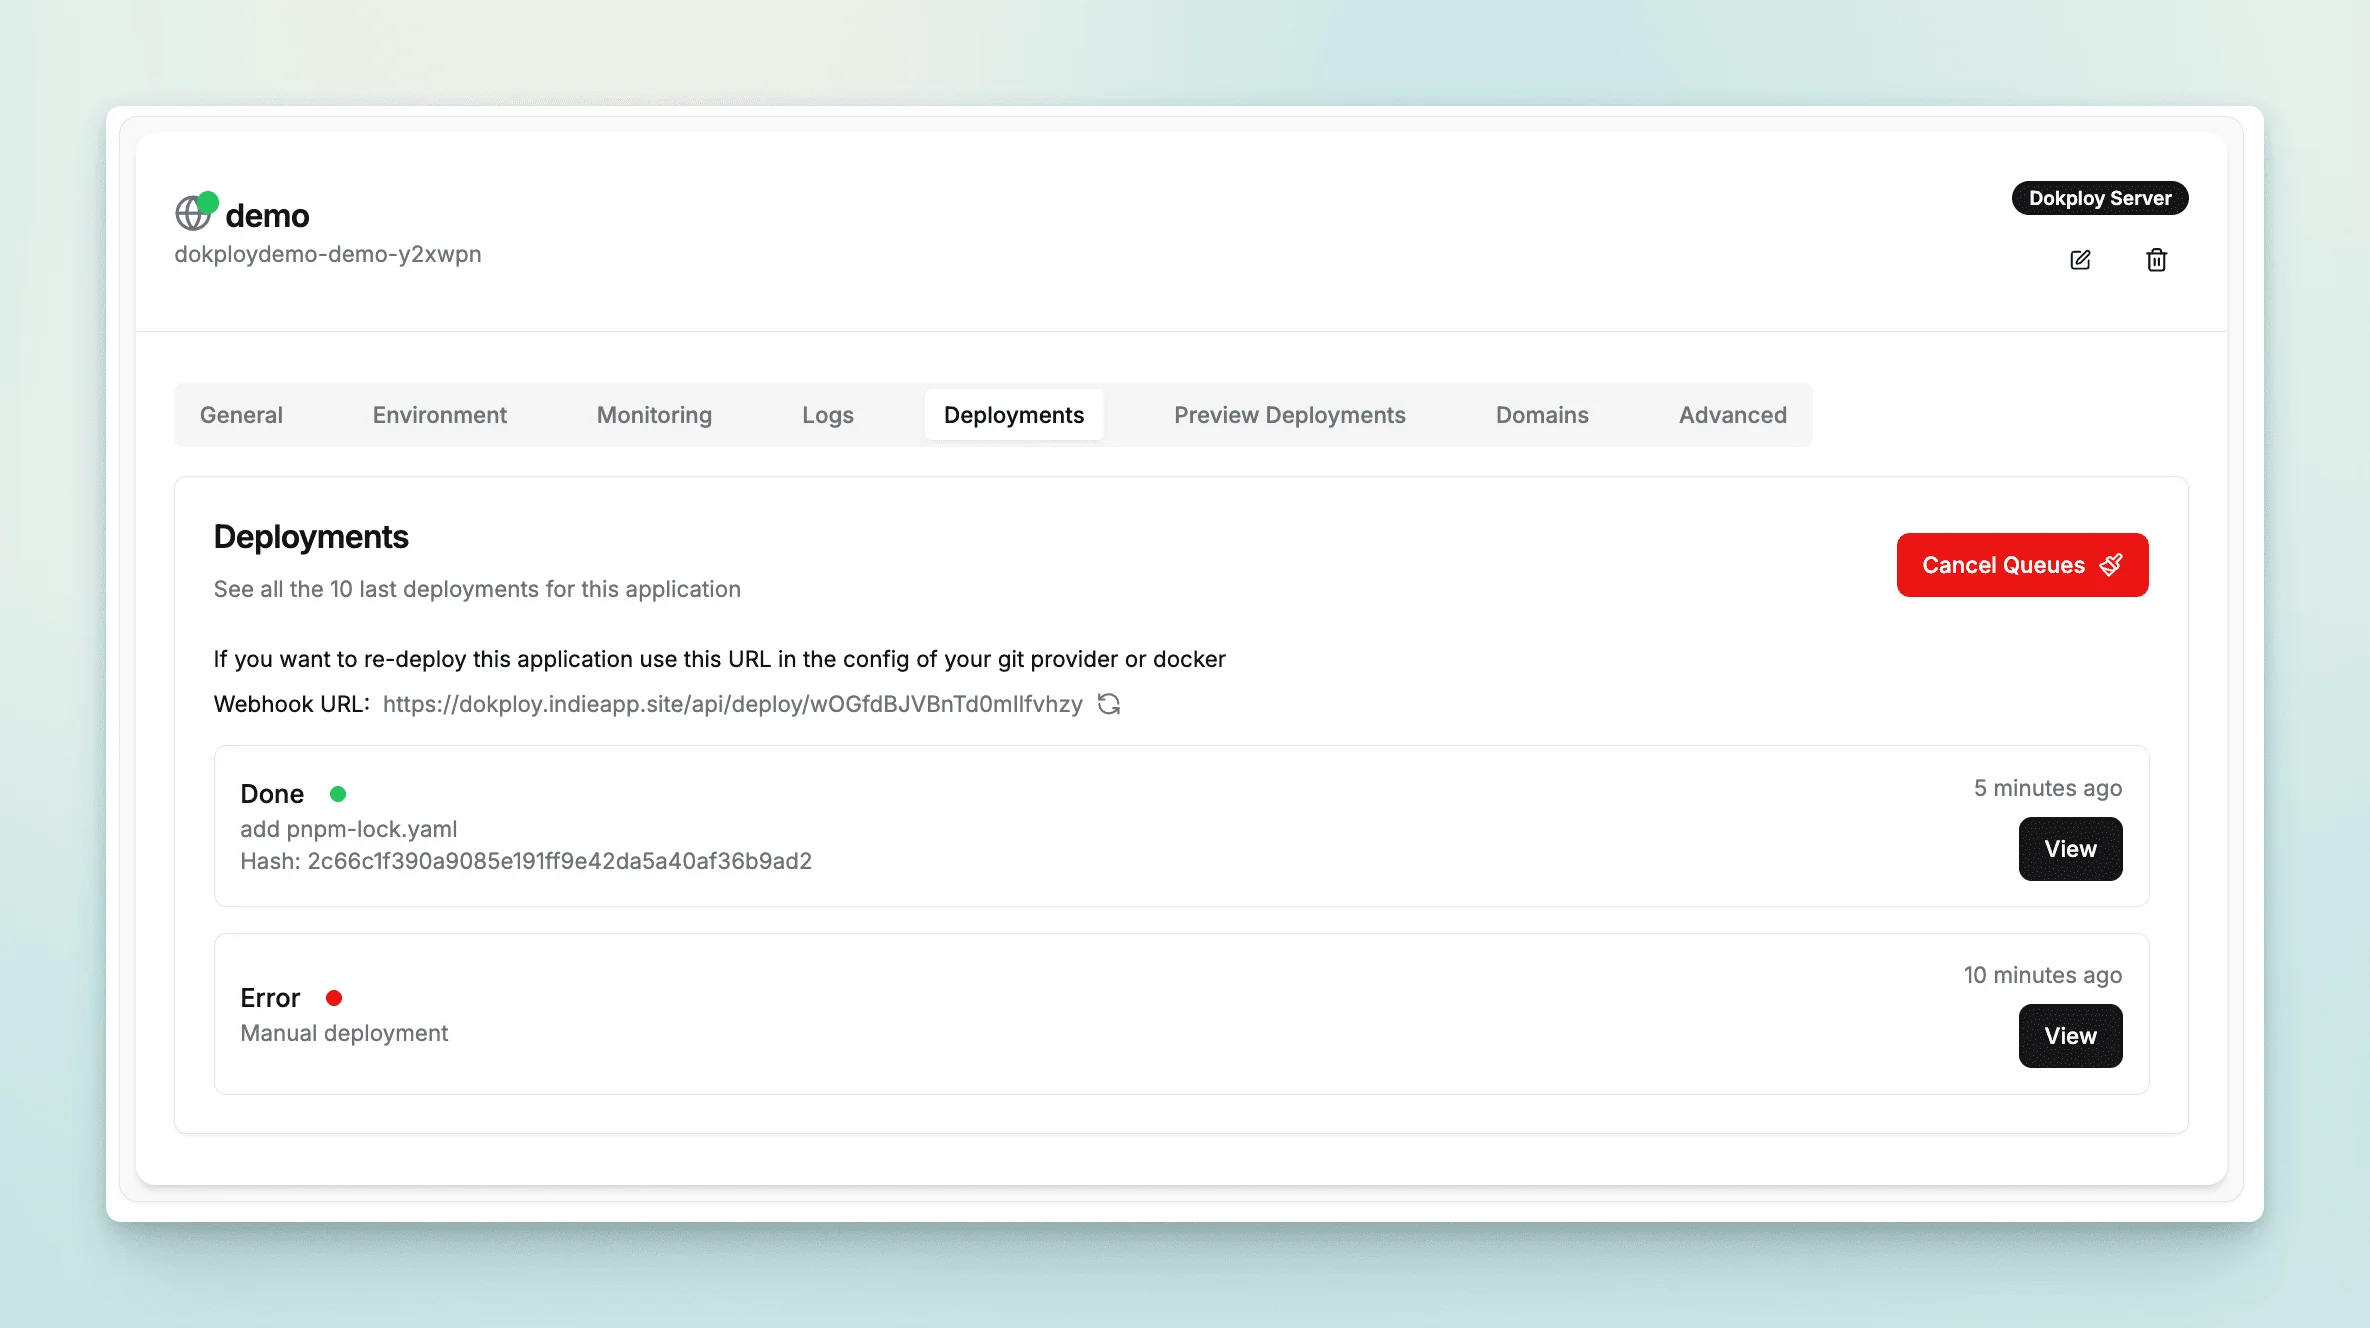
After adding the pnpm-lock.yaml file (Commit Record), Dokploy will trigger an automatic build, and the build is successful this time.
3.3 Bind domain name
After the build is successful, we can bind the domain name and access the application through the domain name. In the Domain of Application, click Add Domain. If you have your own domain name, enter a domain name. If you do not have a domain name, click the dice on the right and it will automatically generate a domain name of xxx.traefik.me.
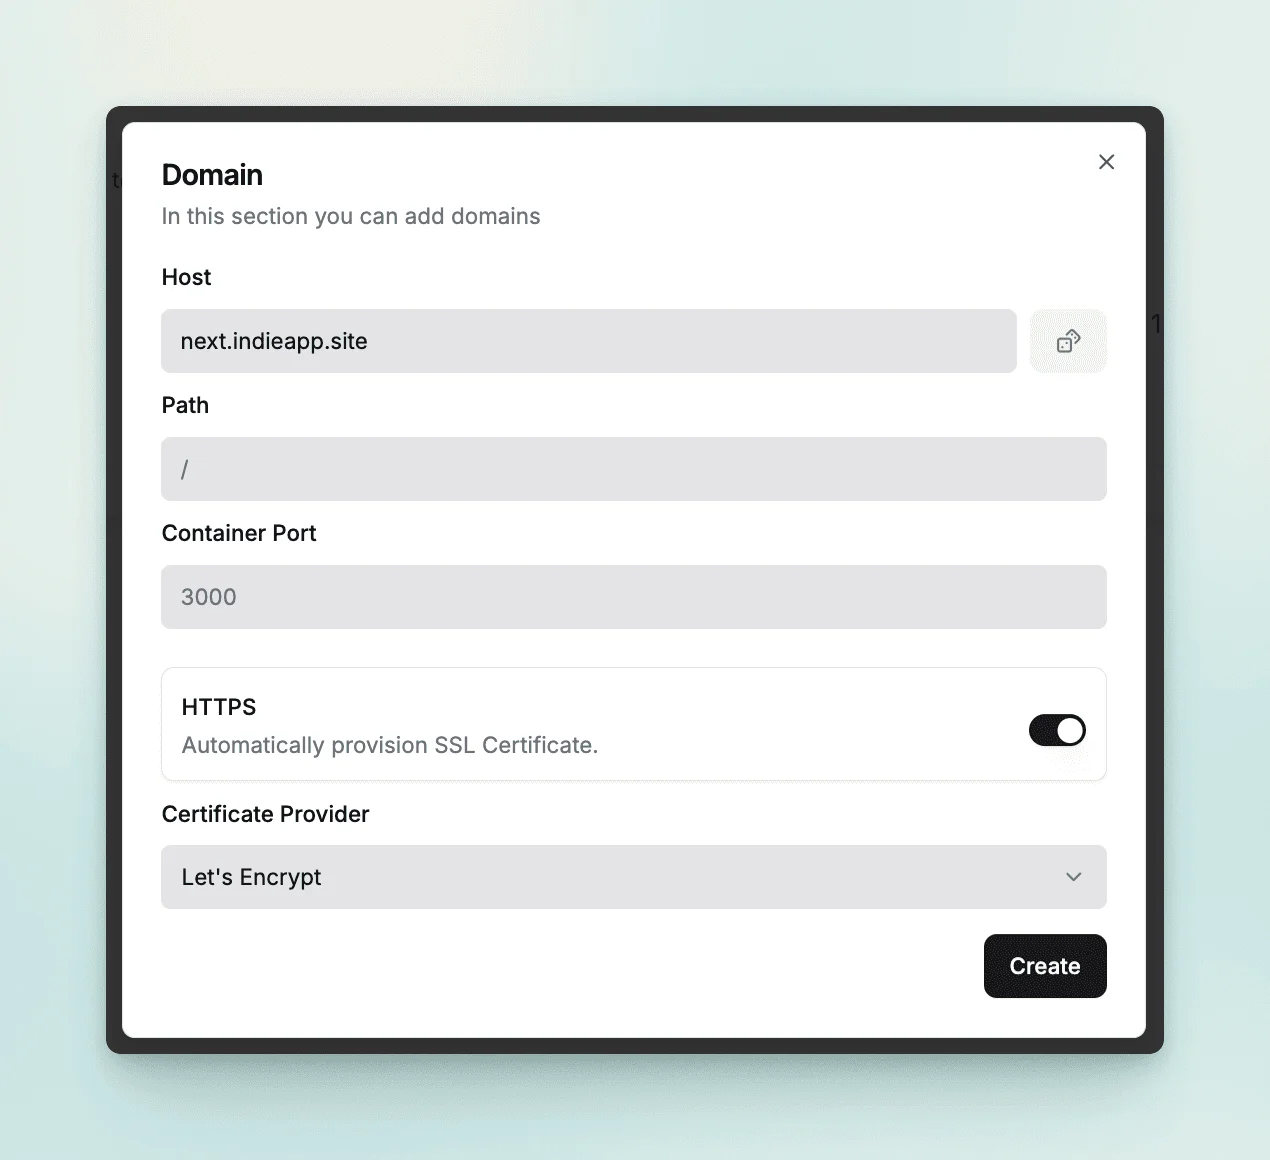
What I set up here is a custom subdomain name, and then configure the subdomain name to point to the server IP in DNS resolution.

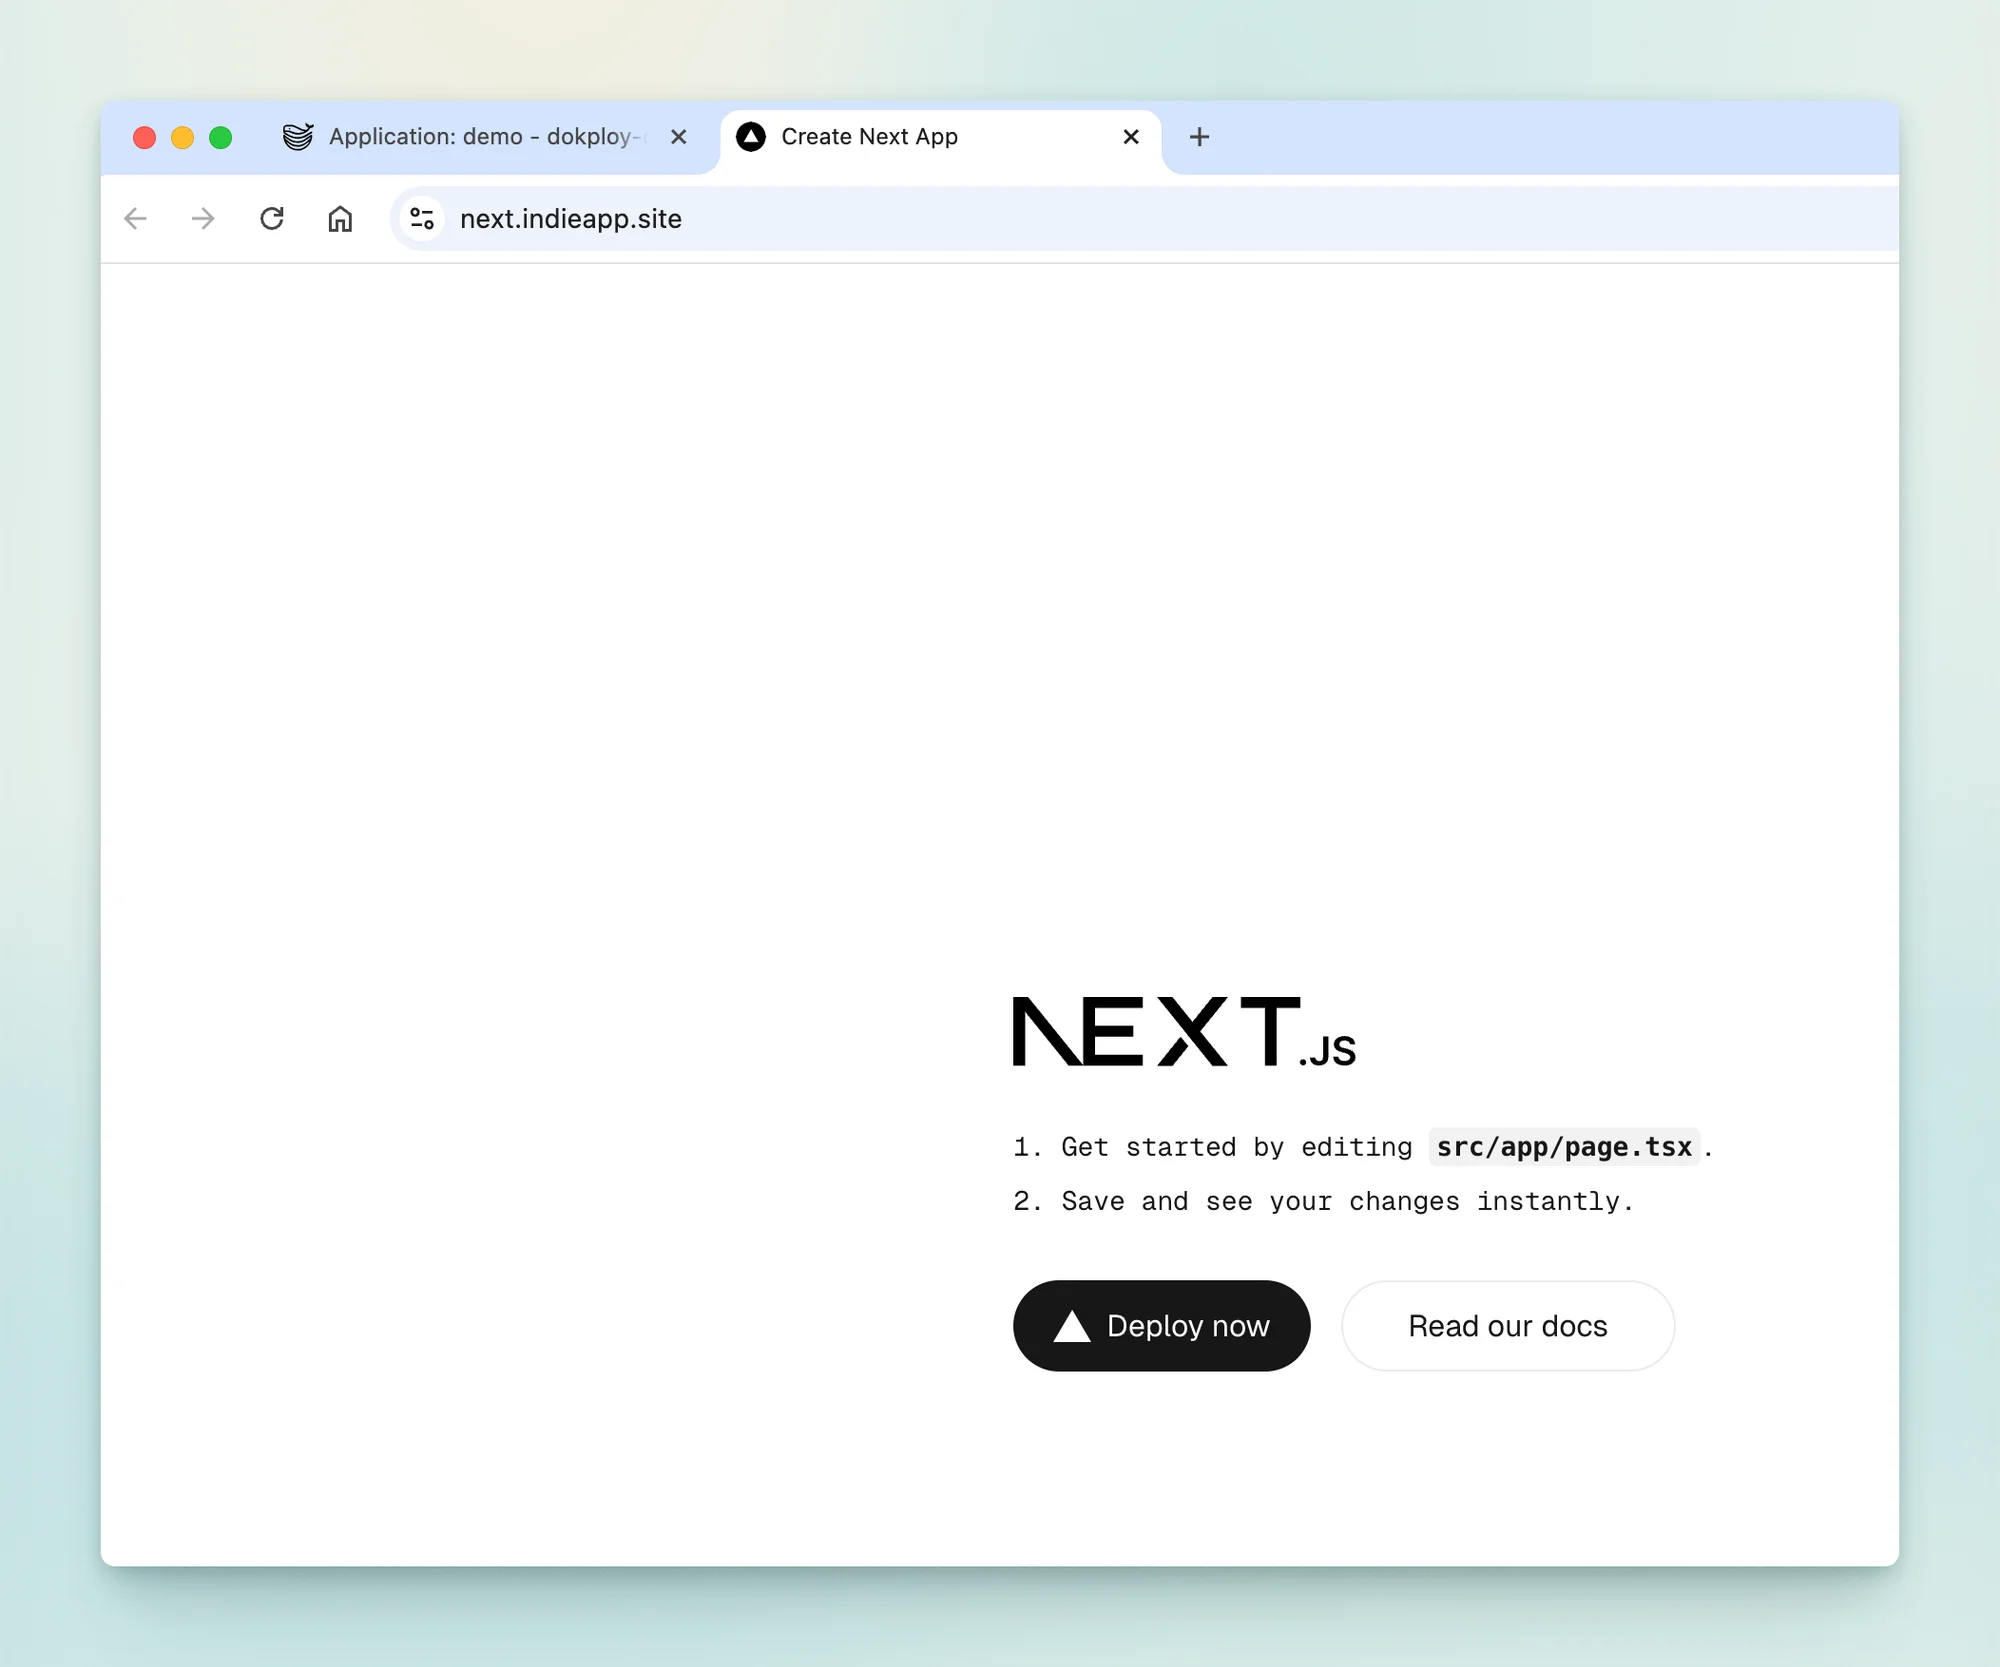
After waiting for a period of time, you can access the Nextjs application through https+domain name.
3.4 Use Github Actions to build images
The previous process is to build and deploy directly on the server. This operation is generally no problem, but when the server is under high load, the website performance may be affected, so we can consider using Github Actions to build the image. The image is hosted in the Github Image Registration Center. Dokploy on the server is only responsible for pulling the latest image from the Github Container Image Center, and then deploying it online.
3.4.1 Create Github Token
First, you need to create a Github Token. This Token needs to have permission to pull the image you uploaded to the Github Image Registration Center. You can create a Token here.
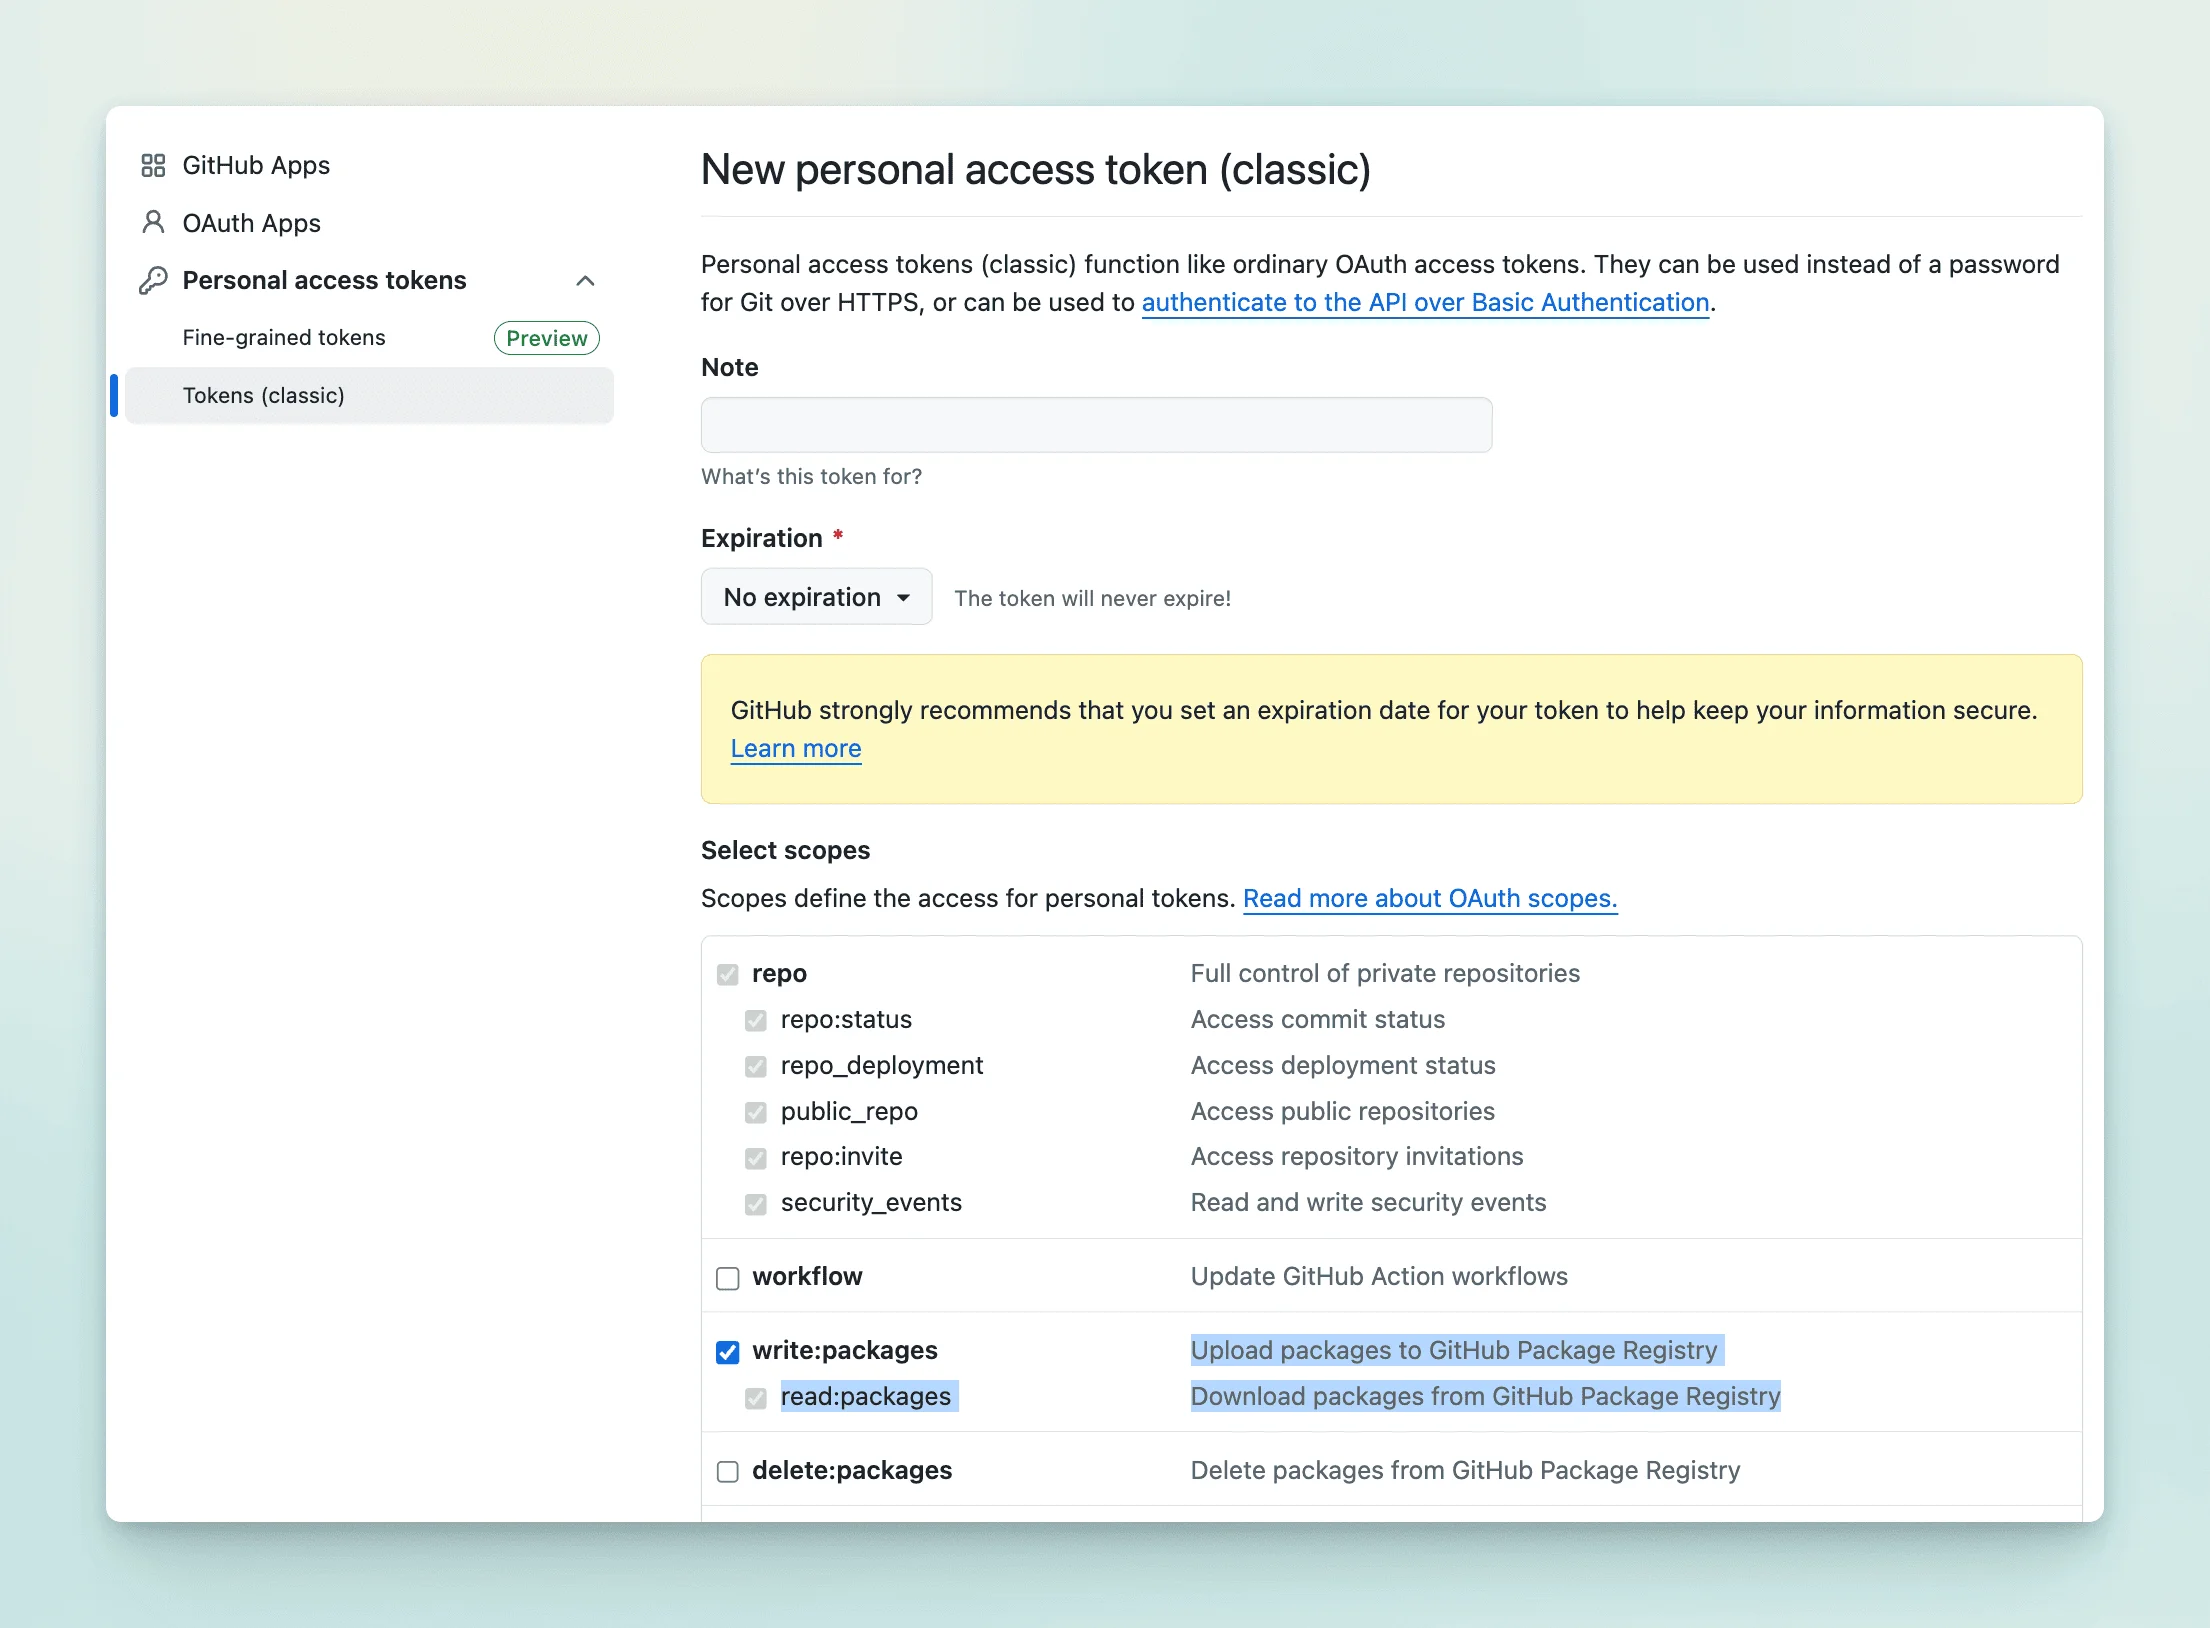
3.4.2 Configure Registry
In Dokploy's Docker Registry configuration, create a new external Registry. Username is your Github account name, Password is the Token created above, and the URL is https://ghcr.io.
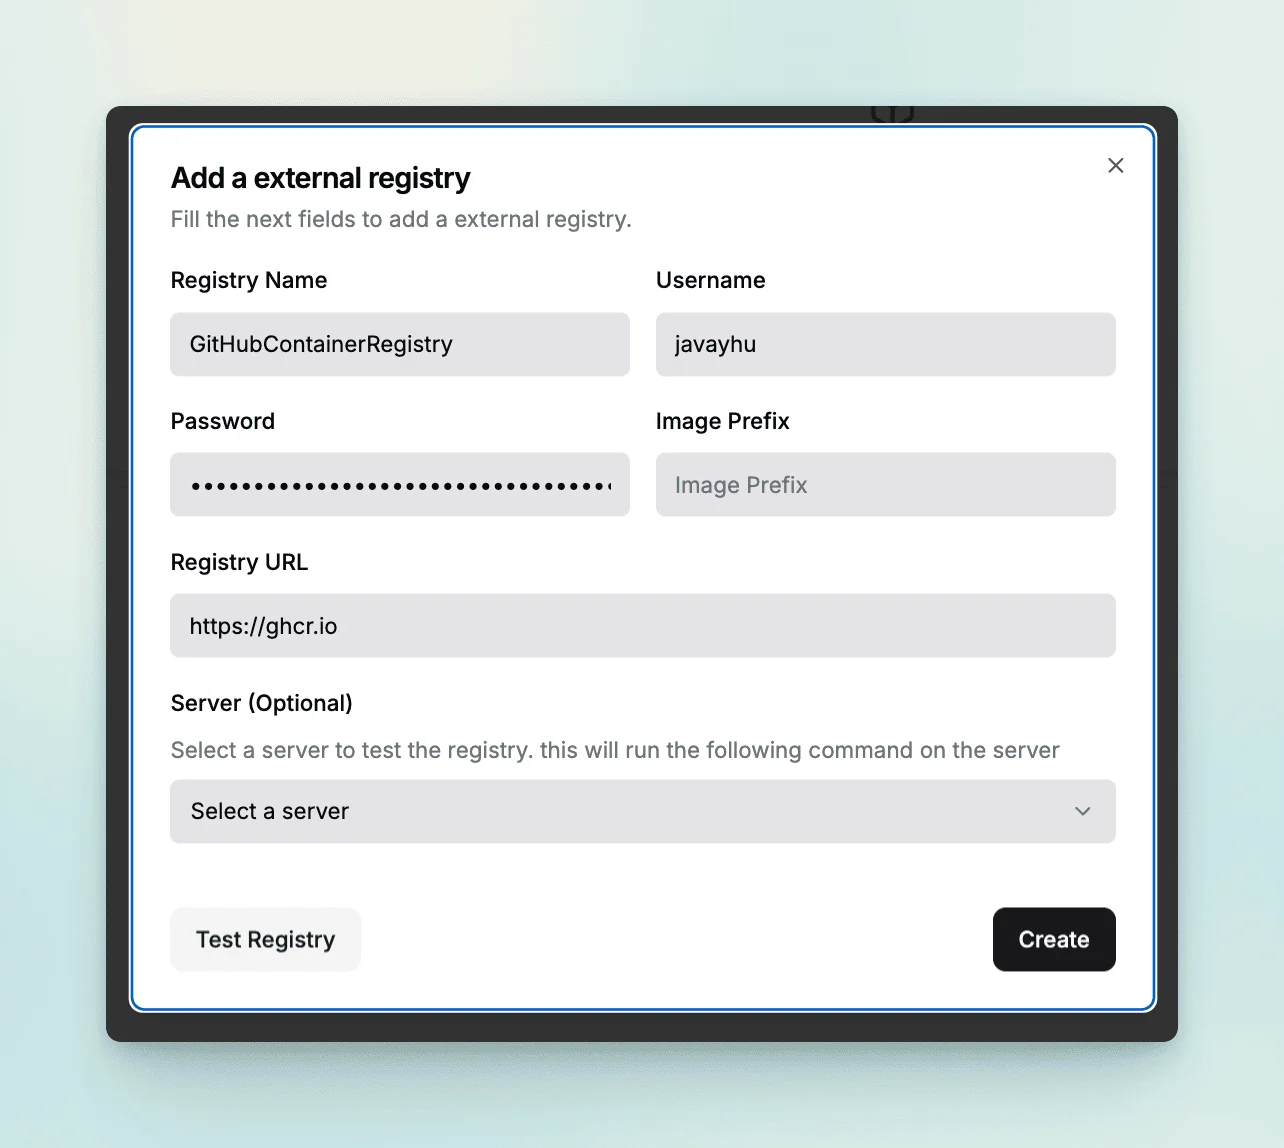
3.4.3 Reconfigure deployment method
For demonstration, here I create a new Application, and this time we switch to Docker deployment method. First, in the advanced settings of the application, set the Registry to the Registry we just created.
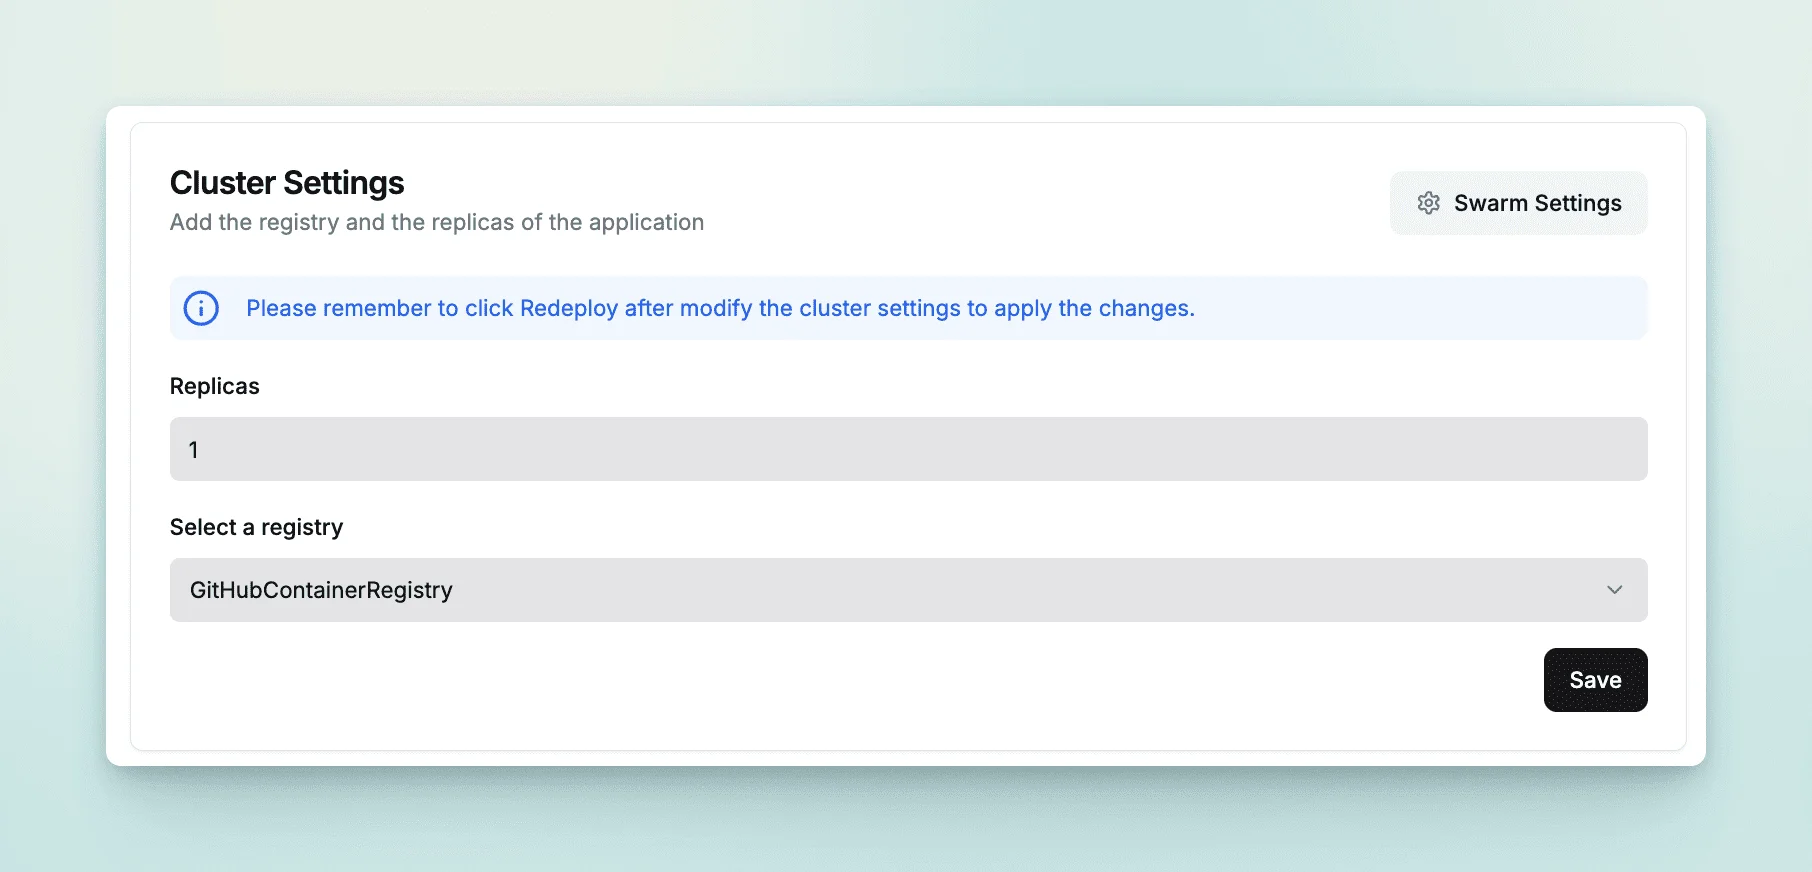
Then configure the deployment parameters. Set Docker Image to ghcr.io/[GitHub username]/[repository name]:[branch name] and save. When deploying, Dokploy pulls the latest image from the registry and deploys it.
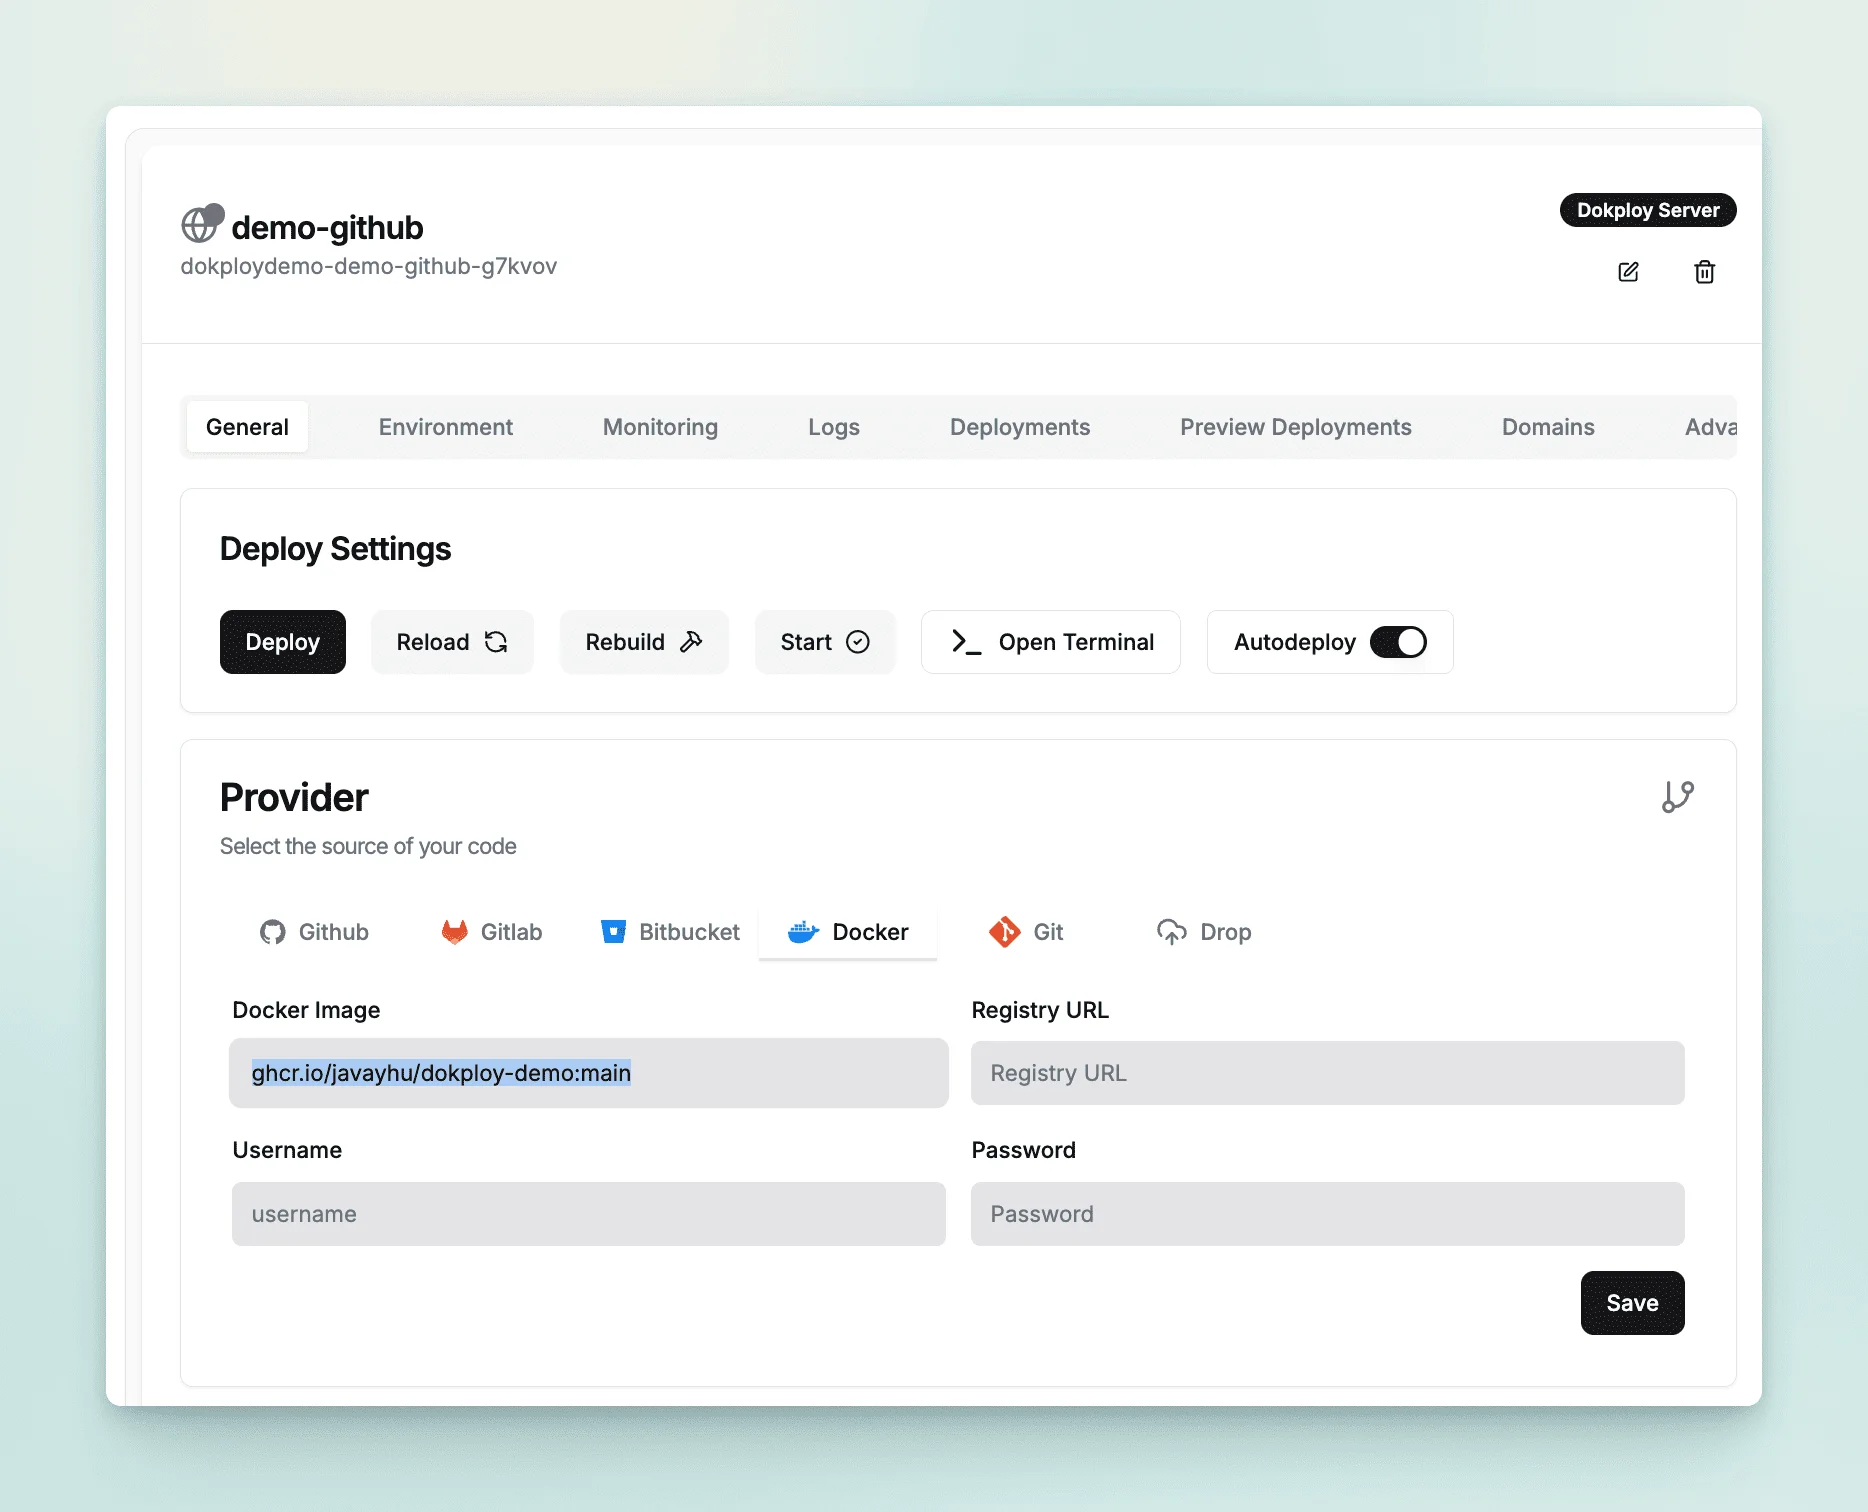
3.4.4 Configure Github Actions
The above process only configures how to pull the image, and now what is left is how to use Github Actions to build the image. This requires adding a new workflow in Github Actions. When we submit the code to the main branch, the workflow will automatically execute, build the image and push it to the Github mirror center.
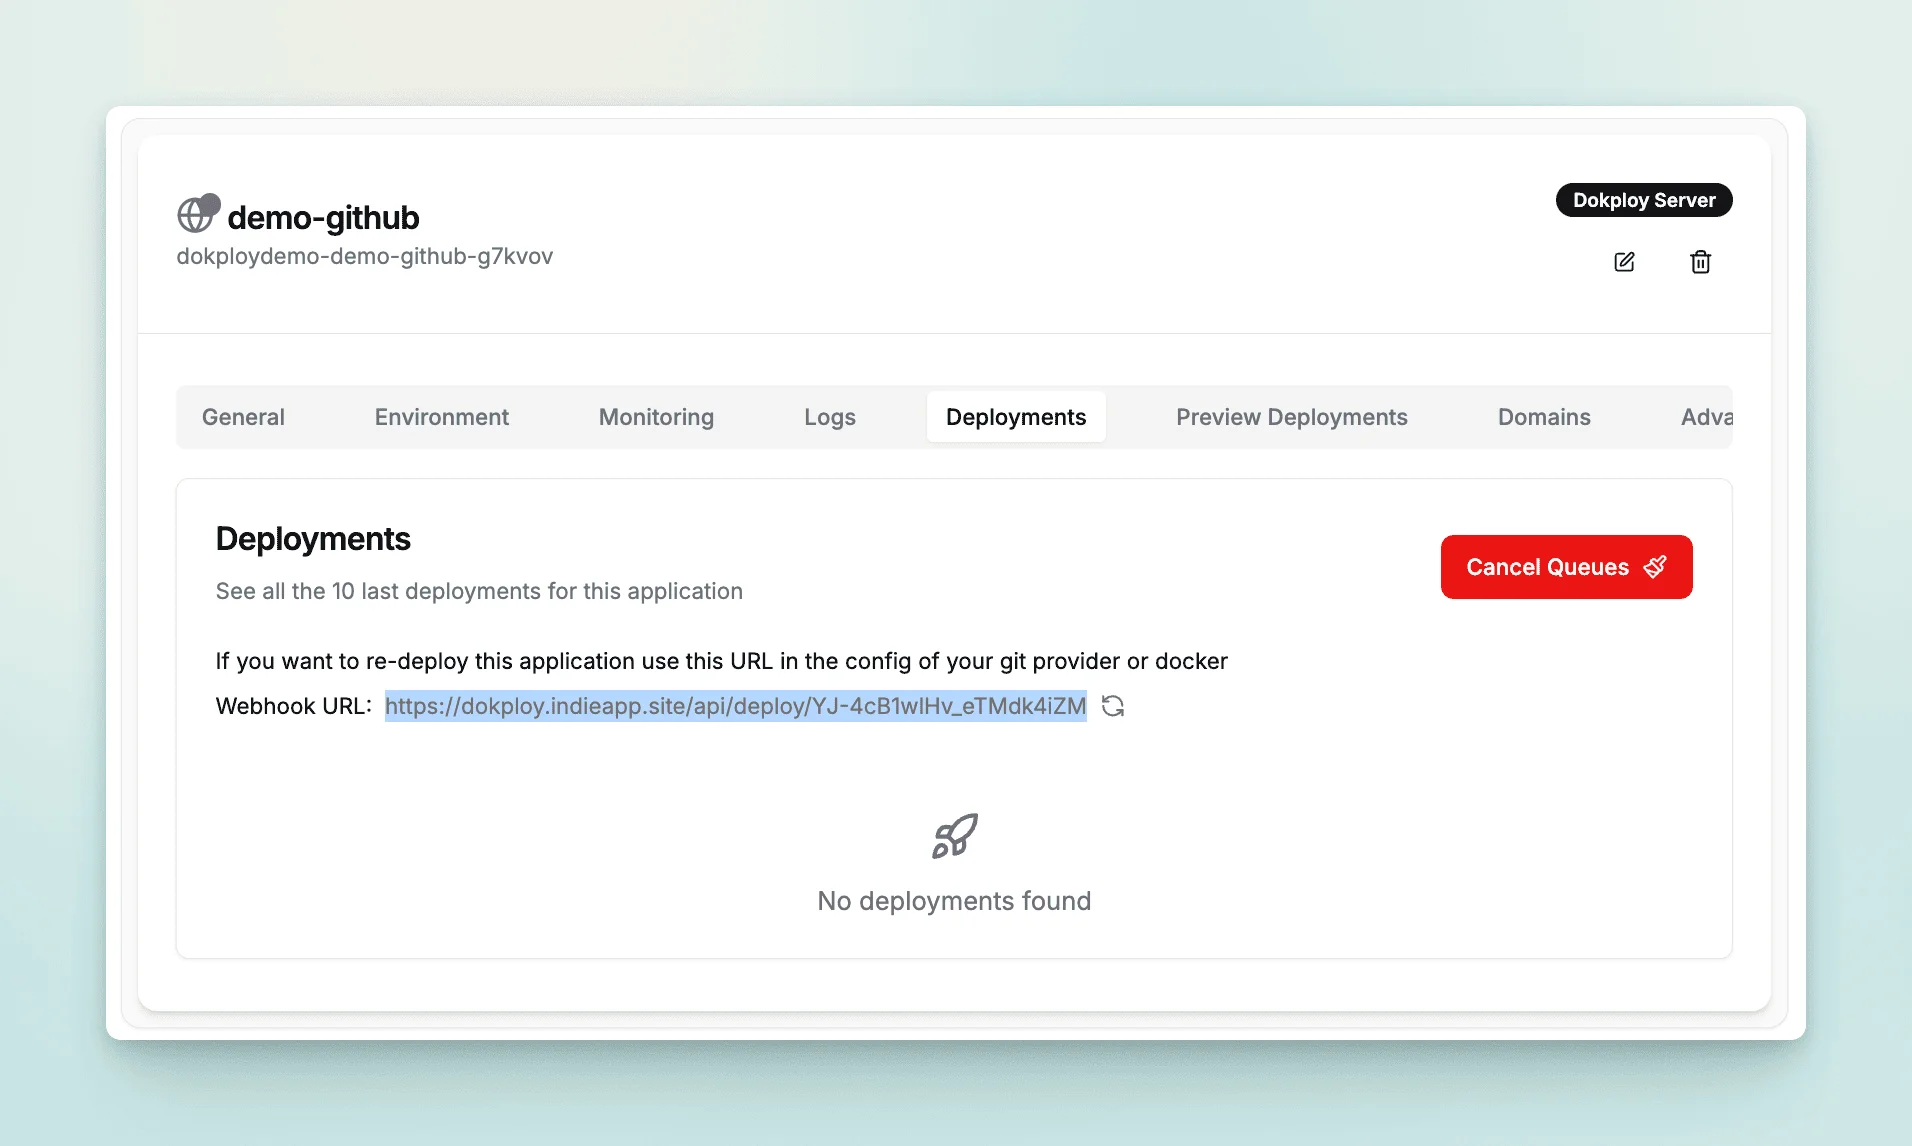
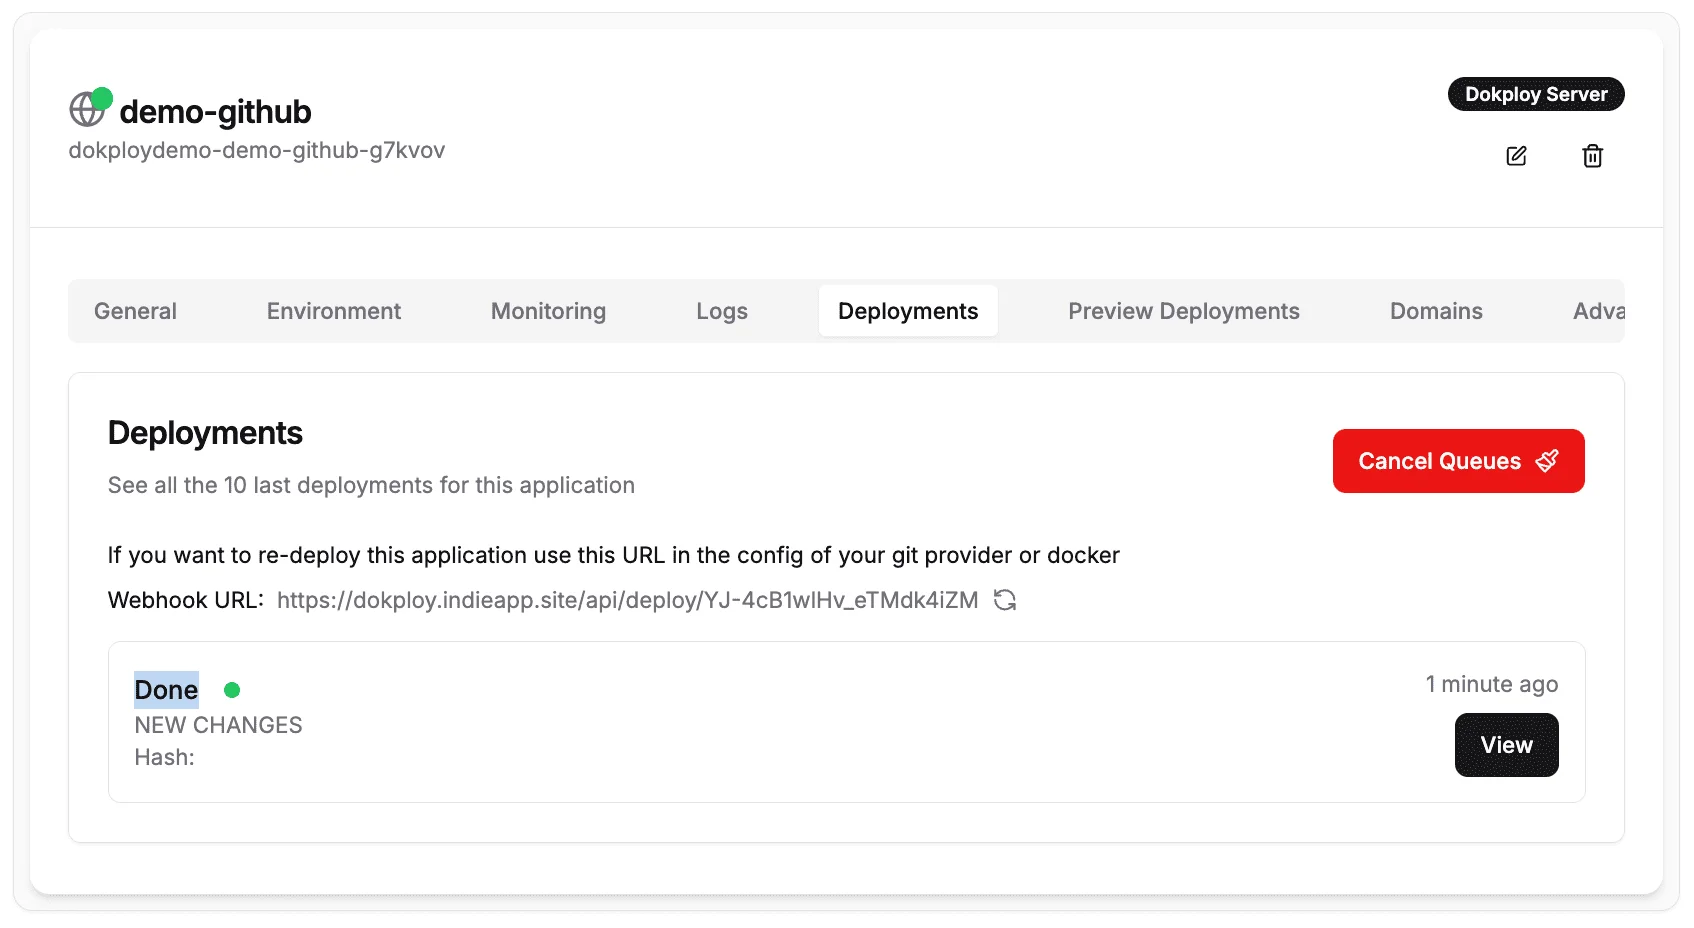
The workflow code can refer to this submission record. It should be noted that there is a logic at the end that triggers Dokploy redeployment. This involves the Deployment Webhook URL. The projects deployed on Dokploy have a Deployment Webhook URL. As long as this URL is accessed, it will automatically trigger a re-construction.
3.4.5 Test access
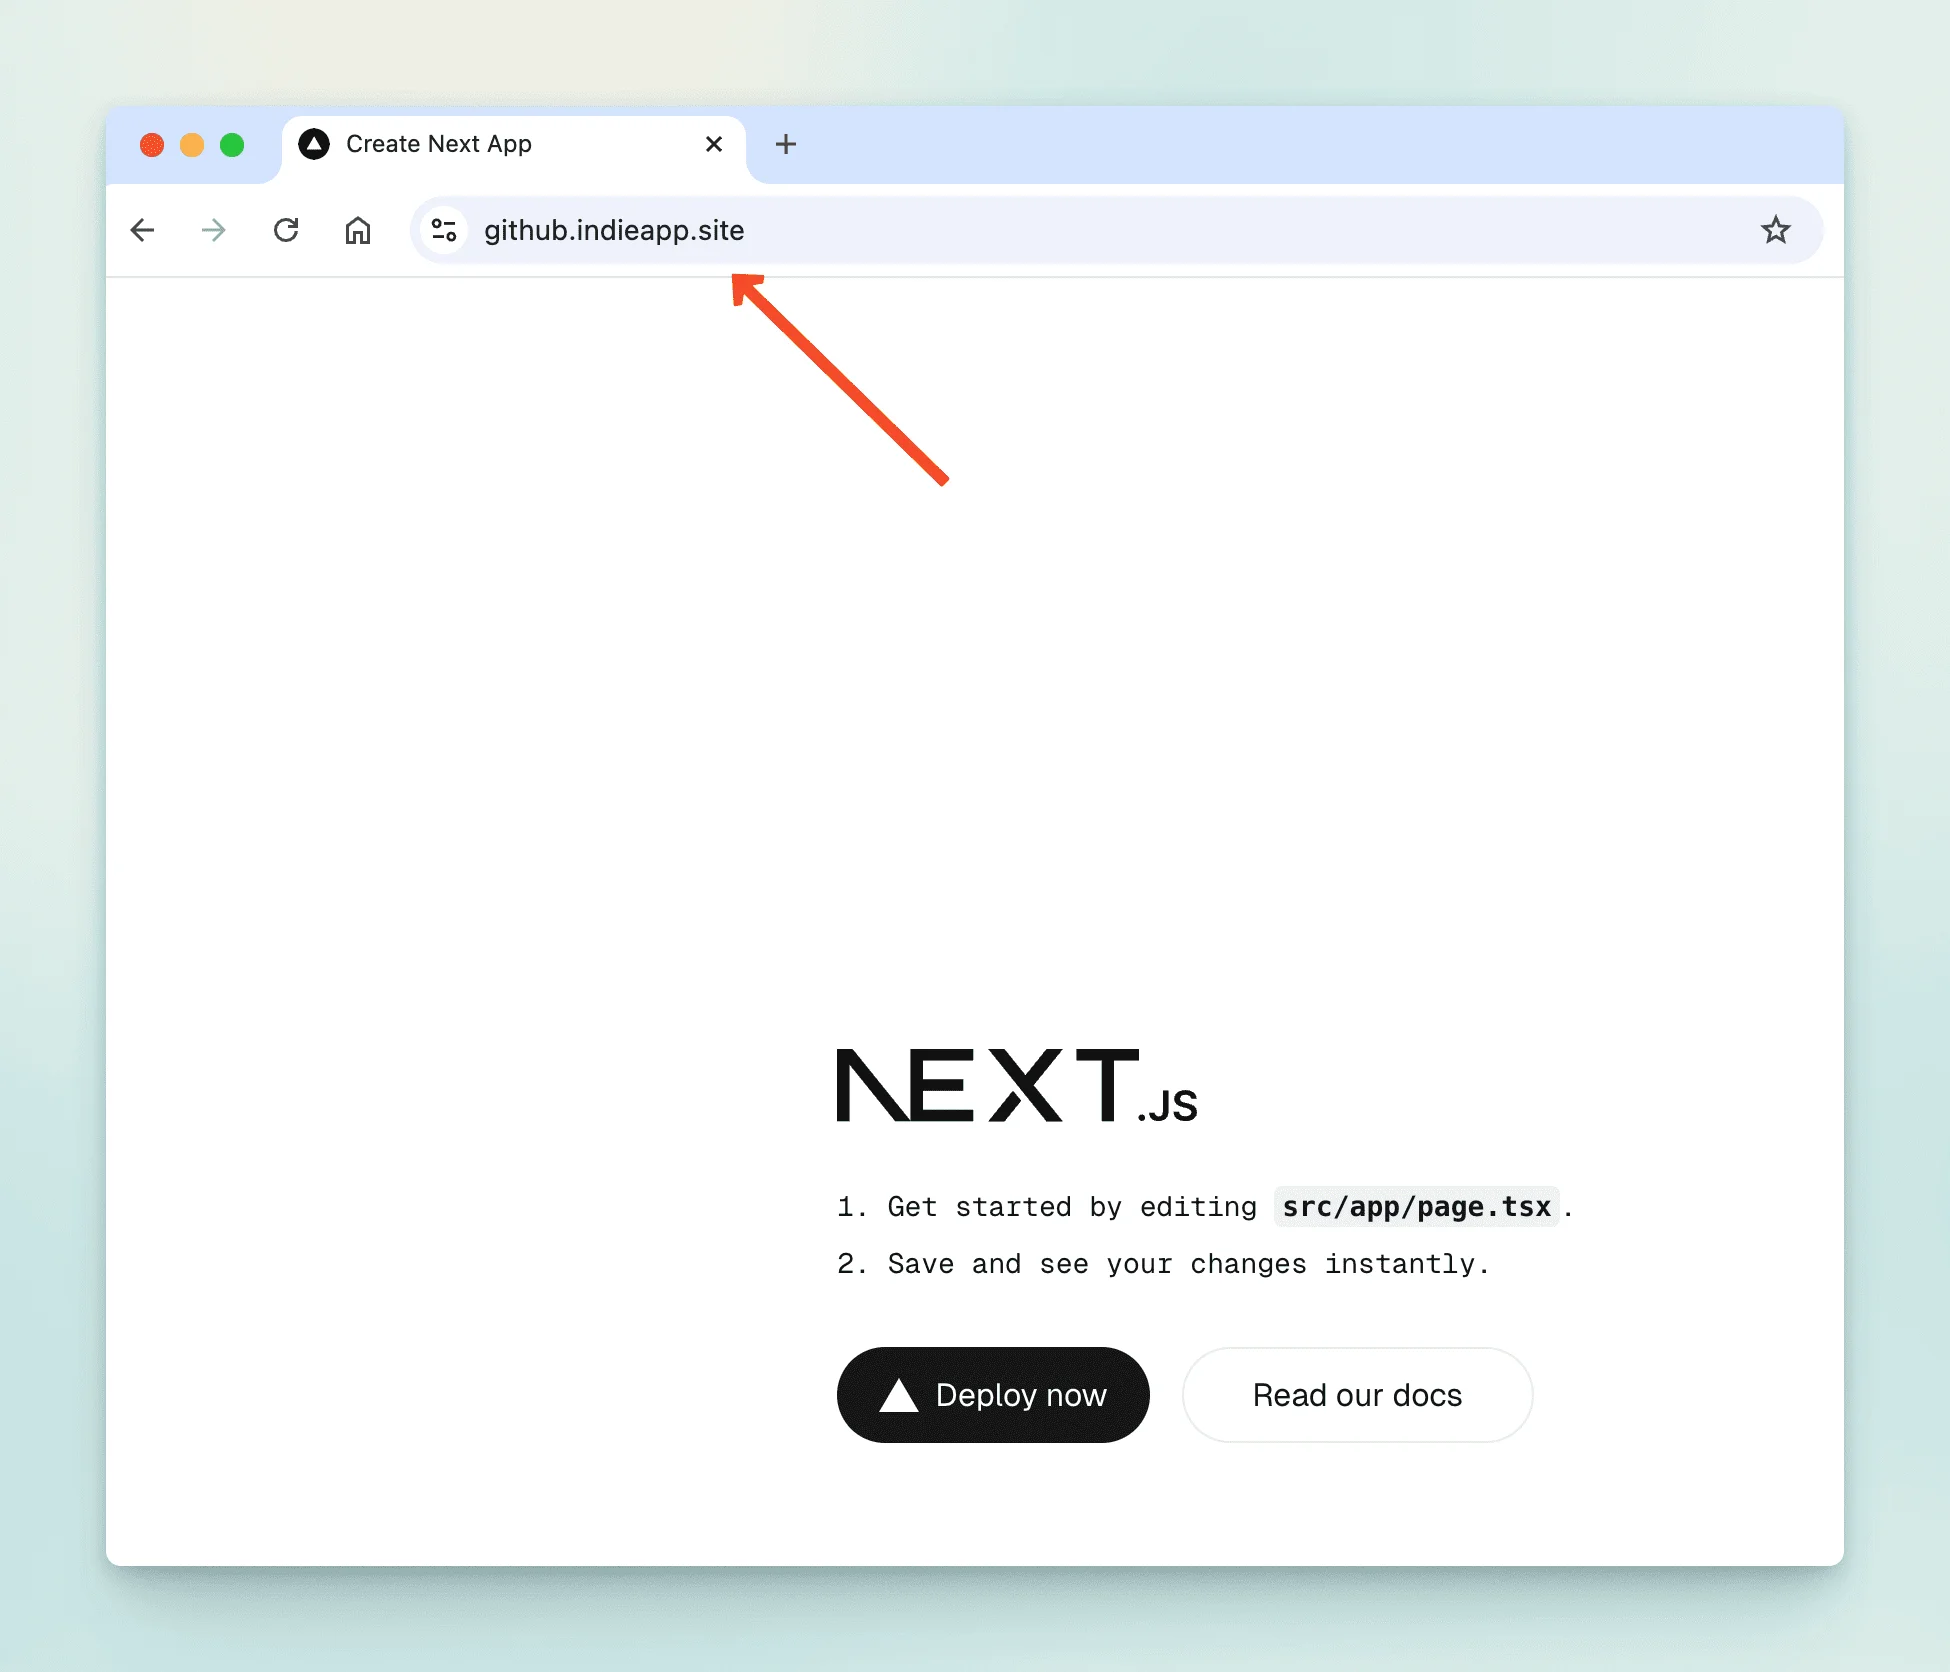
After the deployment is successful, we can also bind the domain name, configure DNS resolution, and then access it securely through https+domain name.
4. Other functions of Dokploy
There are many more functions of Dokploy. It is difficult to finish it in one article. Here are a few functions that I think are good.
4.1 Automatically clean Docker containers
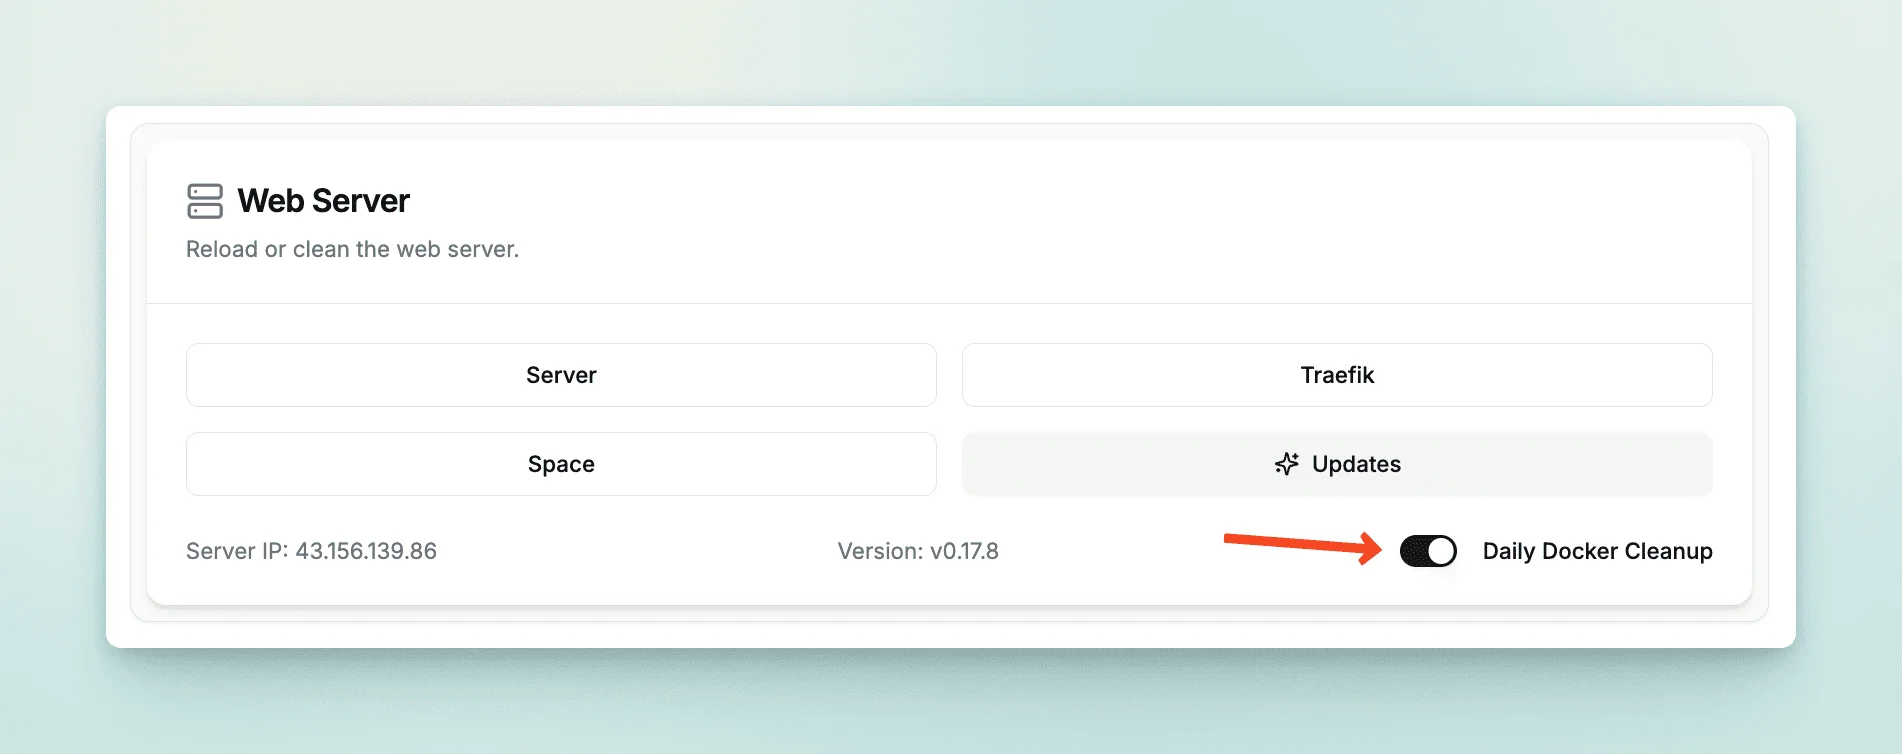
If you use the server for both construction and deployment for a long time, it is easy to cause too many useless Docker containers to occupy disk space, causing the disk space to be full and inaccessible. You can turn on Daily Docker Cleanup in the server settings, and unused Docker containers will be automatically cleaned every day.
4.2 Server monitoring
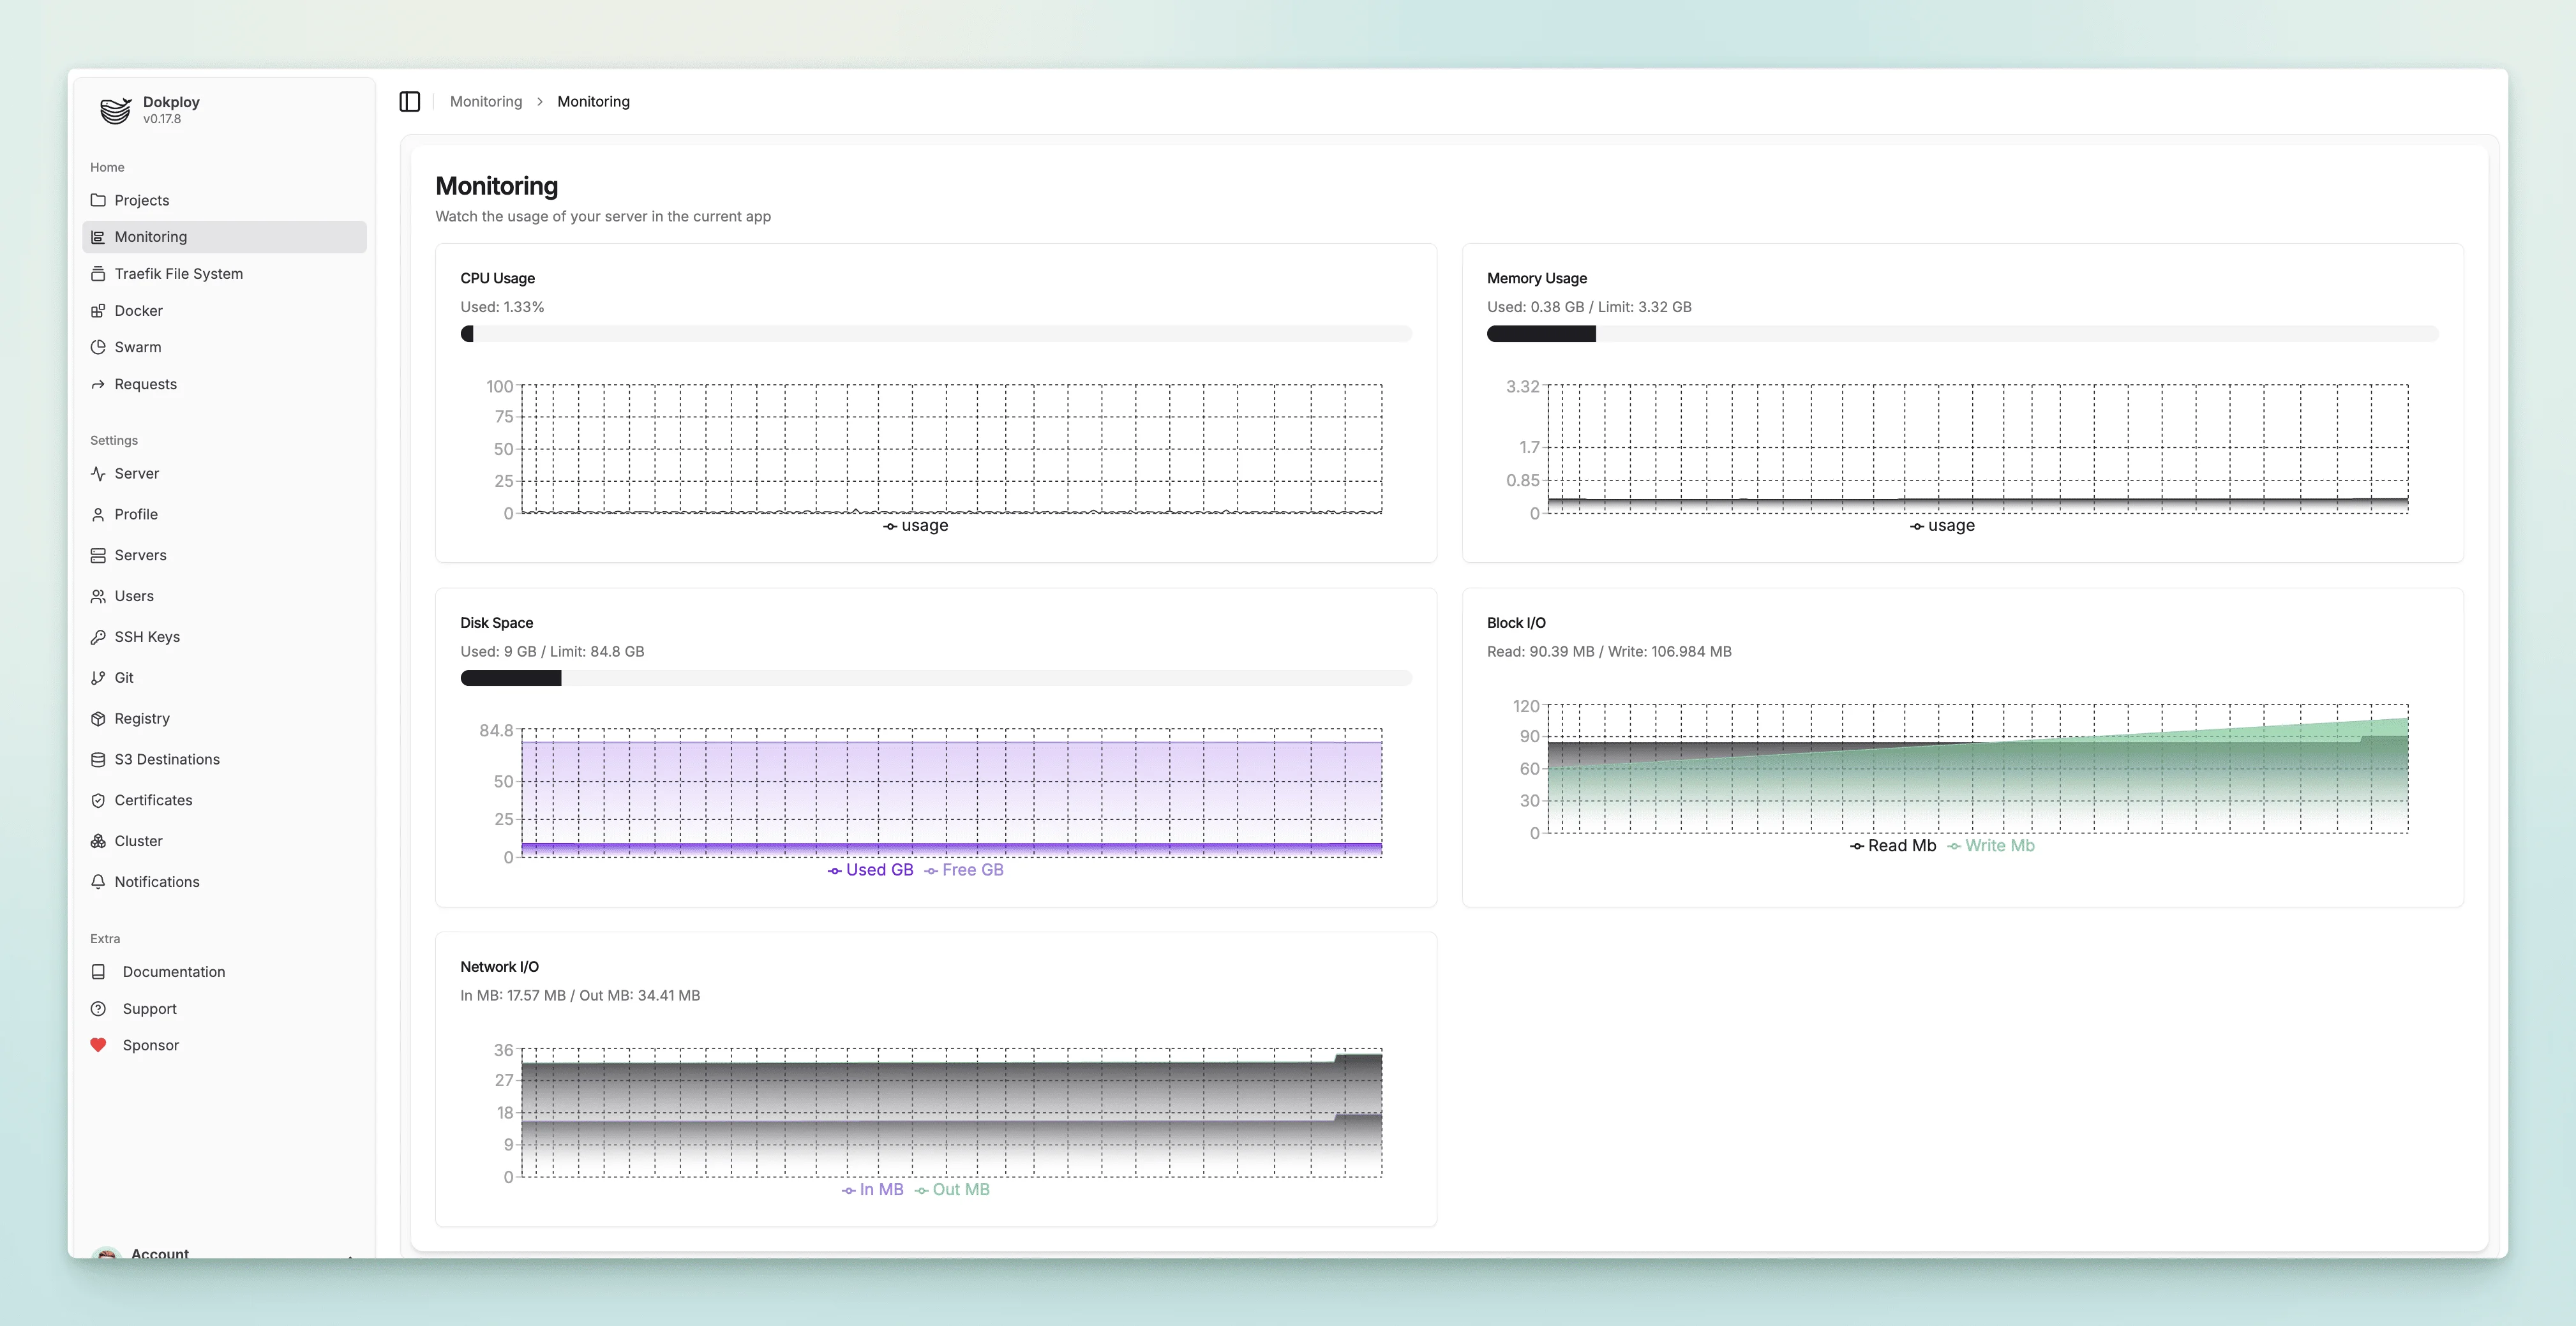
Dokploy also comes with server monitoring capabilities. You can directly check the server's CPU utilization, memory utilization, disk space, network IO, etc.
4.3 Database deployment and backup
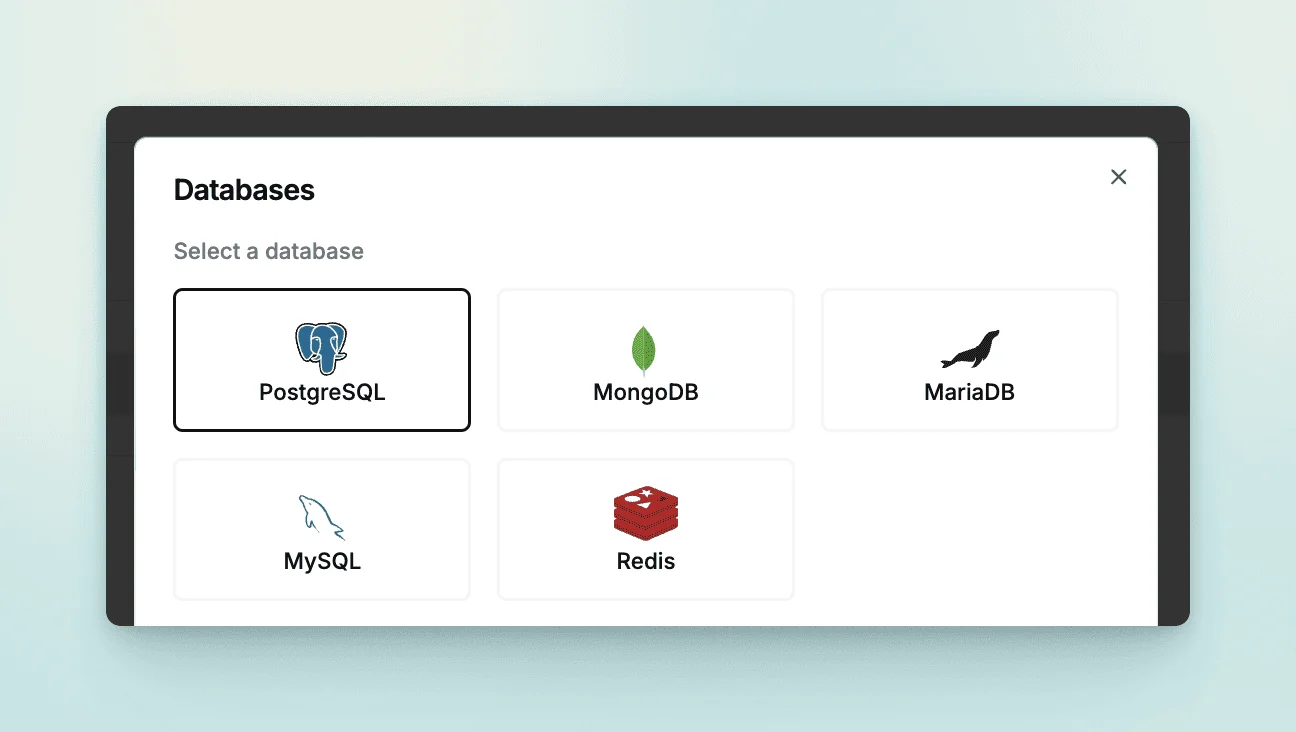
Dokploy can also deploy databases. Common databases Postgres, MySQL, and MongoDB are supported. After deployment, you can access it by setting the external network access port.
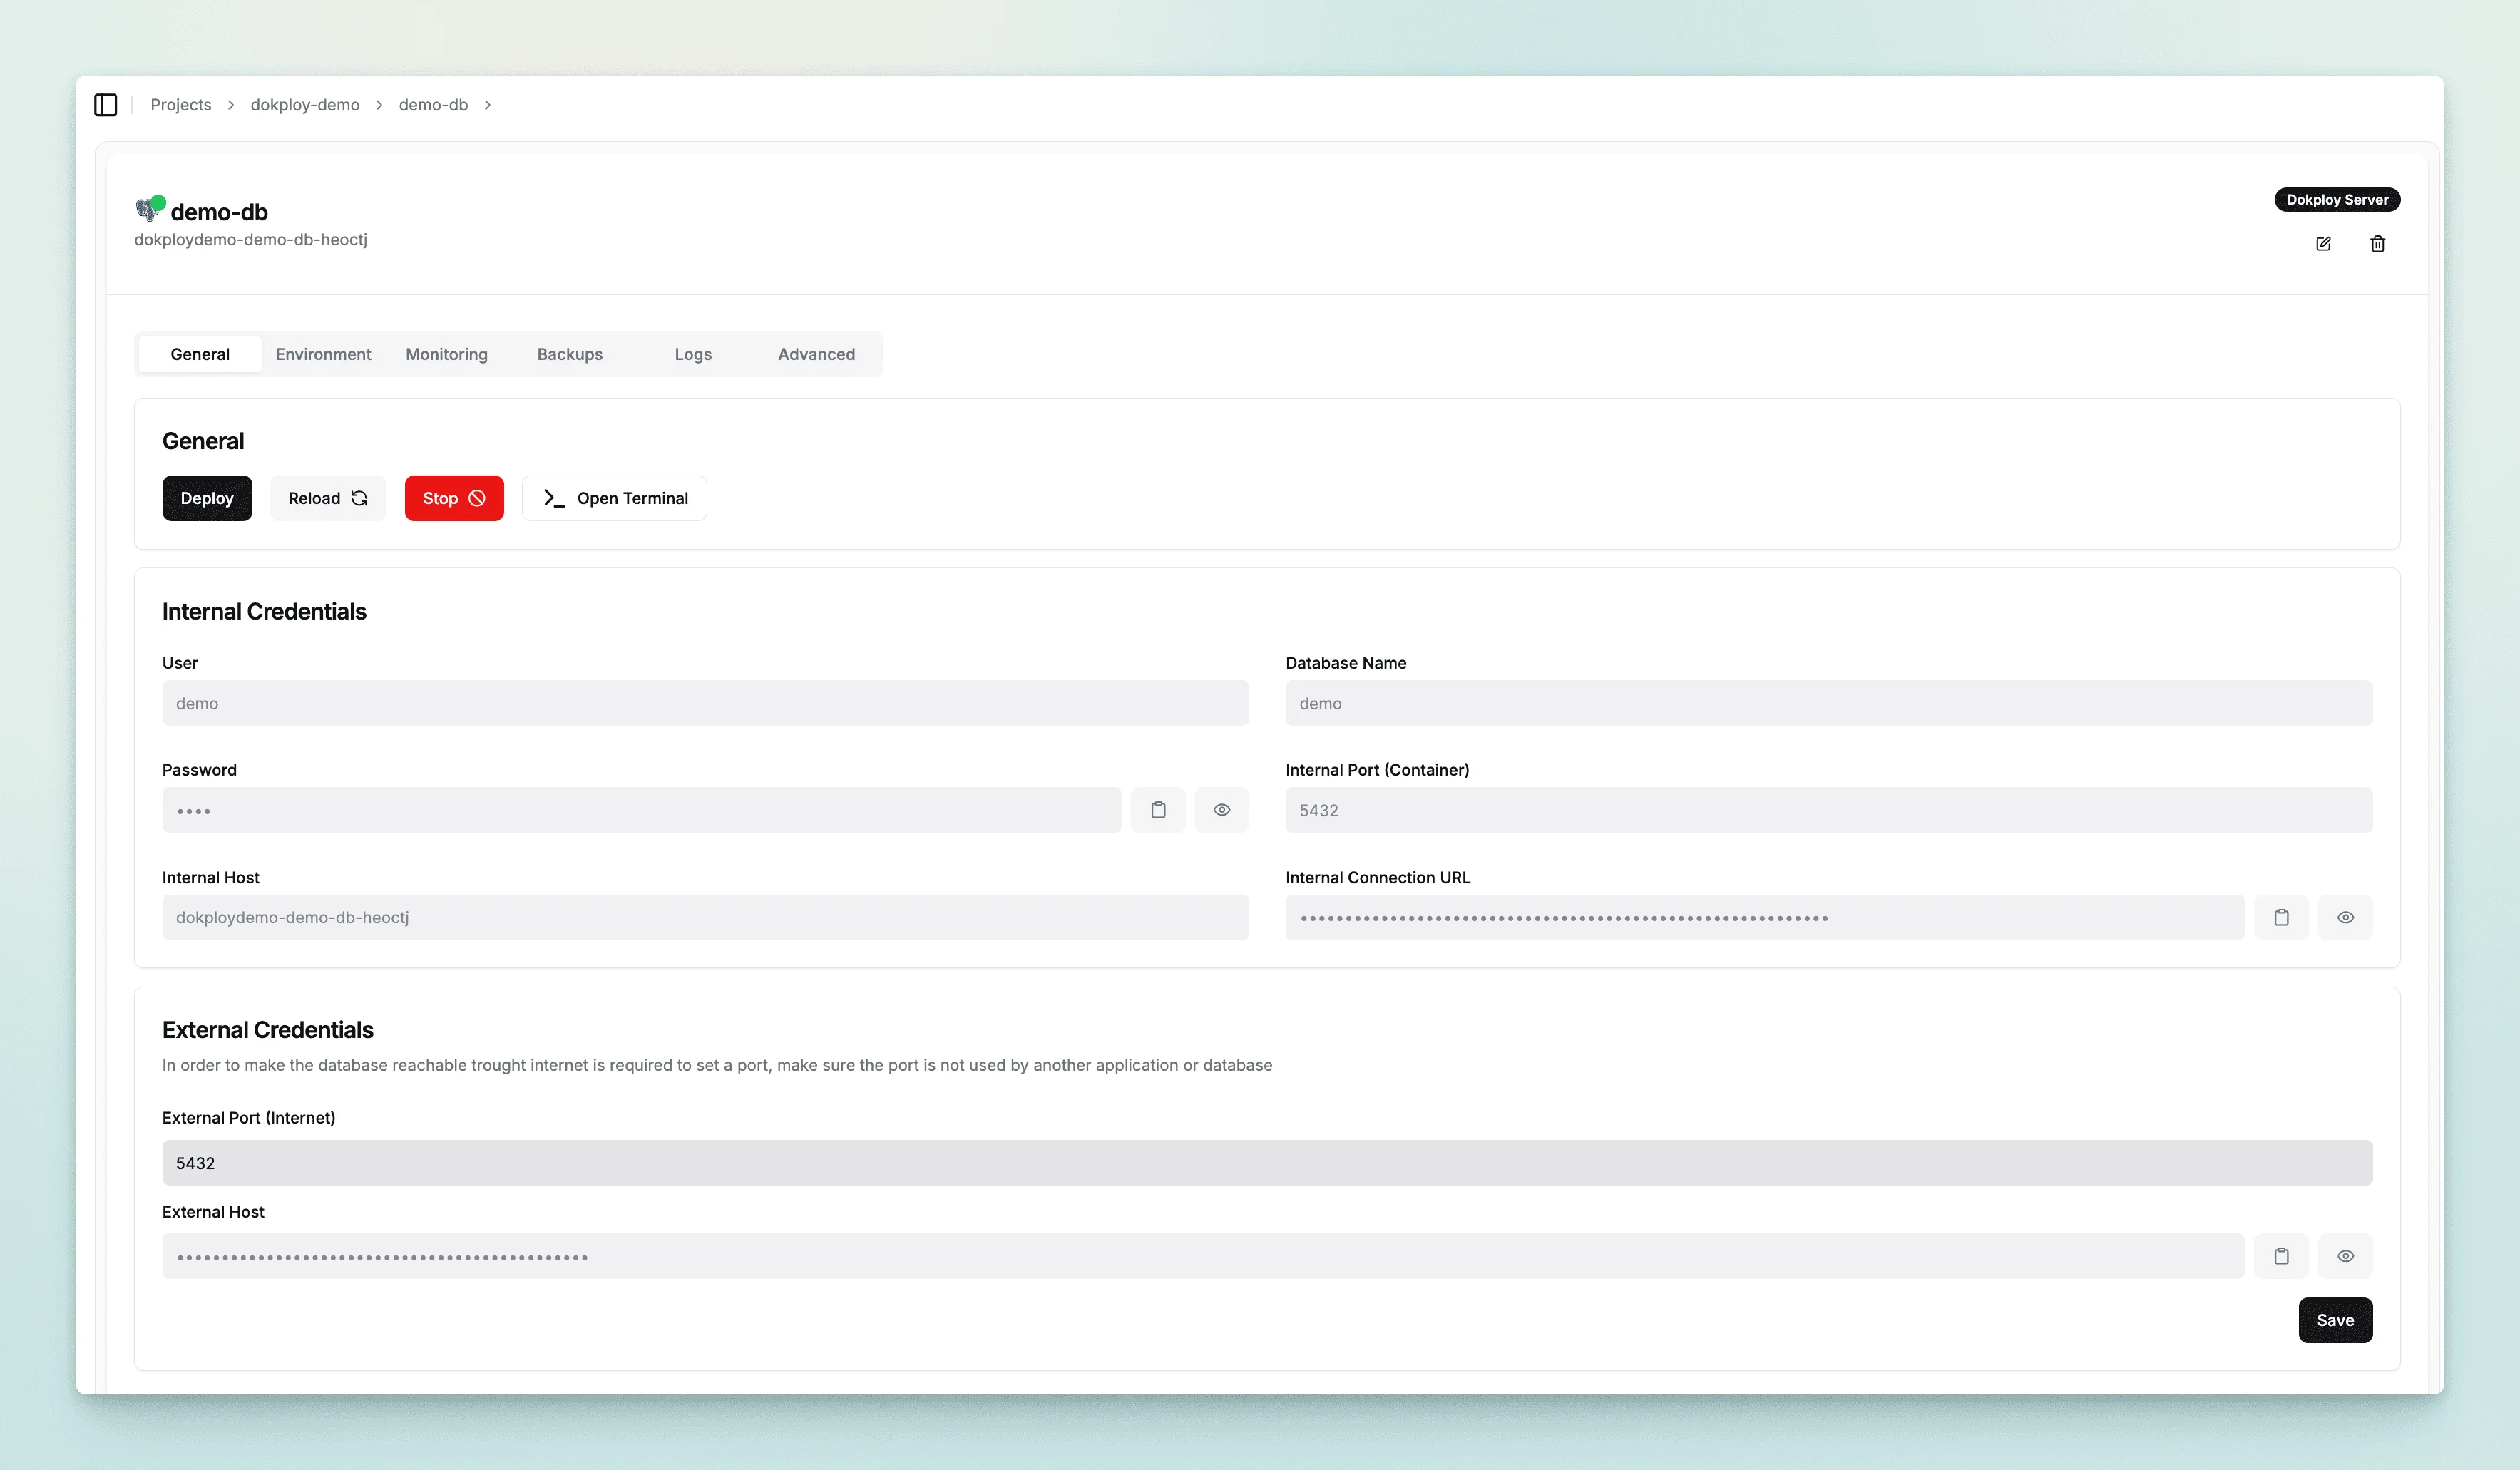
Set a port number in the External Port and save it to get a DB URL. As long as the firewall configuration allows access to the port number of the server, you can connect to the database.
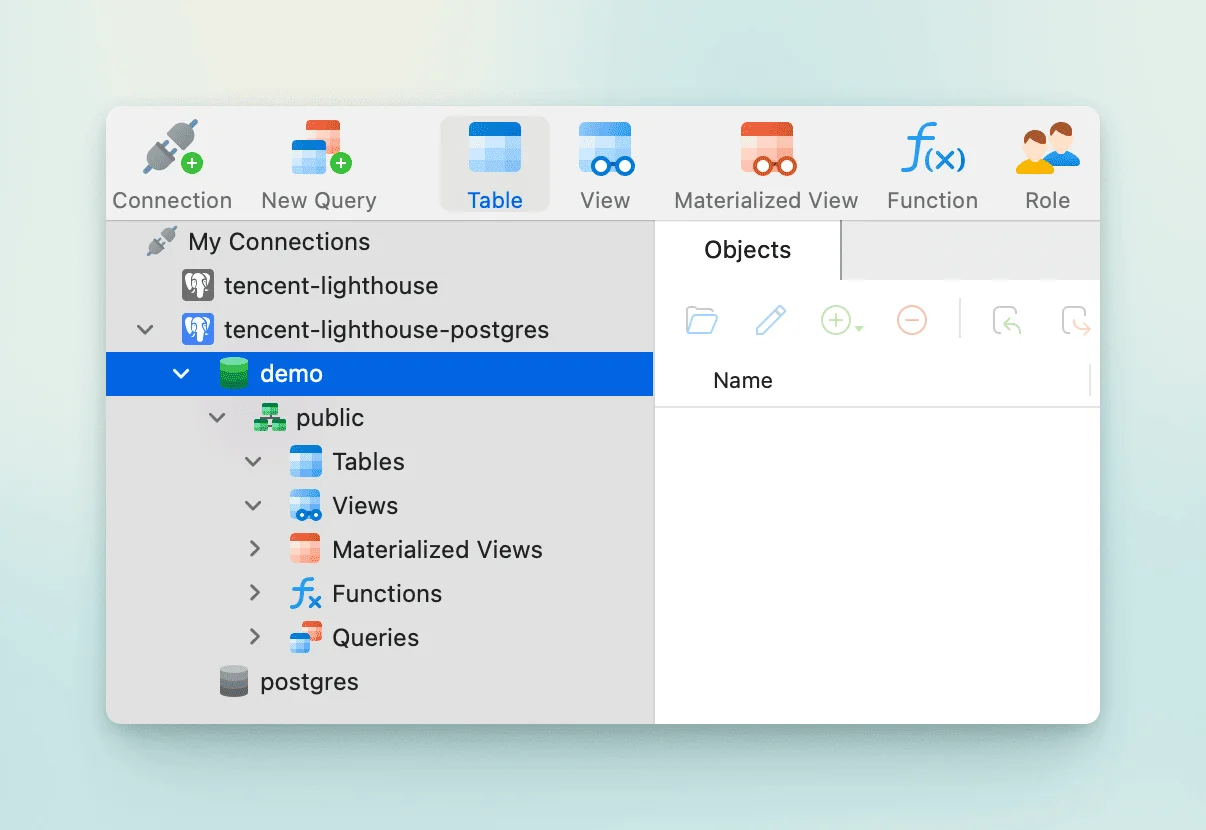
Next, use the free Navicat Premium Lite to configure the database connection information and test the connection without any problem.
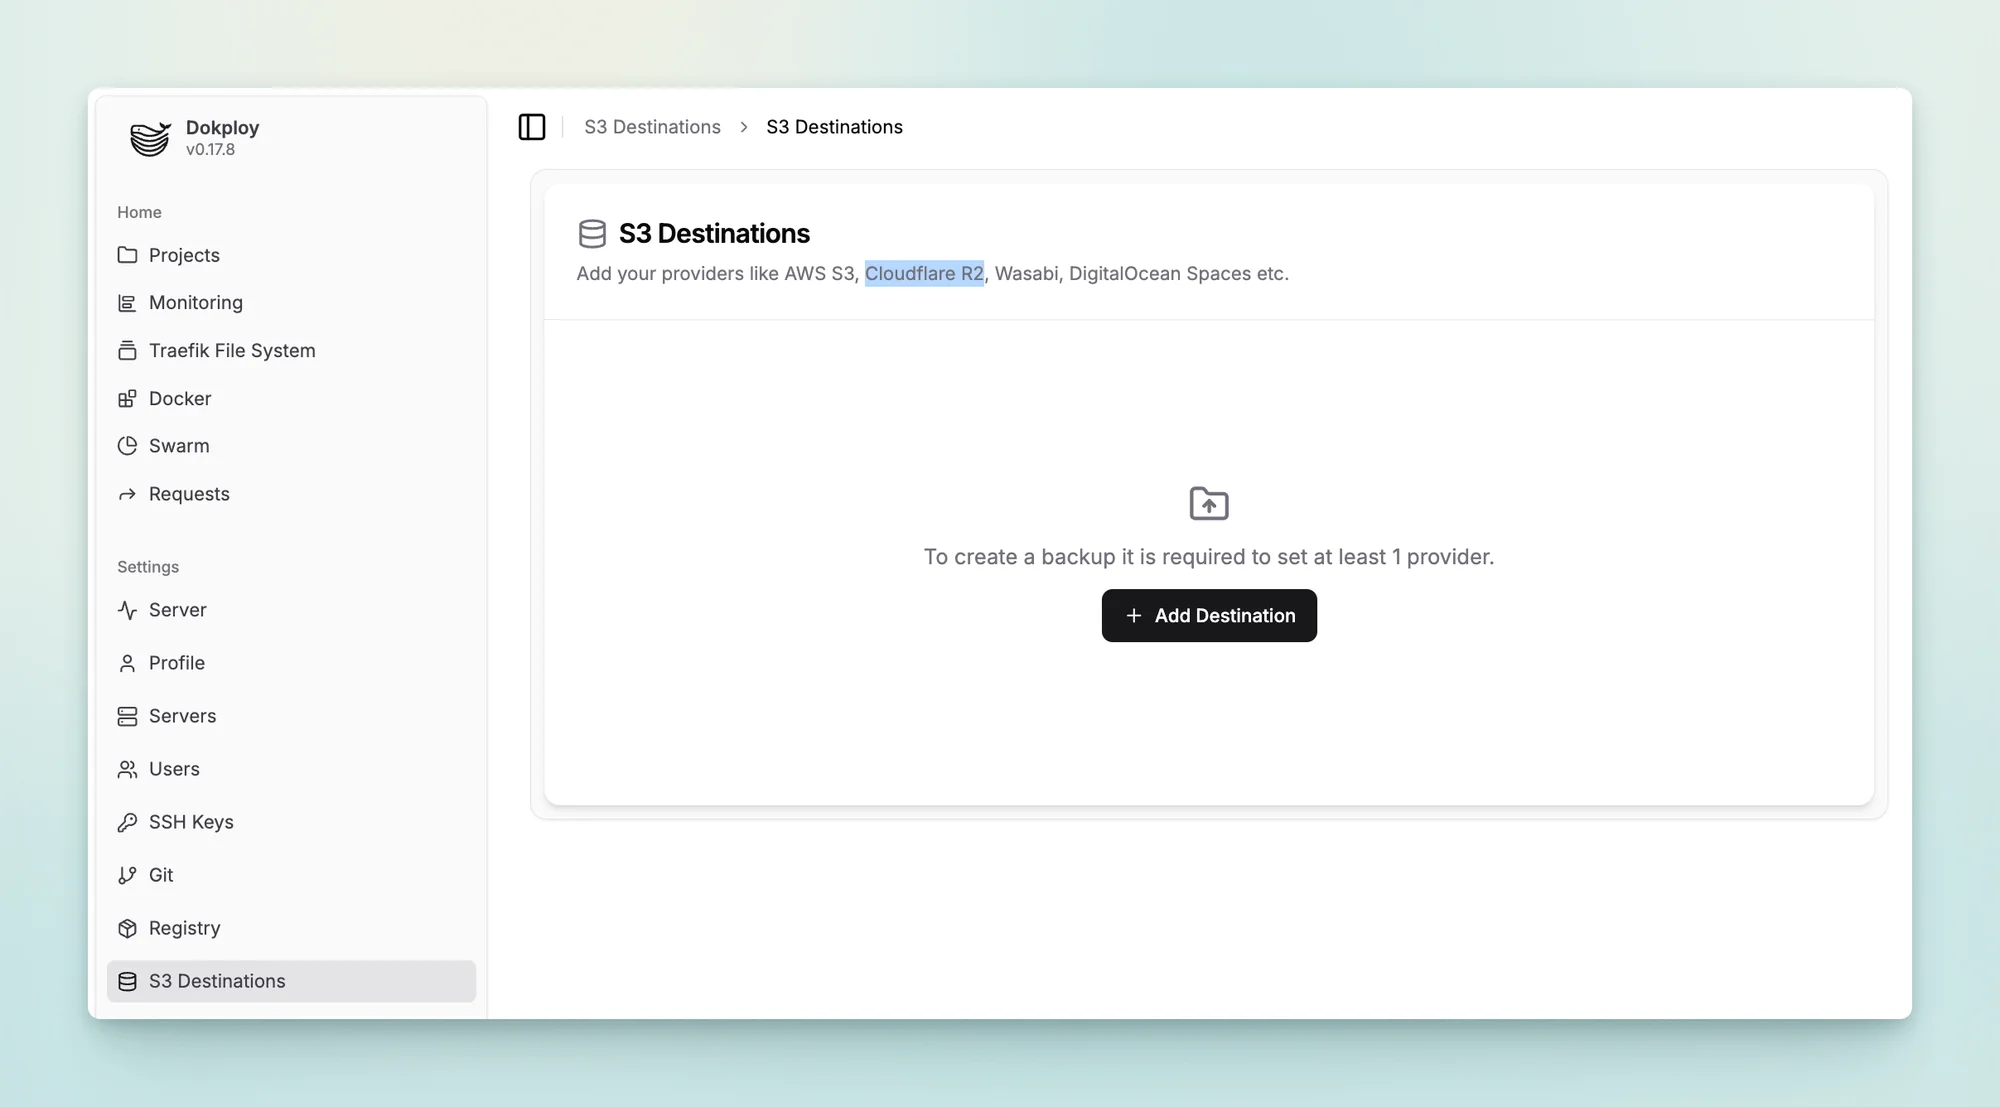
Dokploy also supports database backup. You can configure AWS S3 or Cloudflare R2 in S3 Destinations, then add it here as a target backup point, and finally select this backup point in the Database backup configuration to achieve database backup.
4.4 Template
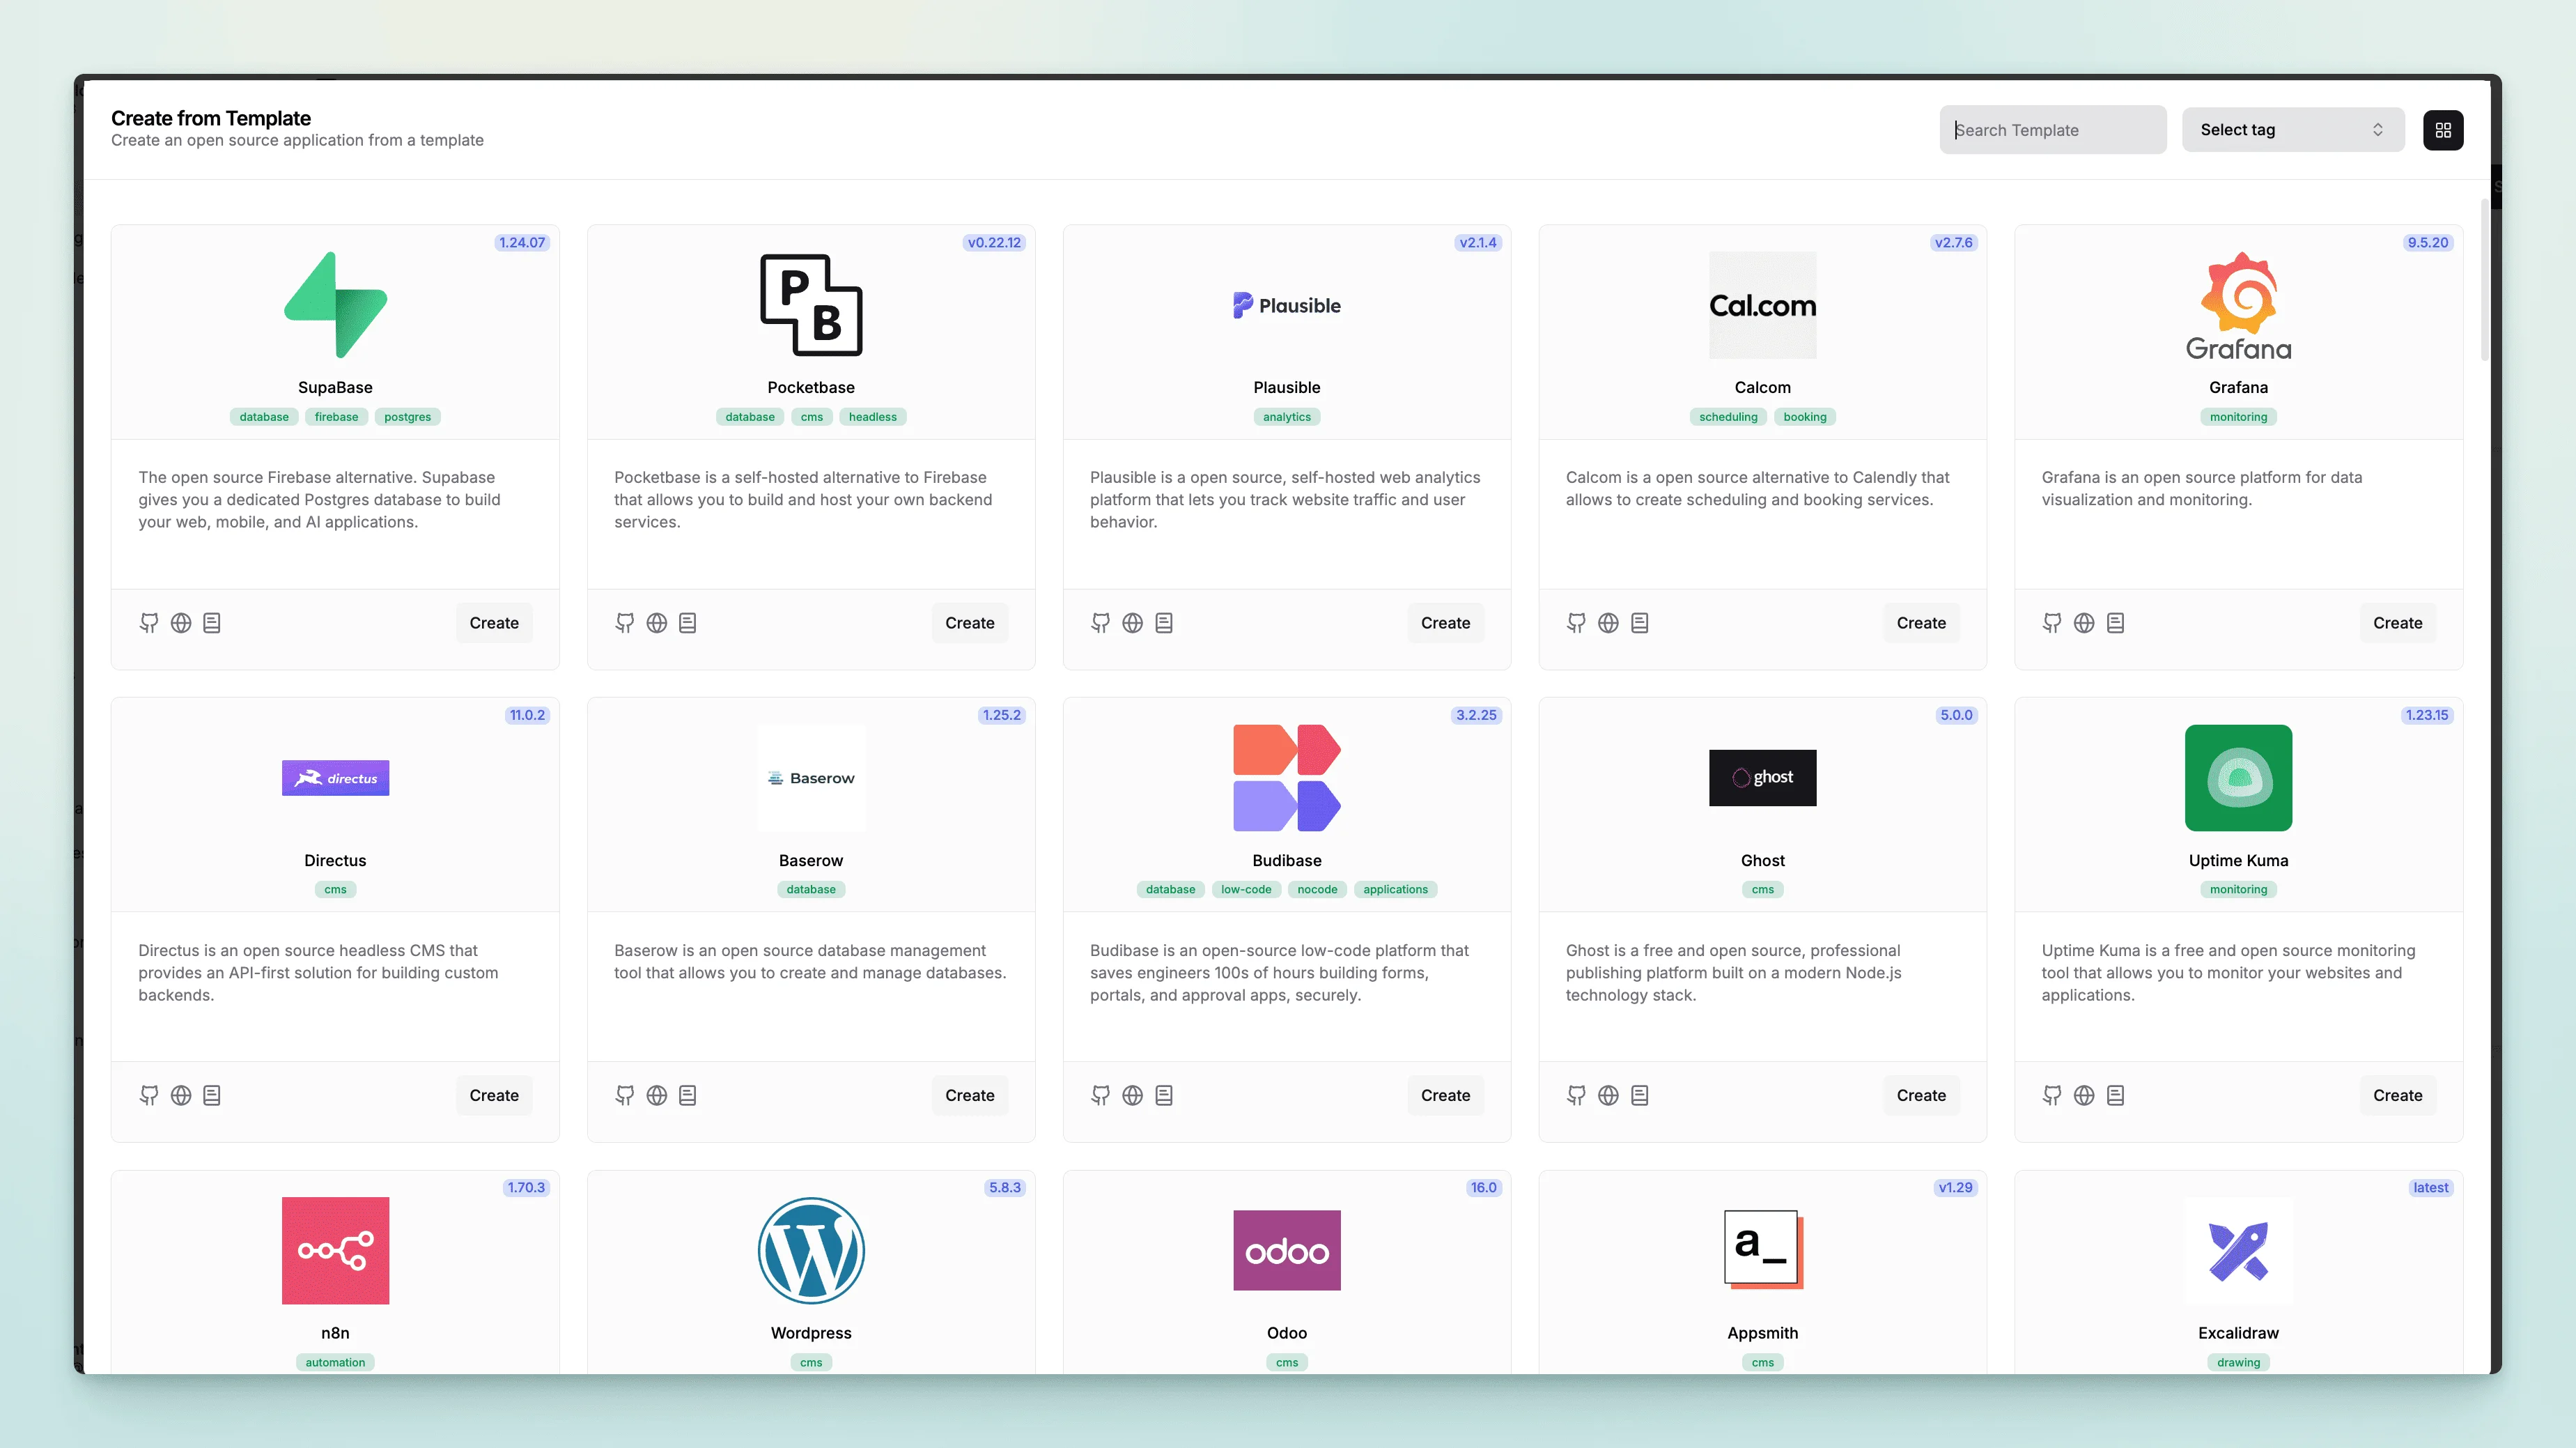
What I like most is the template function. Many excellent open source projects can be deployed with one click. For example, my current personal blog Ghost and statistical analysis tool Plausible are all deployed with one click through Dokploy. You can even deploy Supabase, WordPress, Pocketbase and other projects with one click. We hope to support more and more applications in the future.
In addition, Dokploy also supports the management of other servers, management of certificates, etc. I have not used some functions yet, and will share them after I use them in the future.